
Last updated October 31, 2026
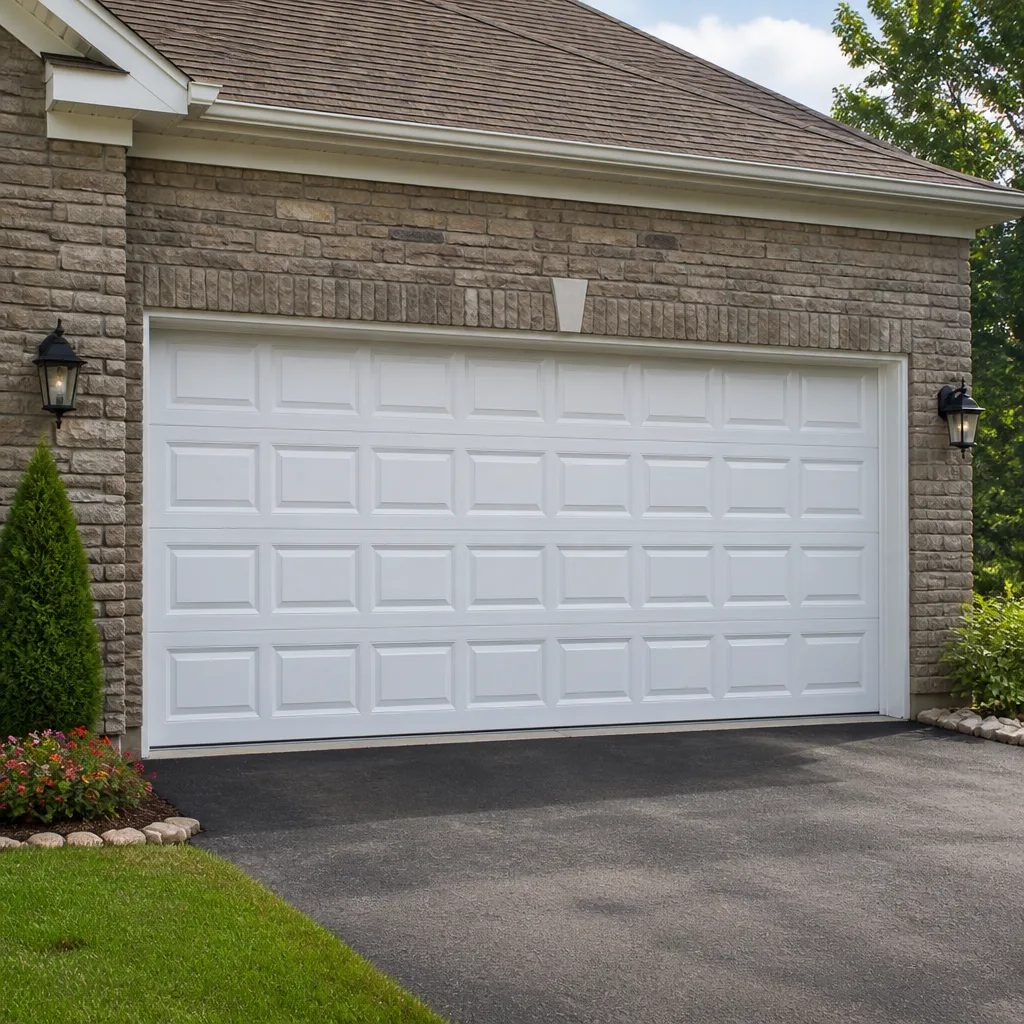 Raised-panel steel
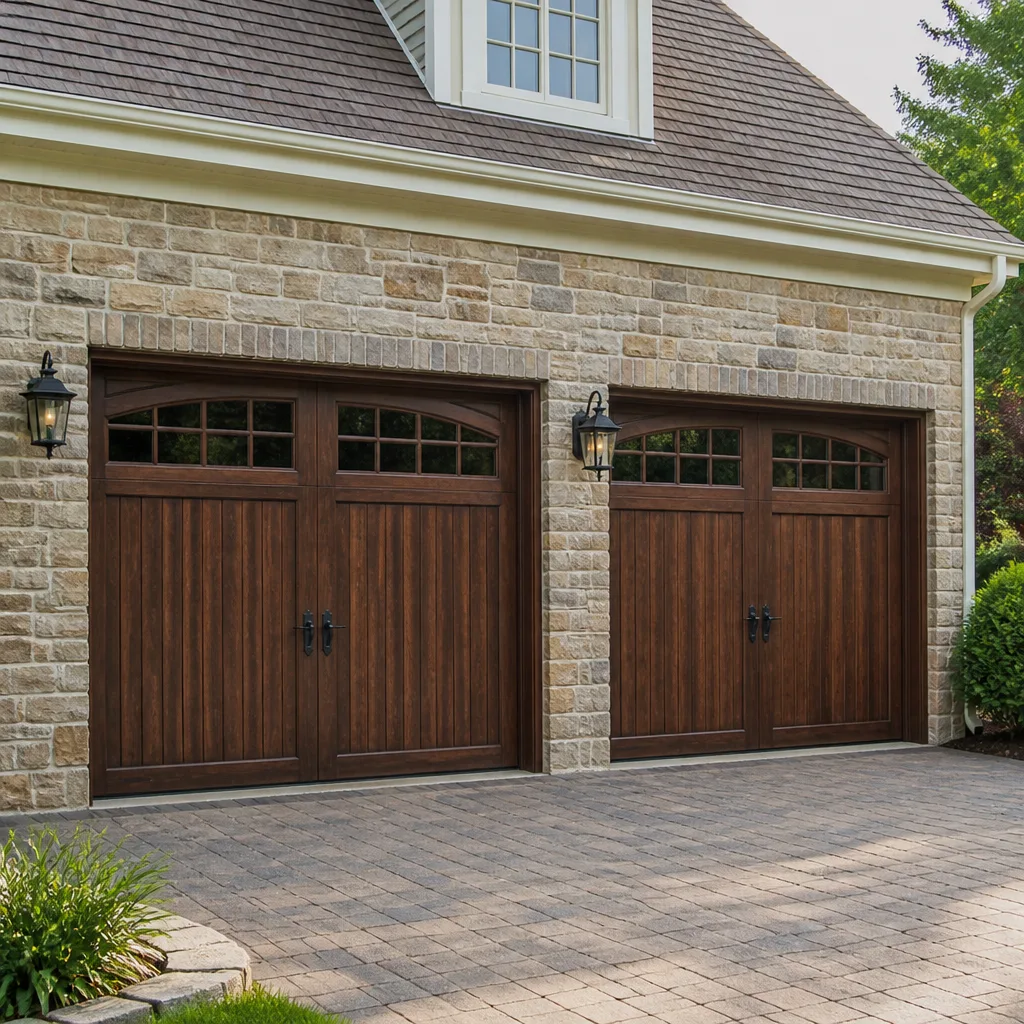 Carriage house
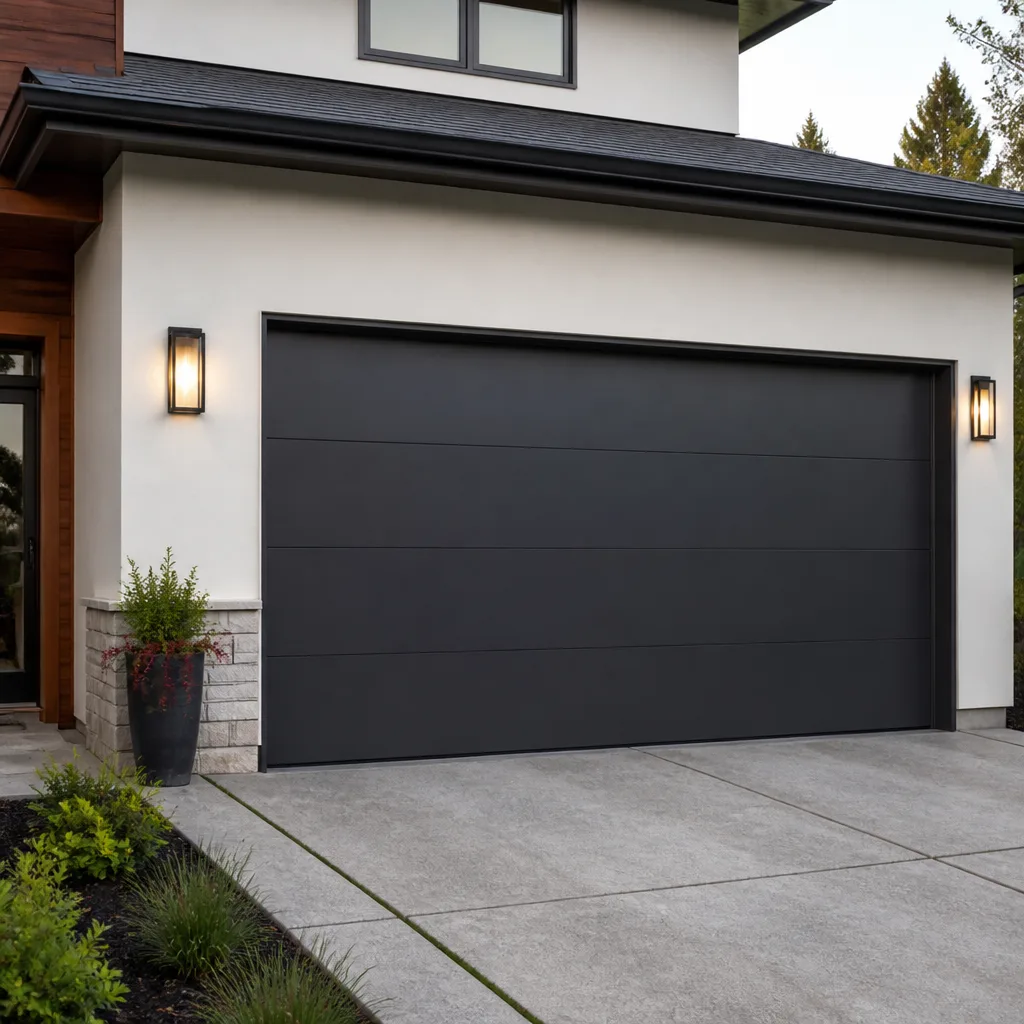 Modern flush
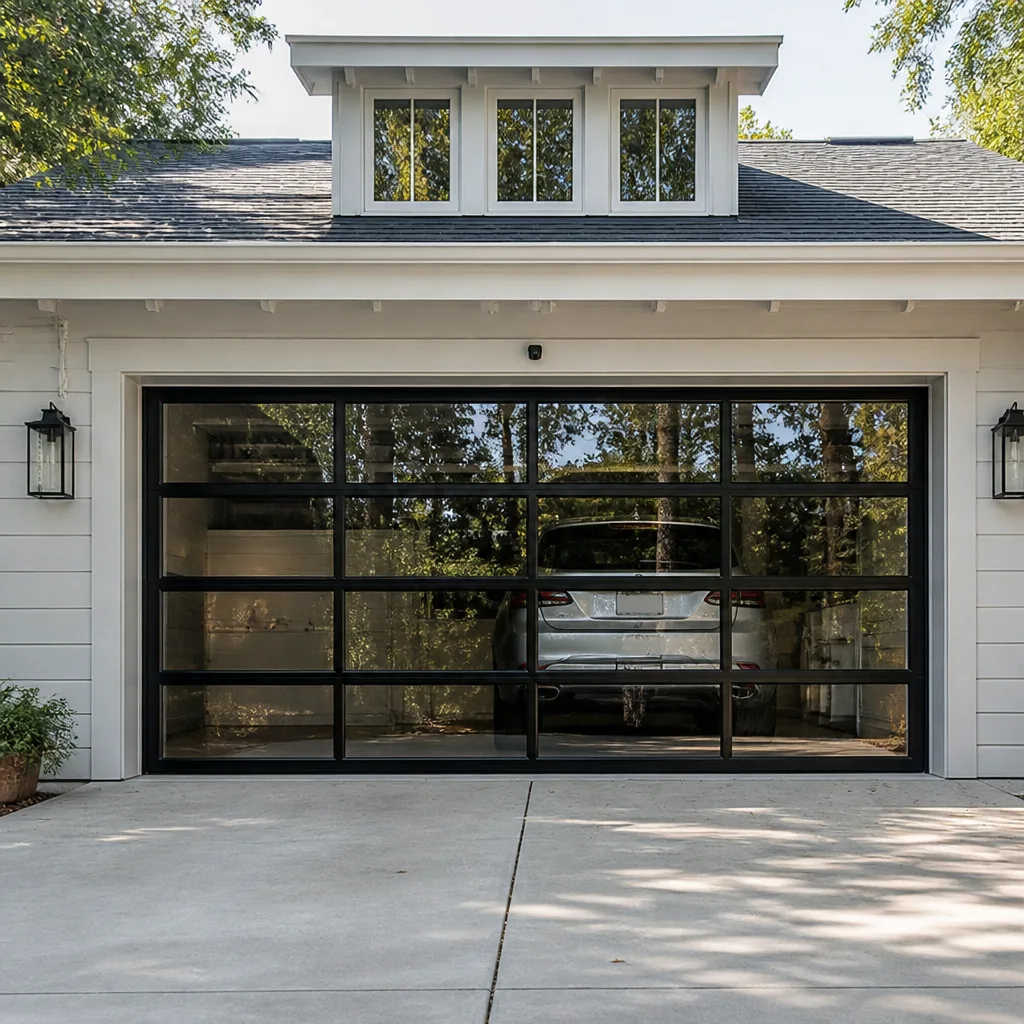 Full-view glass
 LiftMaster openers
 Chamberlain openers
Full 25-point door and opener safety check with every visit - springs, cables, rollers, tracks, and your LiftMaster or Chamberlain opener included
You get a price before we start. It does not change when the truck arrives.
Get your free estimateDIY vs Professional Garage Door: The San Marcos Homeowner’s Decision Guide
A garage door torsion spring stores roughly 150 pounds of torque per turn, and a standard residential spring is wound anywhere from 7 to 9 full turns. Do the math: that’s over 1,000 pounds of stored rotational force sitting inches from your face. In San Marcos, where coastal air accelerates metal fatigue on springs and cables, the DIY-versus-pro decision is one of the most consequential calls a homeowner makes about their property. This guide breaks down garage door work into three clear categories: what you can safely do yourself, what’s borderline, and what should always go to a trained tech. For Garage Door Cost Breakdown: The San Marcos Homeowner’s Reference for 2026, see our dedicated breakdown. You’ll learn the exact cost differences, the tool reality check most online tutorials skip, and how to be an informed partner when you do call a pro.
Quick Answer
For most San Marcos homeowners, the DIY-versus-professional garage door decision comes down to one question: does the job involve load-bearing components under tension? Lubrication, sensor cleaning, and remote programming are safe DIY tasks. Spring replacement, cable work, and panel replacement on a door still under warranty are professional-only jobs with real injury and liability risk. The middle ground, things like track cleaning and weather seal replacement, is doable but often not worth your weekend once you price out the time, tools, and potential for a second trip to the hardware store. For Garage Door Emergency Preparedness Guide for San Marcos Homes, see our separate resource.
Styles & brands we work with
Table of Contents
- The Risk Spectrum: Why Every Garage Door Job Isn’t the Same
- Safe DIY Tasks: The Jobs You Can and Should Do Yourself
- Borderline Tasks: The ‘Maybe’ Zone Where Most Regret Happens
- Professional-Only Tasks: The Jobs Where DIY Math Never Works
- The Tool and Parts Reality Check: What Home Depot Won’t Tell You
- Opener Programming and Sensor Alignment: The Electronic Side of DIY
- Warranty and Liability: What DIY Does to Your Coverage
- Common Mistakes to Avoid
- When to Call a Professional
- Frequently Asked Questions
The Risk Spectrum: Why Every Garage Door Job Isn’t the Same
The garage door is the only large mechanical system in your home that moves hundreds of pounds directly over your head and your car, typically multiple times a day. In San Marcos, where many homes were built in the 1980s and 1990s during the city’s major expansion phases, those systems are now 20 to 30 years old, past the point where original components have reached full service life. A 25-year-old torsion spring in a San Elijo Hills home behaves differently than a 5-year-old spring in a new build near the 78 corridor.
Here’s the framework we use when a San Marcos homeowner asks whether they should tackle something themselves:
Category 1: Safe for DIY. These are tasks with no stored energy, no load-bearing components, and no risk of property damage if done imperfectly. Lubrication, cleaning, battery replacement, basic remote programming.
Category 2: Borderline. These tasks are physically safe when done correctly but carry a high frustration-to-reward ratio. They often require tools most homeowners don’t own, and a mistake means the door doesn’t work at all, which is a problem when it’s 7pm and your car is stuck inside.
Category 3: Professional-only. Anything involving torsion springs, extension springs, lift cables, or structural panel work. These components are under enough tension to cause permanent injury, and the tools required are specialized. No YouTube video can substitute for hands-on training on these parts.
What surprises most people is that the category boundaries aren’t about skill. A mechanical engineer with a fully equipped home shop should still not replace a torsion spring without the correct winding bars and torque specifications for the specific spring. The risk isn’t about whether you’re handy; it’s about whether the component can hurt you if the procedure goes wrong.
Safe DIY Tasks: The Jobs You Can and Should Do Yourself
We’re a garage door company, and we’ll tell you directly: there are several maintenance tasks we’d rather see homeowners do themselves than pay a service call for. These jobs prevent bigger issues, cost less than $30 in materials, and take under an hour. Doing them quarterly keeps a San Marcos door running smoothly through the humidity shifts that swing from dry Santa Ana days to damp marine-layer mornings.
1. Lubricate the Moving Parts
This is the single highest-value DIY task for a garage door. Every roller hinge, the bearing plates, and the opener chain or screw drive needs lubrication two to three times per year. Use a white lithium grease or a garage door-specific spray lubricant, never WD-40, which is a solvent and will strip existing lubrication. Apply to the roller stems, not the roller wheels themselves, and run the door through a full cycle to distribute the lubricant. This is especially important in San Marcos because the airborne salt from the coast accelerates rust on unlubricated metal components, even a few miles inland.
2. Clean and Align the Safety Sensors
Those two small boxes near the floor on either side of your door are photoelectric sensors that stop the door from closing on a child, pet, or object. When they get dirty or misaligned, the door reverses for no apparent reason. A dry cloth on both lenses fixes the dirty issue. For alignment, check that the small indicator lights on both sensors are solid, not blinking. A gentle adjustment until both lights hold steady usually solves the problem. This is a genuinely safe, 10-minute DIY fix that saves a service charge.
3. Replace Remote and Keypad Batteries
A dead remote battery is the most common cause of an unresponsive opener. If your LiftMaster or Chamberlain remote works intermittently or requires multiple presses, swap the battery first. Alkaline coin cells for remotes run $3 to $8 at any San Marcos grocery or hardware store. Keypads typically use 9-volt batteries. This one seems obvious, but a surprising percentage of “opener repair” calls we take are resolved in 30 seconds with a battery replacement once the homeowner knows what to check.
4. Wash the Door Surface
For steel doors, a car wash solution and a soft brush remove the grime that leads to surface corrosion. For wood doors, use a wood cleaner formulated for exterior surfaces. Rinse thoroughly and let the door dry before operating. This is a cosmetic task, but it extends the life of the finish, which matters when San Marcos summer heat bakes the door surface daily. Skip the pressure washer: the concentrated stream forces water past seals into the interior of the door and damages weatherstripping.
Borderline Tasks: The ‘Maybe’ Zone Where Most Regret Happens
These are the jobs where the DIY decision actually gets interesting. They won’t hurt you, but they might cost you more than calling a pro from the start. We see San Marcos homeowners attempt these tasks regularly, and about a third end up calling us after spending money and a full Saturday on a project that’s still not right.
Weather Seal Replacement
The rubber strip along the bottom of your door degrades in San Marcos sun within 3 to 5 years. Replacing it seems simple: pull out the old strip, slide in the new one. The reality is that bottom seals come in several profiles (T-style, bead-style, bulb-style), and the wrong one either falls out immediately or drags so badly the opener strains. The old seal often tears during removal, leaving fragments in the aluminum retainer channel that must be removed with needle-nose pliers. This is doable, but the first-timer’s error rate on getting the correct seal profile is high. A pro has the seal stock on the truck and finishes in 20 minutes.
Track Cleaning and Minor Tightening
Wiping down the vertical and horizontal tracks is safe and useful. However, we recommend a light touch. The track brackets that hold the track to the wall are under side load when the door is in motion, and over-tightening a lag screw can crack the bracket or strip the hole in the wall framing. A loose track bracket is a professional adjust; a track that just needs dust wiped off is fine for a homeowner.
Opener Force and Limit Adjustments
If your opener stops short or reverses near the floor, the limit and force settings need adjustment. On a LiftMaster or Genie opener, this involves turning small dials or using the wall console menu. The adjustment itself is safe. The problem is that the adjustment is usually compensating for another problem entirely: a spring that’s lost tension, a door that’s binding in the track, or failing rollers. Homeowners who adjust limits to mask a spring issue end up with an opener that works harder and eventually burns out its motor. If you find yourself adjusting limits more than once in 6 months, the underlying mechanical issue needs addressing.
Professional-Only Tasks: The Jobs Where DIY Math Never Works
This section is the core of the DIY-versus-pro decision. These are the jobs no homeowner should attempt, full stop, and we’ll explain the mechanical reason for each one.
Torsion Spring Replacement
A torsion spring is the coiled steel component mounted above the door opening, and it counterbalances the entire weight of the door. When a spring breaks, it releases its stored energy explosively inside the spring cone, which is why a spring failure sounds like a gunshot from inside the house. Replacing one requires winding the new spring under full tension using two specifically sized steel winding bars inserted into the winding cone, one quarter-turn at a time, while standing on a ladder with your face positioned directly in the path of the bars if anything slips.
Every major spring manufacturer includes a prominent warning in the product documentation instructing that installation be performed only by trained professionals. The physics don’t care about your confidence level. A winding bar that slips out of the cone under torque becomes a projectile moving with enough force to shatter bone. This is not a job where being careful reduces the risk to acceptable levels. The risk is inherent to the process, and the only mitigation is proper training and the correct tools. In our experience servicing San Marcos and surrounding North County communities, an owner-attempted spring replacement rarely saves money, because the resulting repair visit costs more than a clean spring replacement would have cost on the first call.
Lift Cable Replacement
The two steel cables that run up the sides of the door and attach to the bottom brackets carry the door’s weight when it’s in motion. If a cable frays or snaps, the door drops unevenly, and the remaining cable is doing all the work while the spring tension is now out of balance. Replacing a lift cable requires disconnecting the spring tension from the door, which means dealing with the torsion system. You cannot replace a cable without interacting with the spring, and that interaction is the dangerous part. There is no cable-only workaround on a torsion system.
Panel and Section Replacement
A dented bottom panel seems like a straightforward unbolt-and-replace job, but panels on modern doors are structural. The bottom panel carries the cable brackets, and the section hinges connect panels in a specific hinge-number sequence that varies by door model. A panel replaced incorrectly affects the door’s weight distribution, which then affects the spring balance, which then affects the opener. Additionally, if your door is still under manufacturer warranty, owner-performed panel work almost certainly voids the remaining coverage. Ordering a single panel also requires knowing the exact model, width, height, and color code of your existing door, which is harder than most homeowners expect.
Extension Spring Work (Older Doors)
Some San Marcos homes built before the mid-1980s still have extension springs running horizontal above the track. These are the long springs that stretch rather than wind. They lack the explosive rotational energy of a torsion spring, but they still bear the full weight of the door. If one breaks and you attempt replacement without securing the door first, the door can free-fall. Extension springs also require safety cables run through them, and a homeowner who skips this step has created a spear hazard if the new spring breaks. This is still professional work.
The Tool and Parts Reality Check: What Home Depot Won’t Tell You
Here’s the part most DIY tutorials leave out: the reason spring work is dangerous isn’t just the tension. It’s that the correct tools and parts aren’t available at retail home improvement stores, and the improvised substitutes are what cause injuries.
The proper winding bar set for torsion springs starts at about $25 online, but that’s only part of the equation. The bars must be the exact diameter of the winding cone holes, which vary by spring model. A bar that’s slightly too small has free play inside the cone and can slip out under load. A bar that’s too large doesn’t seat fully and can cam out during winding. Professional supply houses sell matched bar-and-cone kits; retail stores don’t carry them at all.
The spring itself is the bigger problem. A replacement torsion spring must match the original in four measurements: wire gauge, inside diameter, length, and wind direction (left-wound or right-wound). Get any one of these wrong and the door won’t balance, which means the opener strains against an incorrectly counterbalanced door, or the door flies up on its own. Most critically, springs are rated by IPPT (inch-pounds per turn), which determines how much torque the door needs for its specific weight, height, and track configuration. Home Depot and Lowe’s stock a small selection of universal springs that cover only the most common residential setups. If your door doesn’t fall into that narrow window, which is common for the mix of door sizes found across San Marcos homes from different building eras, you can’t buy the right spring locally.
And the torque chart matters. A professional uses the door’s measured weight and the manufacturer’s torque chart to determine the exact number of quarter-turns for the new spring. Winding a spring based on guesswork or a forum post is how doors end up slamming or refusing to close. The tools and reference data for safe spring replacement exist in the professional supply chain, not the DIY one.
Opener Programming and Sensor Alignment: The Electronic Side of DIY
Not all garage door DIY is about metal and tension. The electronic components, remotes, keypads, Wi-Fi bridges, and sensors, are genuinely more approachable for a homeowner. Here’s what’s safe and what commonly goes wrong.
Remote and Keypad Programming Is Safe DIY
Programming a replacement remote or a wireless keypad to a LiftMaster, Chamberlain, Genie, or Craftsman opener is a process the manufacturers designed for homeowners. It involves pressing a learn button on the opener motor unit and following a button sequence on the remote. The exact sequence varies by brand and model, and the instructions are printed in the owner’s manual or available online by model number. This is safe, costs nothing if you already have the remote, and takes 5 to 10 minutes.
The most common mistakes we see: pressing the learn button too many times, which clears all previously paired remotes; holding the remote button instead of tapping it during the final pairing step; and pairing a wrong-frequency remote to the opener. Each of these is recoverable with a re-read of the manual.
Smart Home Integration Requires Patience, Not Skill
If your opener has MyQ (LiftMaster and Chamberlain’s app platform), Aladdin Connect (Genie), or a third-party bridge, the setup process is app-driven and designed for homeowner installation. The skills required are patience and a stable Wi-Fi signal in the garage, which is a real issue in San Marcos homes where the garage is the farthest point from the router. The safe DIY version of this job is setting up the app and pairing the bridge. If the app repeatedly fails to find the opener, there may be a compatibility issue between the opener’s age and the bridge’s protocol, and that’s a good point to call for garage door opener repair in San Marcos rather than spending three more hours on it.
Sensor Alignment: DIY with a Caveat
Aligning the safety sensors is safe and covered in the safe DIY section above. The caveat: if the sensors won’t hold alignment, or one sensor’s light stays dark no matter what you do, you’re likely dealing with a wiring failure inside the wall, not a positioning issue. That’s when a multimeter and low-voltage wiring troubleshooting enters the picture, which is beyond what most homeowners want to take on, and a pro visit makes sense.
Warranty and Liability: What DIY Does to Your Coverage
This is the section most guides skip entirely, and it’s the one with real financial consequences for San Marcos homeowners.
If your garage door is less than 5 to 10 years old, depending on the brand, it may still be under manufacturer warranty. Clopay doors carry limited lifetime warranties on certain steel panels and varying coverage on hardware; Amarr offers similar tiered coverage. Opener warranties from LiftMaster, Chamberlain, and Genie typically run 1 to 5 years for parts, with lifetime coverage on the motor in some models, but the exclusions matter.
Nearly every manufacturer warranty includes an exclusion for work performed by unauthorized persons. Replacing a torsion spring yourself on a door that’s still under warranty can void coverage on the entire door system, not just the spring. The manufacturer’s position is that incorrect spring installation can damage the panels, hinges, tracks, and opener, and they don’t accept liability for downstream damage caused by unverified work. If your door later fails and you file a warranty claim, the claim gets denied if the manufacturer determines that owner-performed structural work occurred.
There’s also a liability angle on the homeowner’s side. If you sell your San Marcos home, a garage door that fails after the sale due to an owner-performed spring replacement could become a disclosure issue. California’s seller disclosure requirements cover known material defects, and a jury-rigged torsion spring qualifies. A receipt from a licensed professional, in contrast, becomes part of the house file and attracts no attention.
Our position at SD Garage Door is a repair-first philosophy: if your door is in good shape and only one component failed, fix that component correctly rather than replacing a working system. But “fix correctly” means using manufacturer-spec parts installed by someone who’s been trained on the specific brand and spring configuration, not just someone who’s willing to give it a shot.
Common Mistakes to Avoid
- Using the wrong lubricant. WD-40 and similar penetrating oils strip the existing grease from rollers and hinges, causing accelerated wear. Use white lithium grease or a garage door-specific lubricant. We see this constantly in San Marcos garages where well-intentioned maintenance actually shortened component life.
- Adjusting opener force to fix a spring problem. When the door gets heavier because the spring is losing tension, the opener’s force settings get turned up to compensate. This overworks the motor and shortens opener life. The force setting masks the symptom while the underlying spring issue worsens.
- Replacing a remote battery before checking the lock button. Many openers have a wall console with a lock feature that disables all remotes. If your remote suddenly stops working and the wall button still works, check the lock first. A surprising number of customers call us for this 5-second fix.
- Attempting spring replacement with improvised tools. Screwdrivers, rebar, and pry bars are not winding bars. If the tool doesn’t seat fully into the winding cone, it will slip out under torque, and the result is whatever body part is in the path of the bar. There is no improvised version of this tool that’s safe.
- Ignoring a fraying cable. A cable with visible strands separating is weeks or months from failure. The failure mode is a door that drops on one side, usually with a car parked underneath. Fraying cables are a repair-now item, not a monitor-it item.
- Buying a universal remote without checking frequency compatibility. Older openers use different radio frequencies than current models. A universal remote that doesn’t support your opener’s frequency will never pair, no matter how many times you press the learn button. Check the opener’s model number against the remote’s compatibility list before buying.
- Doing structural work on a door that’s still under warranty. The money saved on a DIY panel or spring job gets wiped out when the manufacturer denies a future warranty claim because owner-performed work occurred. Keep receipts from professional work and let the warranty do its job.
When to Call a Professional
Call a professional the same day if your door is on the ground with a broken torsion spring, if a cable has snapped, if the door is off its track, or if the opener is making grinding noises. These are not situations that improve with time, and a door that’s stuck open is a security issue for everything in the garage, including the car and whatever else you store there. If your door is stuck closed and your only vehicle is inside, that’s an urgent call, not a weekend project.
For everything else, the call is a judgment call based on the risk spectrum above. If the job involves tension, cables, or structural components, garage door repair in San Marcos is the right call the first time. SD Garage Door offers free estimates in San Marcos, and the tech arrives with the specific parts and tools for the job, which means the fix usually happens on the same visit. Call (833) 589-6906.
Frequently Asked Questions
No. Torsion springs are wound to over 1,000 pounds of stored force, and the winding process requires specialized bars and a torque chart specific to your spring model. Every major spring manufacturer includes a professional-installation warning in the product documentation. The risk of injury is not reduced by being careful; it’s inherent to the procedure.
Lubricating the rollers and hinges, cleaning the safety sensor lenses, replacing remote and keypad batteries, and washing the door surface are all safe DIY tasks that require basic household tools or under $30 in materials. These jobs prevent bigger issues and protect the door’s finish, especially in San Marcos where coastal air accelerates corrosion.
The most common cause is misaligned or dirty safety sensors, which is a safe 10-minute DIY fix. If the sensors are clean and aligned and the door still reverses, the likely culprit is a spring losing tension, which makes the door feel heavier and triggers the opener’s force reversal. That requires professional diagnosis.
Yes, in most cases. Manufacturer warranties from Clopay, Amarr, LiftMaster, and Genie include exclusions for work performed by unauthorized persons. Owner-performed structural work, including spring and panel replacement, typically voids the remaining warranty coverage on the entire door system. Keep receipts from professional repairs to preserve coverage.
Most garage door repairs in San Marcos fall between $125 and $450 depending on the part and labor involved. A broken spring replacement typically runs $180 to $340, a cable replacement $150 to $250, and an opener gear replacement $180 to $280. The final number depends on your specific door model and spring configuration, and a good company quotes the full price before starting work. For an exact quote on your door, SD Garage Door installation and repair estimates are free.
Repair first, unless the door has multiple failed panels, the frame is damaged, or you’re already planning a $2,000-plus cosmetic upgrade. A repair-first approach fixes the broken component, whether it’s a spring, cable, or opener gear, without replacing a door that’s otherwise functional. If the panels are still structurally sound and the track is straight, repair is almost always the better value. Call (833) 589-6906 and a tech can tell you the difference in under an hour.
The Bottom Line
The DIY-versus-professional decision for a garage door isn’t about your skill level. It’s about the component you’re touching. Lubrication, sensors, and remotes: DIY with confidence. Weather seals and track cleaning: doable, but weigh the frustration. Springs, cables, and panels: professional-only, every time, because the tension doesn’t negotiate and the warranty doesn’t forgive. In San Marcos, where salt air and sun age components faster than inland, staying ahead of the small maintenance and staying away from the dangerous stuff is the formula. When a job crosses the line from safe to structural, call (833) 589-6906 and get a quote before the work starts.
Written by the team at SD Garage Door, serving San Marcos since 2014.
See the difference
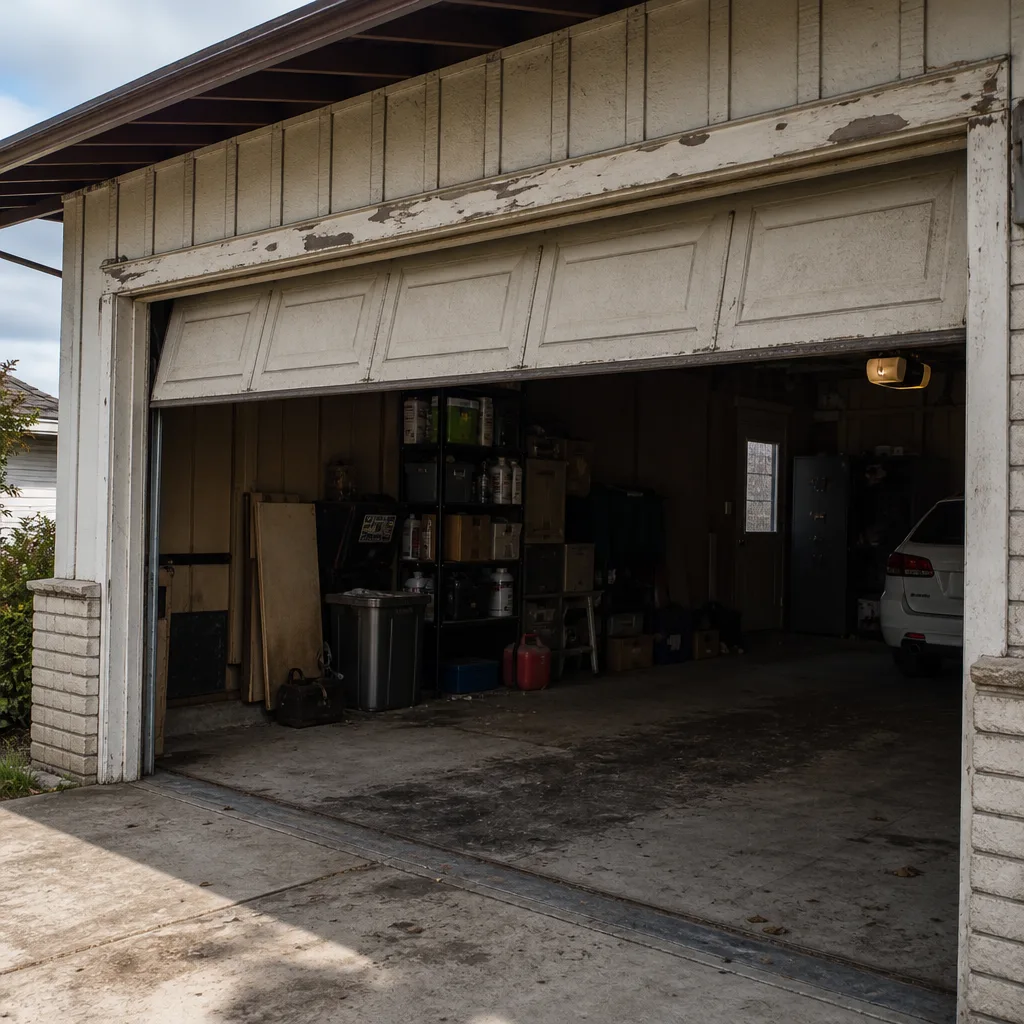 Before
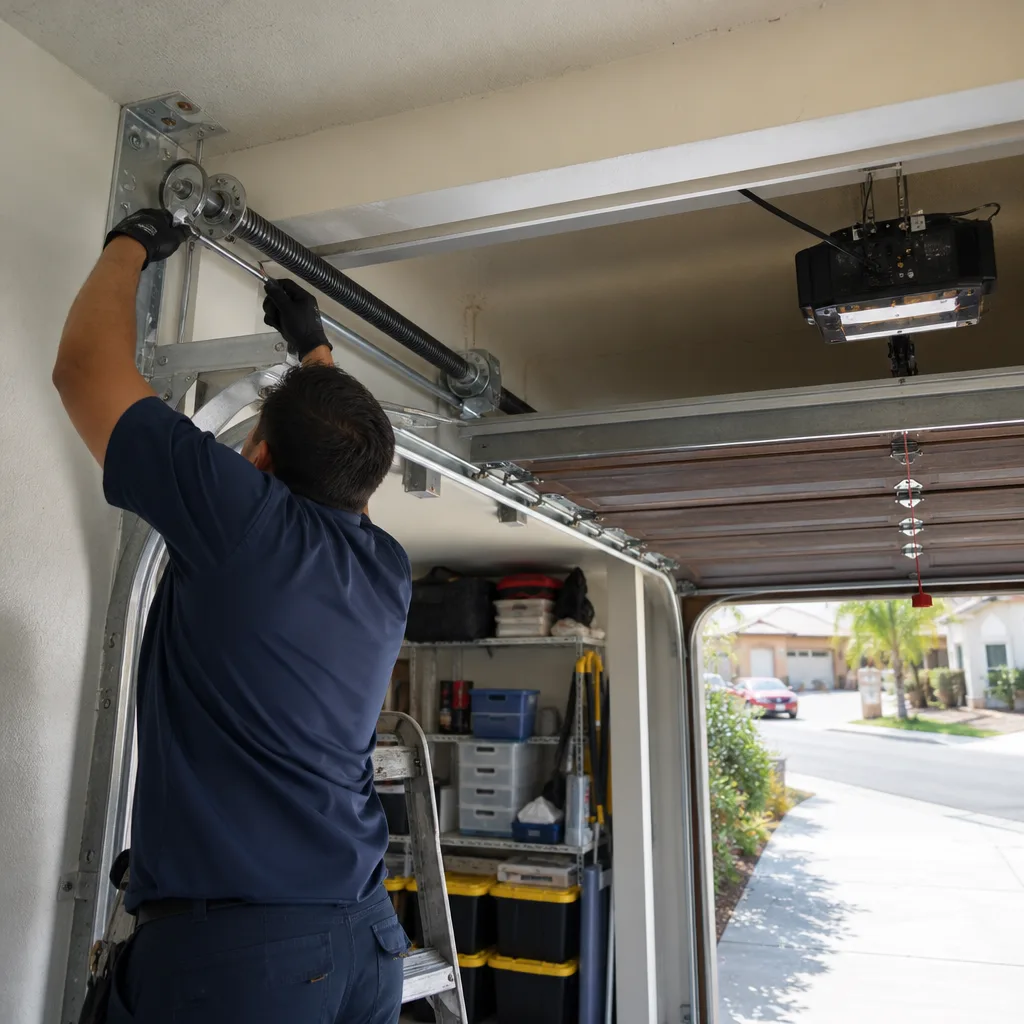 After
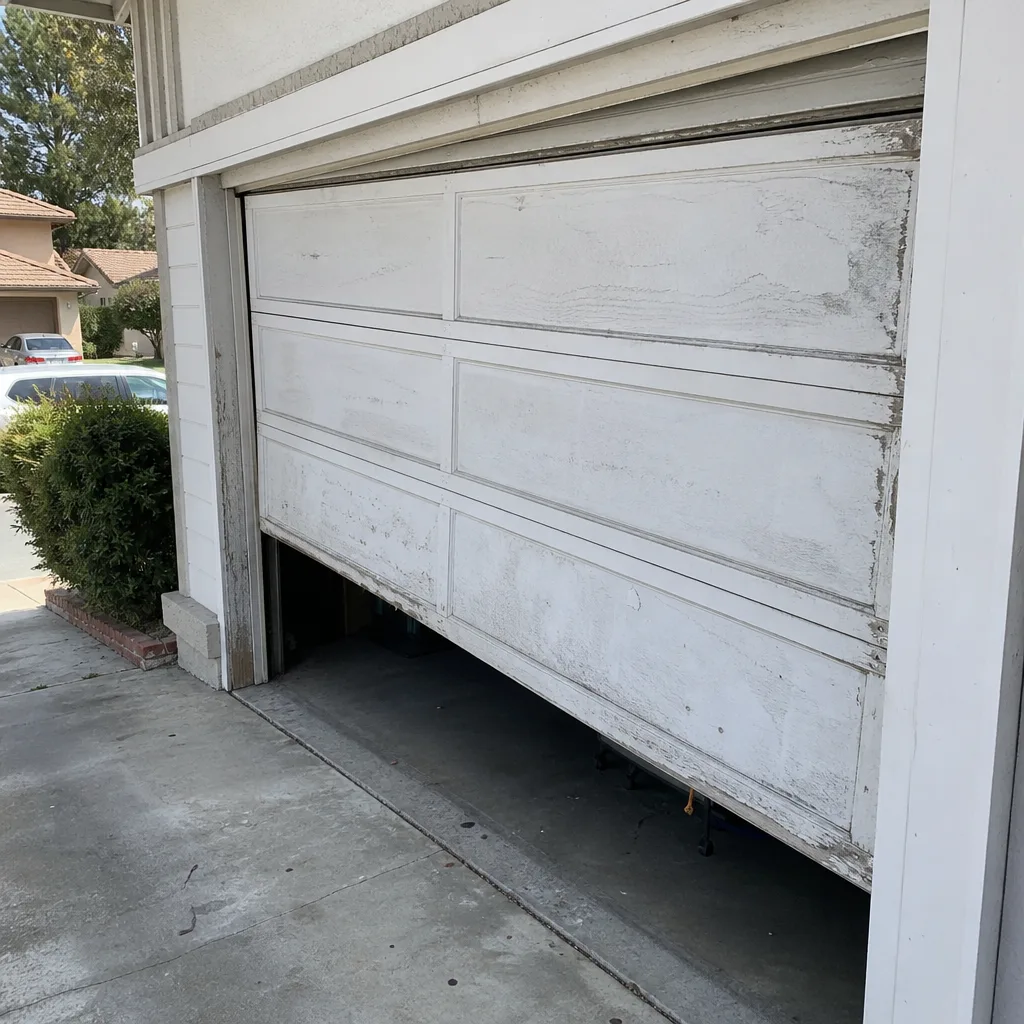 Before
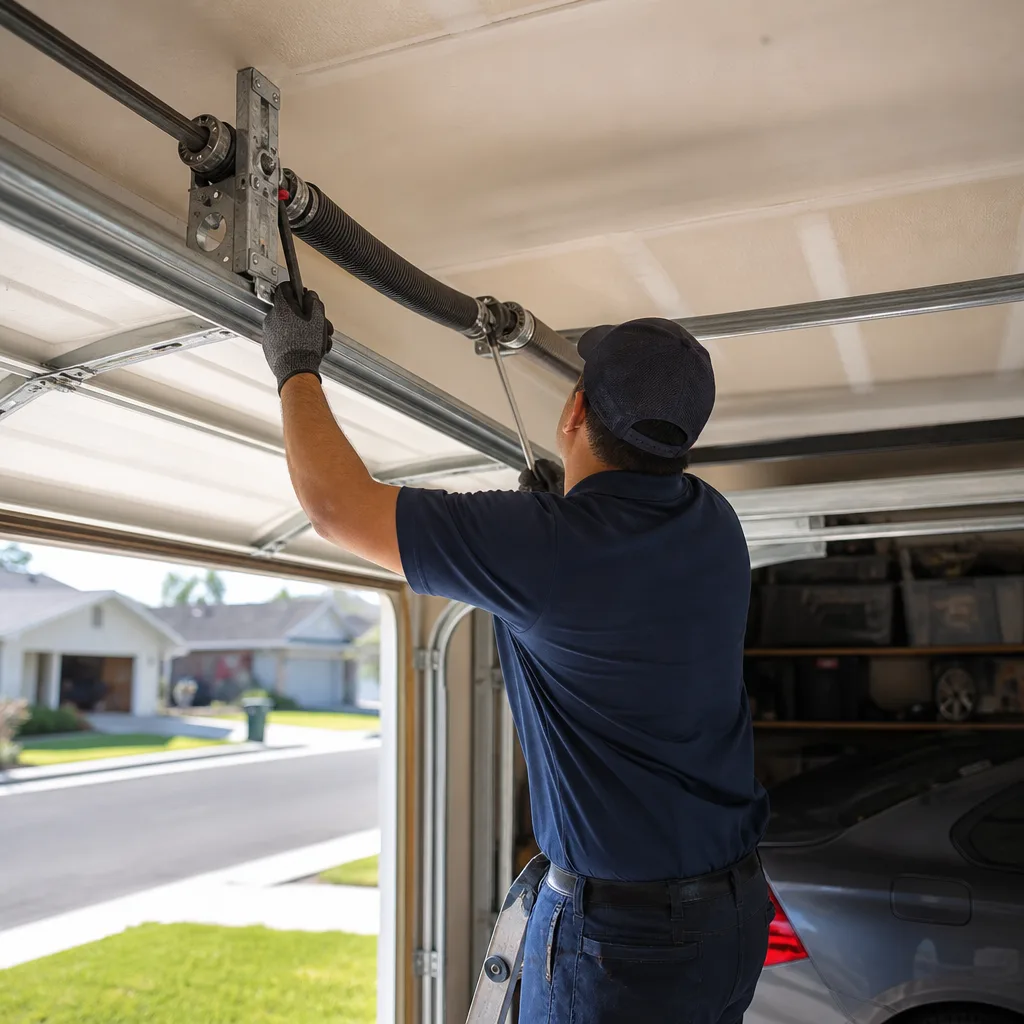 After
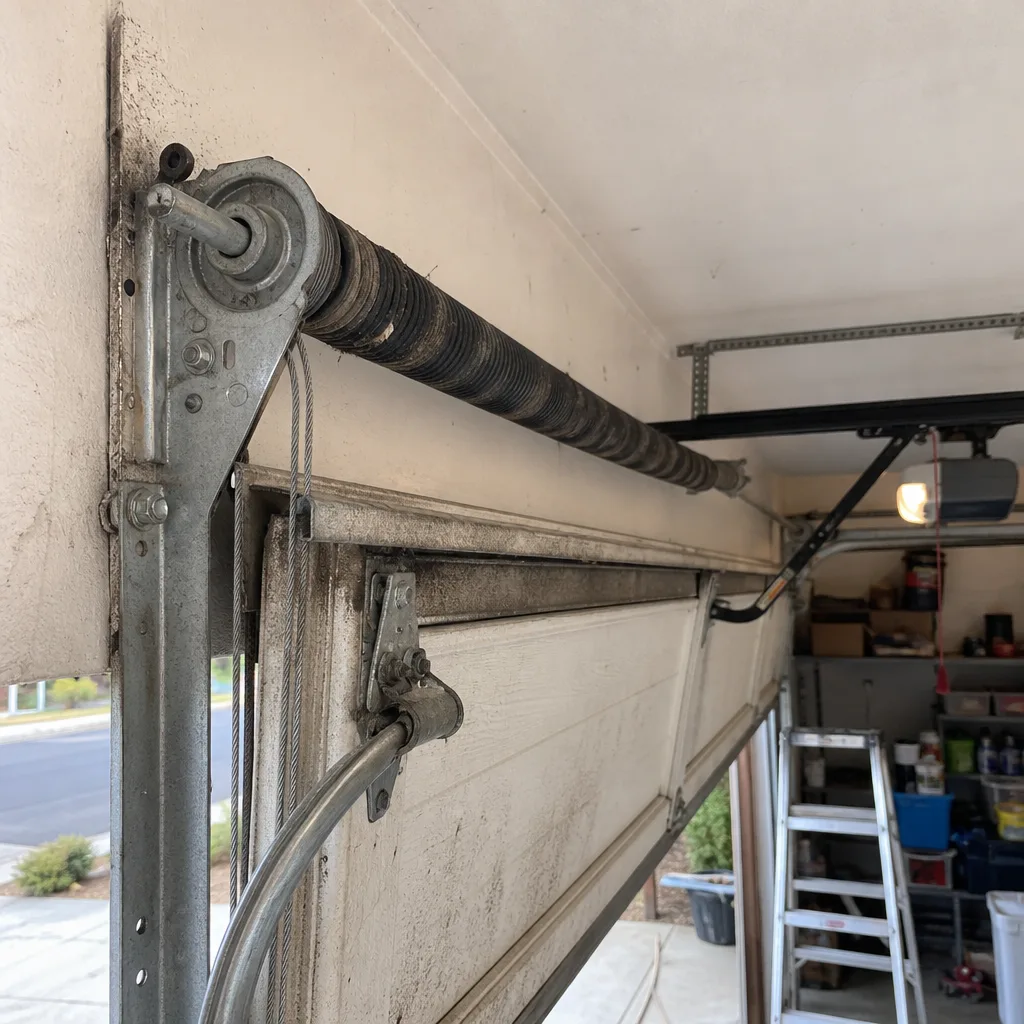 Before
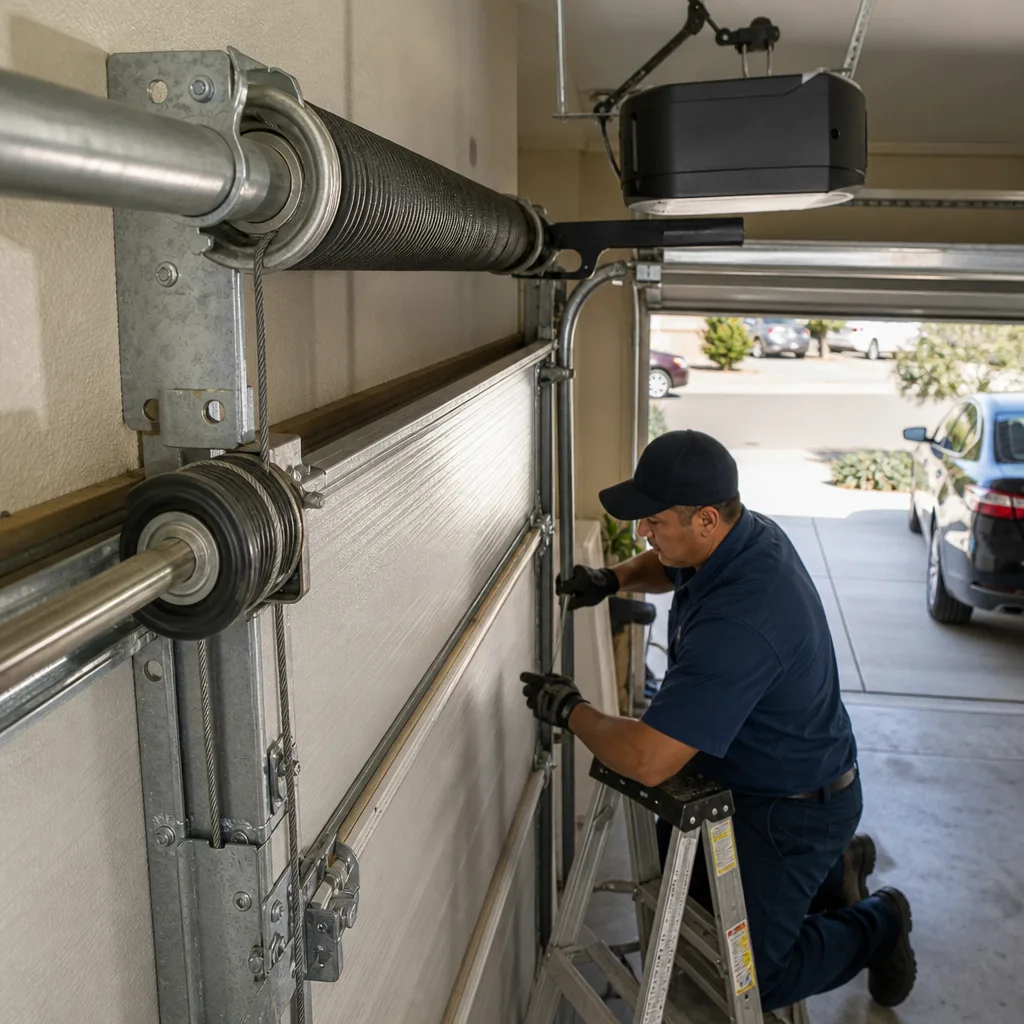 After