
Last updated October 31, 2026
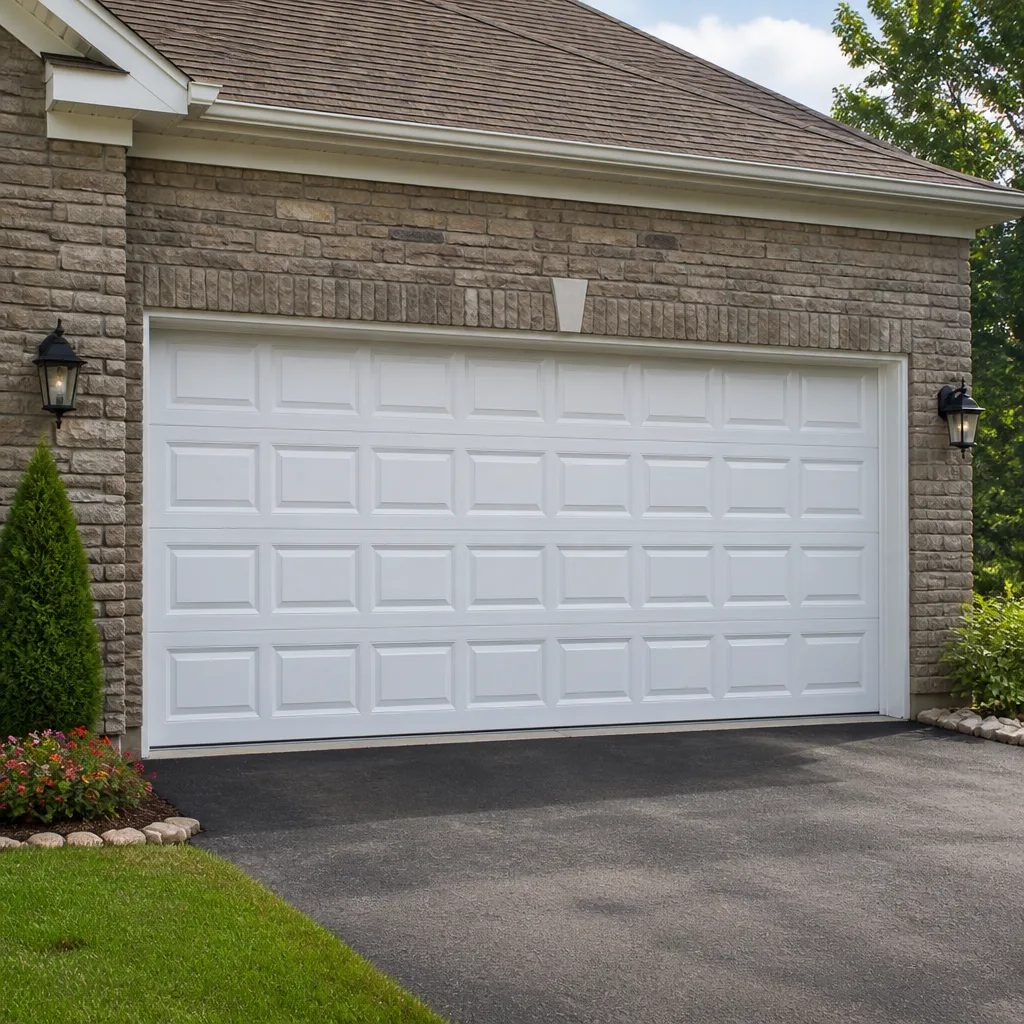 Raised-panel steel
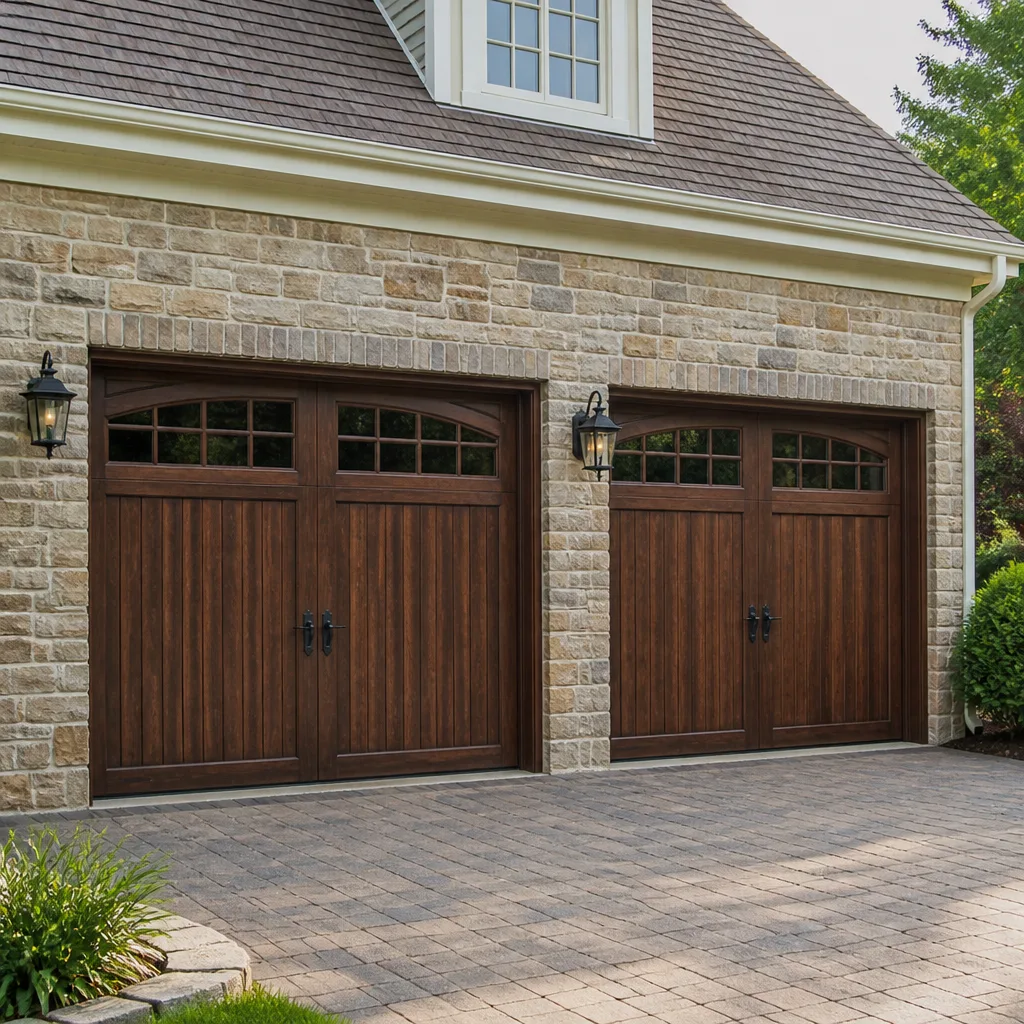 Carriage house
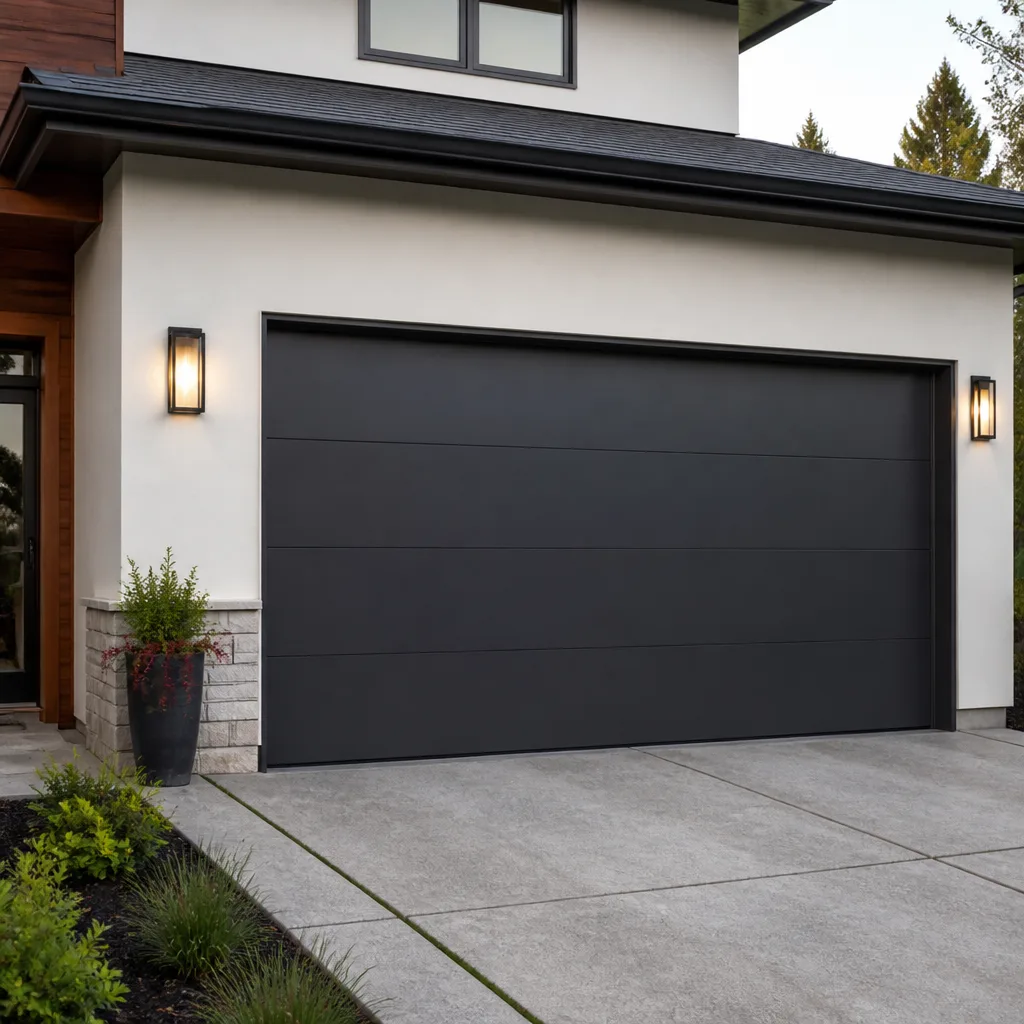 Modern flush
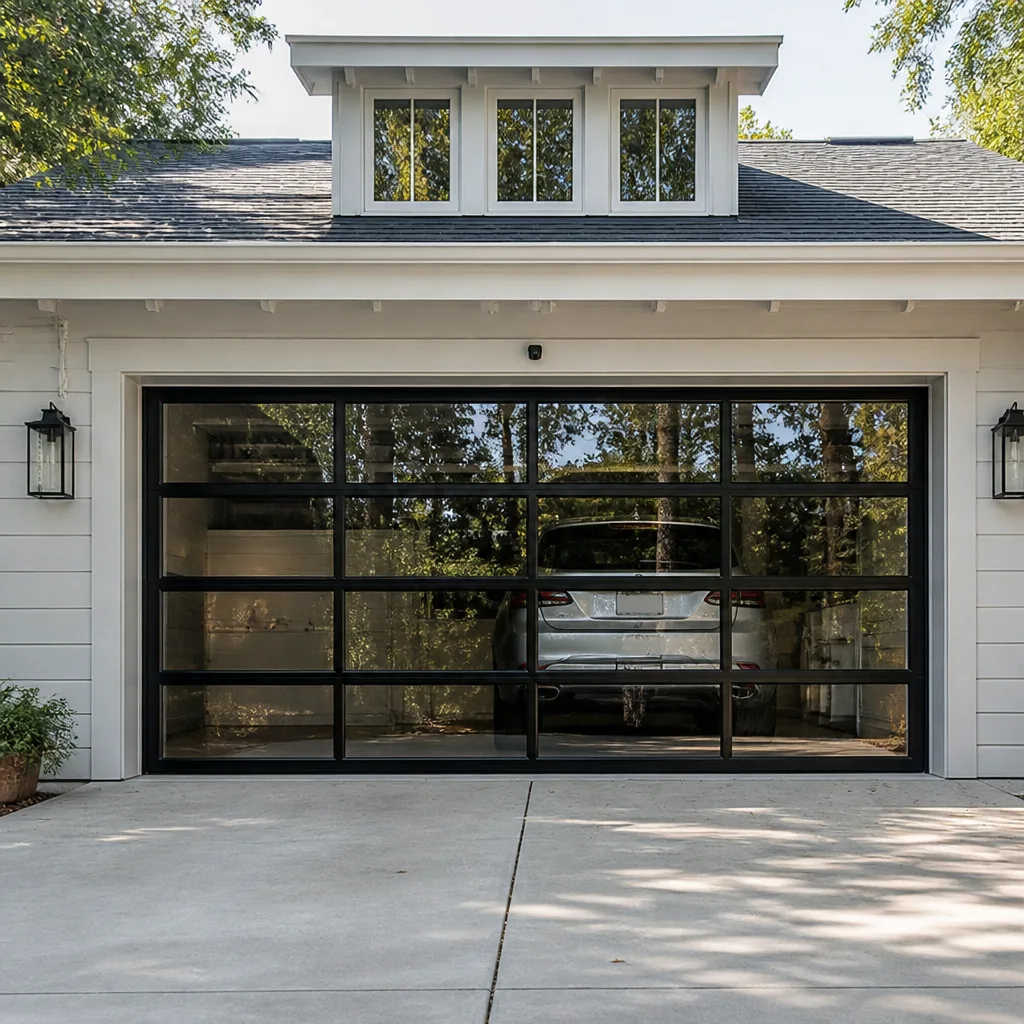 Full-view glass
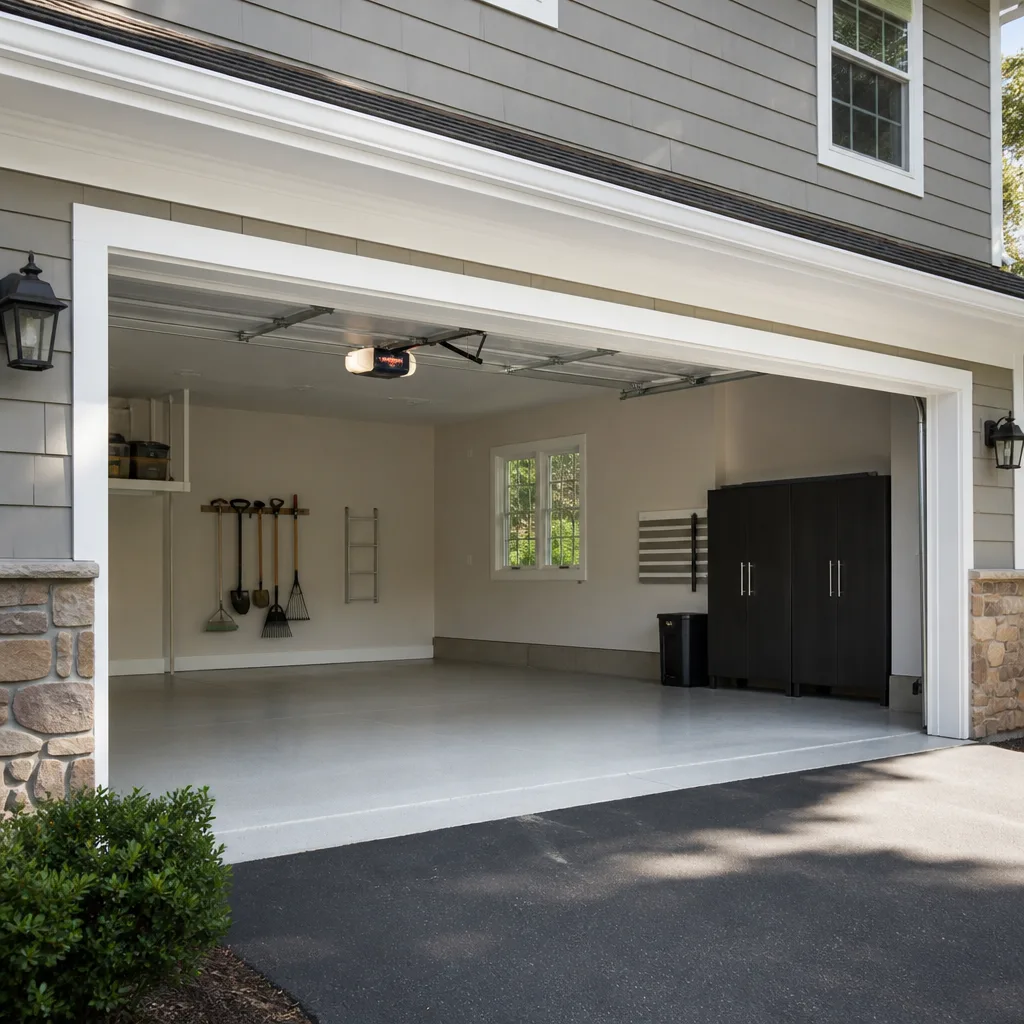 LiftMaster openers
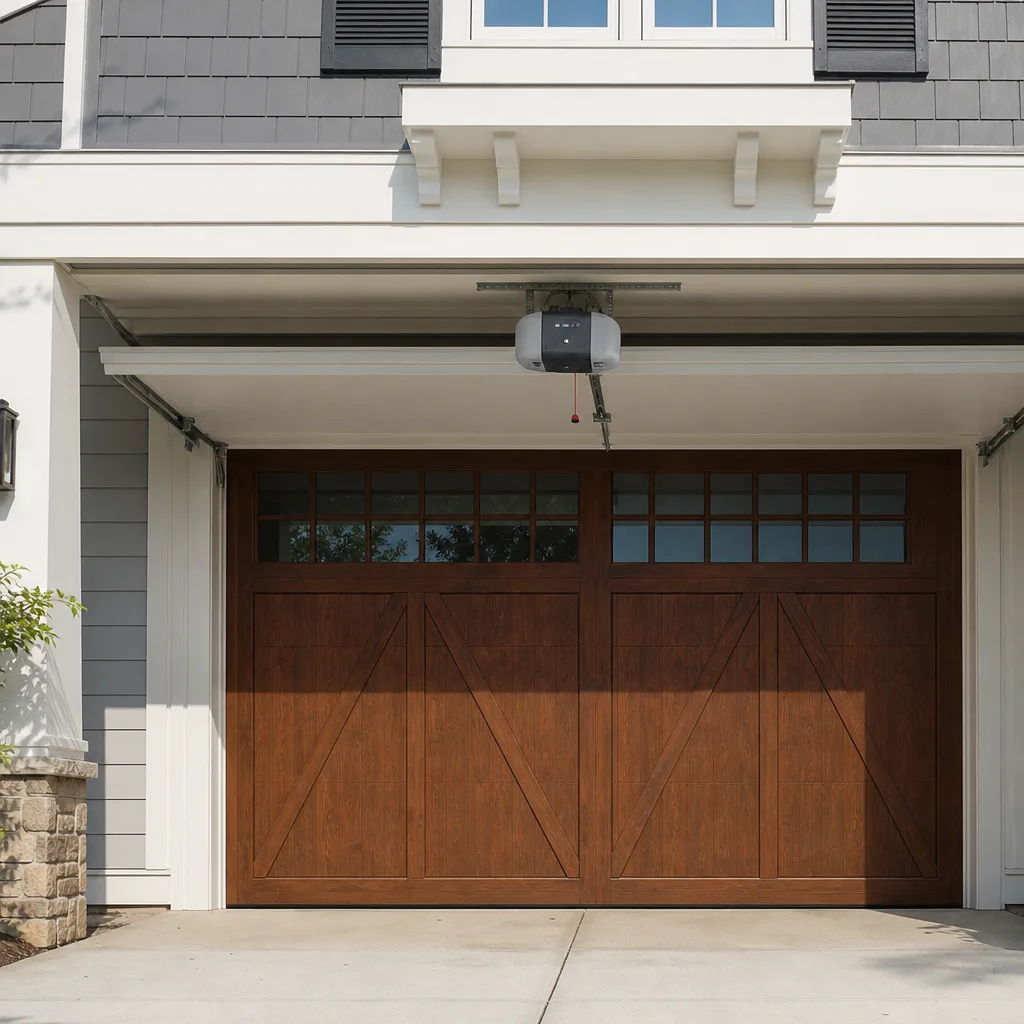 Chamberlain openers
Full 25-point door and opener safety check with every visit - springs, cables, rollers, tracks, and your LiftMaster or Chamberlain opener included
You get a price before we start. It does not change when the truck arrives.
Get your free estimateGarage Door Repair Maintenance Checklist for San Marcos Homeowners
The most common reason garage doors fail prematurely in San Marcos isn’t age. It’s skipped lubrication on rollers clogged with inland dust. Three minutes twice a year prevents most of the off-track calls we get from neighborhoods like Santa Fe Hills, Discovery Hills, and Rancho Santalina. This checklist is built around what actually breaks here, and when. You’ll learn the month-by-month tasks that matter, the two tests most homeowners skip, and the pass/fail criteria that tell you when to stop DIY-ing and call a specialist for our Garage Door Repair services.
Styles & brands we work with
Quick Answer
A garage door maintenance checklist for San Marcos homeowners breaks into four seasonal passes: lubricate rollers and hinges with a lithium-based grease before Santa Ana season, inspect the bottom seal after the brief wet winter, test balance and force settings twice yearly, and clean the tracks monthly during dust-heavy months. Most DIY maintenance should take under 30 minutes per season. If your door fails a balance test or shows cracked torsion springs, stop and call a professional, because those components are under lethal tension.
Table of Contents
- A Month-by-Month Maintenance Map for San Marcos
- Lubrication Specs That Actually Work in High-UV, Low-Humidity Air
- The Balance Test: The 30-Second Check That Reveals 40% of Developing Problems
- Force-Limit Checks: What an Opener Should and Shouldn’t Do
- Bottom Seal and Weatherstrip Inspection for Sandy, Dusty Soil
- Rollers, Track Alignment, and the Dust Problem
- Torsion Spring Inspection: What to Look For Without Touching
- Hardware and Fastener Pass/Fail Criteria
- Common Mistakes to Avoid
- When to Call a Professional
- Frequently Asked Questions
- The Bottom Line
A Month-by-Month Maintenance Map for San Marcos
San Marcos doesn’t have harsh winters, but it has three distinct environmental threats to garage door hardware: Santa Ana winds from the east (September through December), a brief but real wet season (December through March), and year-round UV exposure at inland elevation. A generic national checklist that tells you to “check for ice damage” or “winterize your door” is useless here; instead, check our Garage Door Repair Troubleshooting: Common Problems and How to Fix Them for local guidance. What matters is timing maintenance around wind, dust, and ultraviolet breakdown.
Here’s the seasonal map we use for doors in this area:
- September (before Santa Ana season): Lubricate rollers, hinges, and springs. Inspect torsion springs for early-stage cracking. Tighten all track bolts and hinge screws. Santa Ana gusts push against the door face and shake loose hardware that’s already marginal.
- October through November: Clean the tracks monthly. Easterly winds carry fine inland dust and grit that packs into the roller channels. The stuff works like sandpaper on nylon rollers and steel track surfaces.
- December (start of wet season): Inspect the bottom seal and side weatherstrip. Even a small gap lets rainwater wick into the threshold and the bottom panel, which is when you start seeing rust bloom on steel doors and delamination on older wooden models.
- January through February: Test the opener’s force settings. Cooler nights and damp air change how the motor and logic board respond to load. If the opener reverses with a loud clunk, the force limit is out of adjustment.
- March (end of wet season): Do a full balance test and torsion spring inspection. The temperature swings between cool nights and warm days stress spring steel. Post-winter is when we see the highest number of spring failures in San Marcos.
- April through May: Inspect the UV-exposed exterior side of the bottom seal. By late spring, UV damage from the prior summer is visually obvious: cracking, brittleness, and a chalky surface. Replace it now before the next dry season bakes it further.
- June through August: Lubricate the opener rail (screw or chain drive) and check the chain or belt tension. High heat reduces grease viscosity, which causes chain chatter and opener strain on days above 90°F.
This map covers what a diligent homeowner can do safely. The full garage door repair guide for San Marcos goes deeper on the repair side, but for maintenance, the rhythm above prevents most failures we see before they happen.
Lubrication Specs That Actually Work in High-UV, Low-Humidity Air
The biggest lubrication mistake we see in San Marcos is using WD-40 on everything. That product is a solvent and a water displacer. It’s not a lubricant. It strips away the grease that’s supposed to be on your rollers and hinges, then evaporates, leaving metal-on-metal contact that accelerates wear. In a dry inland climate, that’s a fast track to squealing rollers and a noisy, jerky door.
Here’s what to use, where, and why it matters in this climate:
- Lithium-based grease (white lithium or spray lithium): Best for hinges, torsion spring coils, and bearing plates. Lithium grease stays in place at high temperatures and won’t break down under direct sun exposure. In San Marcos, where summer temperatures regularly push past 90°F and attic-facing hardware gets even hotter, thin oils run off and leave components dry within weeks.
- Silicone spray lubricant: Best for nylon rollers, weatherstripping, and the rubber bottom seal. Silicone won’t degrade nylon or rubber, and it repels the fine dust that easterly winds drive into everything. Avoid petroleum-based sprays on rubber, because they cause cracking and brittleness.
- Never use: WD-40, motor oil, cooking oil, or any penetrating oil on moving door parts. These attract dust and grit in dry conditions. The result is an abrasive paste that wears out rollers and track surfaces faster than running them dry.
Lubrication procedure, in the right order:
- Wipe each roller stem and hinge point with a clean rag to remove accumulated dust. Lubricating over dirt just mixes the dirt into the grease.
- Apply a small amount of lithium grease to each hinge pivot point. You’re trying to get grease into the joint, not paint the whole hinge. A dot the size of a pea on each pivot is enough.
- Apply lithium spray to the torsion spring coils. Run a thin bead along the entire length of each spring while the door is closed. Do not lubricate the spring cones or cable drums.
- Spray silicone on the outside of every nylon roller wheel. If you have steel rollers, use lithium instead. Silicone on steel doesn’t last under load.
- Open and close the door fully three times to distribute the grease. Wipe any excess from the track channel with a dry rag.
If you have a Craftsman or Raynor door that’s been in place for more than 10 years, pay particular attention to the hinges. We work on both of those brands and the rest of the major manufacturers, and older hinge sets from that era tend to wear unevenly. A little extra attention there prevents a snapped hinge plate later.
The Balance Test: The 30-Second Check That Reveals 40% of Developing Problems
A properly balanced garage door stays in place when you lift it to chest height and let go. If it drops, the torsion springs are wearing out. If it climbs, the springs are over-wound. Both are problems, and both get worse the longer you ignore them. The balance test is the single most revealing diagnostic a homeowner can do, and it takes less than a minute.
How to do the balance test safely:
- Pull the red emergency release cord to disconnect the door from the opener. Do this with the door closed.
- Grab the door handle or bottom rail and lift the door manually. Move slowly and keep your body away from the track path.
- Lift the door to about waist height (roughly three feet off the ground) and let go slowly. Don’t throw it. Release gently and watch what the door does.
- Repeat at chest height and again at full-open height.
Here’s how to read the results:
- Door stays put at every height: The springs are doing their job. Pass.
- Door drops quickly from waist height: The springs have lost tension and are likely near the end of their service life. This is a fail. The opener motor is now carrying more of the door’s weight than it should, and that will burn out the motor or strip the drive gear within months.
- Door climbs or is noticeably hard to pull down: Springs are over-wound or the door has a different problem, like a track obstruction. Also a fail.
- Door slams from full-open to the ground: This is dangerous. Do not use the door until it’s inspected. The springs are either broken or nearly broken, and the safety systems may also be compromised.
- Place a roll of paper towels or a 2×4 on the ground directly under the door’s path.
- Close the door using the wall button, not the remote.
- Watch what the door does when it contacts the object.
- Pass: The door touches the object and reverses within 1 to 2 seconds, returning to the open position.
- Fail: The door crushes the object, continues closing, or stops without reversing.
- With the door closed, grip the bottom handle or rail and apply downward pressure while the door is opening.
- Use enough resistance to feel like you’re holding roughly 20 pounds of force against the door.
- Pass: The opener senses the extra load and either stops or reverses.
- Fail: The opener continues pulling upward against your resistance, or the door strains and shudders without stopping.
- Bottom seal “daylight test”: Close the door on a sunny afternoon. Crouch down and look along the entire bottom edge from inside the garage. If you see any daylight, the seal is not making contact with the concrete. That gap will admit dust on every wind event and rain during winter storms.
- Compression check: Run your finger along the bottom seal with the door closed. A healthy seal is pliable and slightly soft. If it feels hard, brittle, chalky, or cracked, UV has done its work. Replace it.
- Bulb shape: Look at the seal’s cross-section from the side. The rubber bulb underneath should be round and full. If it’s flattened, torn, or missing chunks, water and dust have a clear path in.
- Side weatherstrip condition: Run the same visual check along the vertical sides of the door. On the exterior, look for gaps where the weatherstrip has separated from the jamb. On the interior, look for any screws or nails that have worked loose.
- Top seal and header: The top of the door is the most overlooked surface. Step back and look at the headroom space with the door closed. Any gap up top is a dust highway and a structural weakness during high-wind events.
- Visual wheel check: Look at each roller wheel from the side. A healthy nylon roller is round, with no flat spots and no cracks. Steel rollers should be smooth on the outside, with no rust bloom or pitting.
- Spin test: With the door closed, reach up and try to spin each roller wheel with your fingers. If it spins freely, the bearing inside is still good. If it feels gritty, stuck, or has visible play, the bearing is failing.
- Wobble test: With the door opening, watch each roller as it passes through the curved track section at the bottom. If a roller shudders or shifts side-to-side, it has play in the bearing or the stem.
- Track gap check: Look at the vertical track where the roller runs. There should be a gap between the track and the door edge that’s roughly 1/8 to 1/4 inch, and it should be even from top to bottom. If the gap narrows at one point, the track is out of alignment.
- Track mount check: Grab the vertical track near the middle and try to wiggle it. Any movement means the mounting bracket has loosened. Tighten the lag bolts if you can. If the bolt spins without grabbing, the hole is stripped and needs a larger bolt or a professional fix.
- Gap in the coil (for two-spring systems): Two-spring setups are standard on most double-wide doors. Your springs should look like two identical coil segments separated by a small gap in the center. If one side has a visible gap and the other side’s coils are touching, the spring has broken. This is the most obvious failure sign.
- Deformed coil spacing: On either a single or double spring, the coils should be evenly spaced along the entire length. If you see sections where coils are compressed together or stretched apart, the spring is fatigued and near failure.
- Rust or pitting on the spring surface: In the dry San Marcos climate, rust on garage springs is less common than in coastal areas, but it still happens on doors that face the afternoon sun and collect condensation. Surface rust creates stress points that can initiate cracks.
- Cracks in the coil windings: If you can see a hairline crack in the spring metal, replacement is urgent. Don’t wait for the break.
- Loose or frayed cables on the sides: A lifting cable should be taut and straight, with no kinks or frayed strands. Slack in a cable indicates the spring has lost tension or the drum has slipped.
- Hinge screws: Every hinge plate on the door section should have all screws present and tight. Check them with a wrench or socket. Fail: A screw that spins without tightening means the hole is stripped. That hinge is now carrying load unevenly.
- Track lag bolts: The bolts holding the vertical and horizontal tracks to the wall and ceiling should be tight. Fail: Visible movement when you tug on the track, or a bolt that spins freely.
- Center bracket and spring anchor plate: The bracket in the center of the header that holds the torsion springs should be flush against the header and not moving. Fail: Any visible gap between the bracket and the header, or loose lag bolts. This component holds spring tension.
- Bottom brackets: The brackets at the bottom corners of the door that hold the lifting cables should be tight against the panel and free of rust. Fail: Visible movement or a cable that’s slipping out of the groove.
- Opener mounting bracket: The motor unit’s front rail should be secured to the header bracket with a clevis pin or similar fastener. Fail: A missing pin, or the bracket loose enough to rattle during operation.
- Using WD-40 or penetrating oil as lubricant. These products strip grease and evaporate quickly. In San Marcos’s dry air, that leaves metal-on-metal contact and accelerated wear. Use lithium grease on metal pivots and silicone on nylon and rubber parts.
- Skipping lubrication because the door “works fine.” A door that works fine today is a door that’s building internal wear. By the time you hear squealing or grinding, the bearing or hinge surface is already damaged. Two sessions per year costs $15 in product and 30 minutes of time.
- Doing the balance test with the opener connected. If the door drops during a balance test and the opener is still engaged, the motor acts as a brake and you get a false pass. Always pull the red release cord first. A door that flies upward after release is one that was already unbalanced.
- Ignoring a bottom seal gap because “it’s just dust.” Dust is the top culprit in roller failure and track wear in this area. A gap under the bottom seal is a dust intake port. Fix the seal and you’ll fix half your roller problems.
- Forcing a door that’s grinding or jumping. Every cycle you force the door through a mechanical problem makes the repair more expensive. What starts as a $30 roller replacement becomes a $600+ track and door section repair if the roller breaks and the door comes off the tracks.
- Attempting torsion spring adjustment or replacement. This is the one maintenance project that can seriously injure or kill you. Springs are not a homeowner project, full stop. The $300 to $400 you might save on a spring replacement is not worth the risk.
- Improving one component while ignoring its match. New rollers on worn track, a new bottom seal on a rusted retainer, a new opener on an unbalanced door. Parts work as a system. Fixing one piece in isolation moves the failure point, it doesn’t remove it.
Important: A door with a broken torsion spring will be very hard to lift and will feel “dead heavy.” That’s the spring tension, not the door weight. Every door we inspect in San Marcos gets a balance test as part of a standard repair call, because a door that’s out of balance is destroying its opener and its own components even if it still runs.
If your door fails any balance test, do not attempt to adjust the springs. Torsion springs are under hundreds of pounds of rotational force. A spring that lets go while you’re working on it can cause severe injury. This is the one maintenance item on this entire checklist that’s hands-off for a homeowner. Call a specialist.
Force-Limit Checks: What an Opener Should and Shouldn’t Do
Your garage door opener has two adjustable settings that most homeowners never think about: the up force limit and the down force limit. These settings tell the motor how much resistance is acceptable before it reverses. If the settings are too high, the door will keep pushing when it hits something. That’s how children, pets, cars, and bicycles get crushed. If they’re too low, the door constantly reverses in the middle of operation, which is the “ghost door” problem you see on older Chamberlain and LiftMaster units.
You can test both force limits in about three minutes, and you should do it twice a year, ideally in June and January.
Down force test:
Up force test:
San Marcos note: Power surges and brownouts are common during Santa Ana season and summer heat waves in this part of North County. A voltage spike can reset an opener’s force limits to factory defaults, which are often too high for the door’s actual weight. If your door starts slamming or fails a force test after a storm, the limits need adjustment. We handle opener repair and force-limit adjustment in San Marcos regularly for exactly this reason.
If you have a LiftMaster or Chamberlain opener with a logic board that’s more than 12 years old, keep an eye on this. Capacitor wear in older boards causes force settings to drift upward over time. That’s one of the leading causes of unexplained door “bounce” on older systems.
Bottom Seal and Weatherstrip Inspection for Sandy, Dusty Soil
The soil in San Marcos is decomposed granite and sandy loam. When it’s dry, it turns to dust. When Santa Anas push through, that dust moves horizontally at 30 mph and packs into every gap on the bottom edge of your door. A compromised bottom seal isn’t just an energy bill problem. It’s the main entry point for dust into a garage, and in this area, that dust is relentless.
Here’s what to check on the bottom seal, the side weatherstrip, and the top seal:
Here’s the pass/fail rule for San Marcos: if you can slide a credit card between the bottom seal and the garage floor anywhere along the width of the door, the seal needs replacement. The same test works for the side weatherstrip.
Replacing a bottom seal on a standard sectional door is a DIY-able job if the retainer channel is intact. If the channel itself is bent, corroded, or pulling away from the door, that’s a structural repair, not a seal swap. For doors that are 20 years old or older, we sometimes recommend a full panel evaluation rather than a seal-only fix, because the bottom panel has often absorbed water and started to separate from its backing. If you’re unsure, the garage door installation team in San Marcos can evaluate whether a seal replacement is enough or whether the panel itself needs work.
Rollers, Track Alignment, and the Dust Problem
San Marcos has a problem that coastal communities don’t: easterly winds drive fine dust and dry debris into every mechanical joint. Rollers are ground zero. When dust gets into a roller bearing, the bearing surface wears out prematurely. That creates a wobble. The wobble then wears the track channel unevenly. If you ignore the wobble long enough, the roller jumps the track or breaks apart. That’s the off-track call we make most often in this area, and it’s almost always preventable.
What to check, and when:
The fix for dusty rollers is not spray lubricant. A sealed-bearing nylon roller (the kind sold as a “quiet” or “premium” roller) keeps dust out of the bearing. If you have open steel rollers or old plastic rollers, and you’re cleaning dust out of the track every other month, upgrade the rollers. It’s a relatively inexpensive swap that eliminates the root cause.
For doors with Chamberlain or LiftMaster openers that run on belt or screw rails, dust also accumulates on the rail. A dusty screw-drive rail causes the opener to strain, which shortens motor life. A dirty belt-drive rail causes belt slippage and jerky starts. Wipe the rail with a clean dry rag every three months during Santa Ana season. No grease on belt-drive rails. No grease on screw-drive rails unless the manufacturer spec calls for it.
Torsion Spring Inspection: What to Look For Without Touching
Torsion springs are the most dangerous component on any garage door. They hold the counterbalance tension that makes a 150-pound door feel like 8 pounds. When one breaks, it releases all of that stored energy instantly. The spring coils snap, the door drops, and anyone standing in the wrong place can be seriously injured. In San Marcos, the temperature cycling between warm days and cool nights adds stress fatigue to spring steel, which is why we see spring failures year-round here, not just in winter like colder climates.
You can inspect torsion springs safely without ever touching them. Here’s what to look for, from a distance:
Do not: Apply lubricant to a cracked or broken spring. Do not try to re-tension the spring. Do not attempt to replace it yourself. A torsion spring under tension can break bones or worse. If any of the inspection points above show a problem, call a specialist.
When we replace torsion springs, we install matched pairs for two-spring doors. If one has failed, the other is at the same stage of fatigue, and replacing only one is a mistake that guarantees another failure within months. The price for spring replacement is always quoted and agreed before any work begins, with no surprises added after inspection.
Hardware and Fastener Pass/Fail Criteria
Garage doors are heavy machines made of moving parts. Every open-and-close cycle vibrates the fasteners. Over years, vibration loosens hardware. In San Marcos, Santa Ana wind gusts add another force trying to pull the door apart from the track. Loose hardware is a quiet problem until something lets go.
Here’s the pass/fail list for fasteners, brackets, and hinges:
If you find one stripped screw hole, it’s usually an easy fix with a slightly larger screw. If you find multiple stripped holes, cracked hinge plates, or movement in the spring anchor hardware, that’s a call to a specialist. The door is telling you it’s time for a hardware refresh, and the cost of that refresh is far less than the cost of a door that comes off its tracks.
Common Mistakes to Avoid
When to Call a Professional
Here’s the honest cutoff. If any of these apply, stop the DIY and call someone who works on doors every day. A broken torsion spring. A door that fails the balance test in either direction. A door that has come off its track or has a visibly bent track section. A stripped center bracket or spring anchor plate. Any lifting cable that’s frayed, kinked, or slack. A bottom panel that’s rusted through or separating. An opener that fails a force-limit test and won’t adjust properly. These are not maintenance items. These are repair calls.
For anything in this list, the fix is safer, faster, and usually cheaper when it’s done correctly the first time. SD Garage Door offers free estimates in San Marcos. Call (833) 589-6906 and we’ll give you an honest diagnosis and a price before any work begins.
Frequently Asked Questions
Twice a year is the minimum: once in September before Santa Ana season starts and once in March after the wet season ends. If you live in an area of San Marcos with heavy easterly wind exposure, like the hillside neighborhoods above the 78, do a third lubrication in November. A can of lithium grease and a can of silicone spray covers all the pivot points and takes about 20 minutes.
The most common repair we see in this area is broken torsion springs, followed closely by off-track doors caused by worn rollers. The dry inland climate stresses spring steel through temperature cycling, and easterly wind dust accelerates roller bearing wear. Both are preventable with seasonal maintenance, and both are dangerous to attempt as DIY fixes.
No. Torsion springs are under hundreds of pounds of rotational tension even when the door is closed, and a spring that releases while you’re working on it can cause severe injury or death. Spring replacement requires specialized winding bars, correct spring sizing, and experience re-tensioning safely. This is the one job on the checklist that should always go to a specialist.
Disconnect the opener with the red release cord, lift the door to waist height, and let go. If the door drops, the springs are weak. If it climbs, the springs are over-wound. A balanced door stays where you put it. You should test this twice a year, and if the door moves in either direction, call for an inspection. Running an unbalanced door destroys the opener motor.
For nylon rollers, use a silicone spray lubricant. For steel rollers, use a lithium-based spray. Never use WD-40, motor oil, or any penetrating oil on moving door parts, because these products strip away grease and attract dust. In San Marcos’s dry and dusty conditions, that creates an abrasive paste that ruins bearings faster than running them dry.
DIY maintenance runs about $15 to $40 per year for lubricant and replacement seals, depending on your door size. Professional maintenance inspections in San Marcos typically range from $75 to $150, and most repair quotes include a full inspection as part of the visit. If you want an honest assessment, call (833) 589-6906 for a free estimate, and we’ll walk through what’s needed before you spend anything. The price is quoted and agreed before any work starts.
The Bottom Line
Garage door maintenance in San Marcos is about three things: lubrication before the dust blows, seal inspection after the rain stops, and balance testing twice a year no matter what. Every major failure we see in this area had a warning sign months earlier, a wobbling roller, a dropping door, a dust line under the seal. Catching those signs costs pennies. Ignoring them costs hundreds. The checklist on this page covers the high-value tasks, and you can find more guides & resources on our blog. If you find something that looks wrong and you’re not sure what to do next, call us. We work on the brand you already have, we diagnose before we sell, and garage doors are all we do.
Written by the team at SD Garage Door, serving San Marcos since 2014.
See the difference
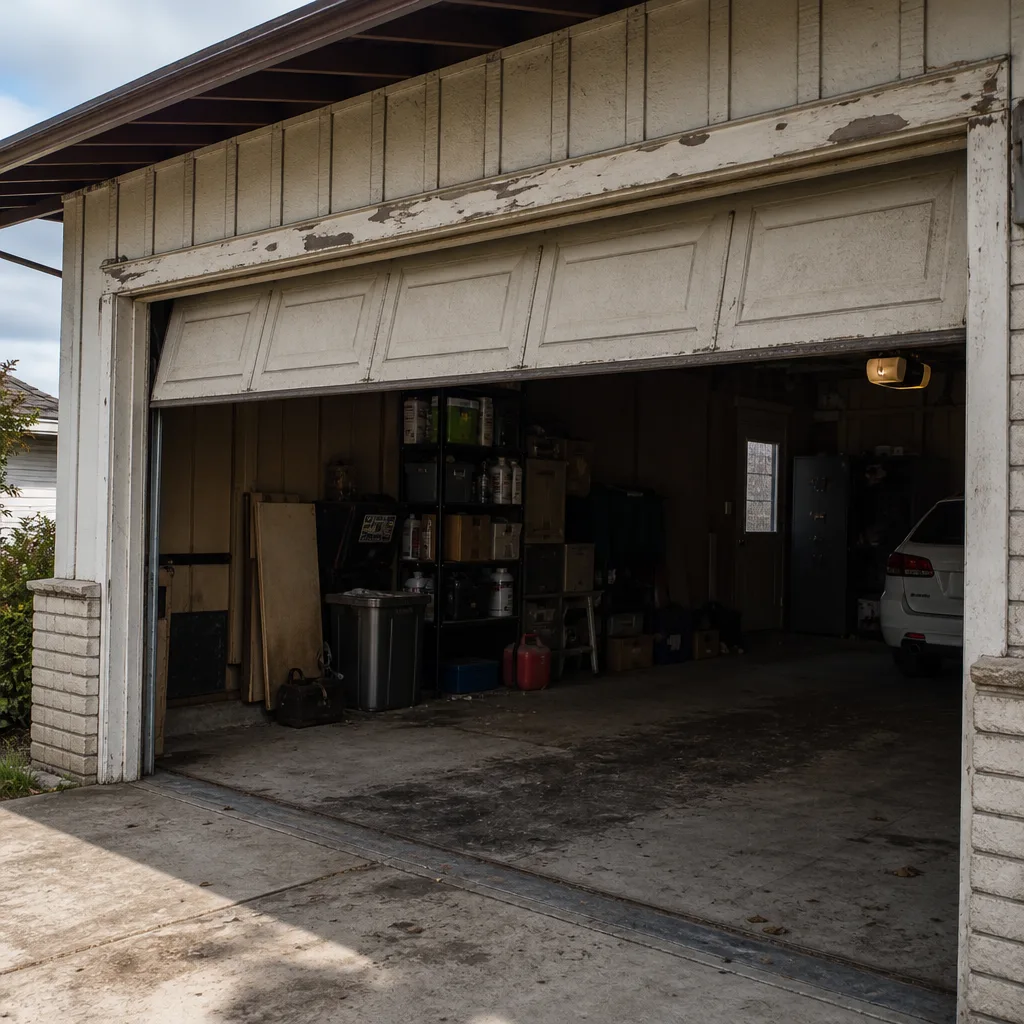 Before
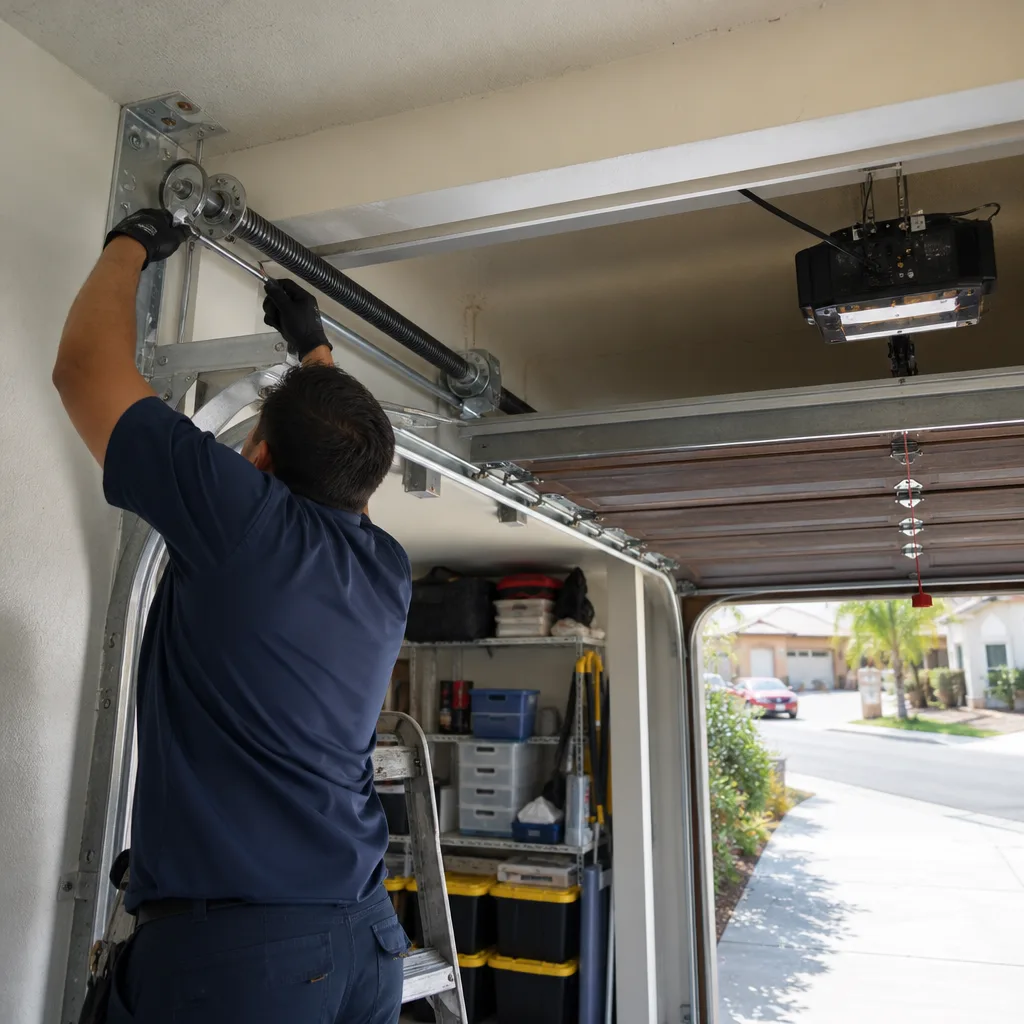 After
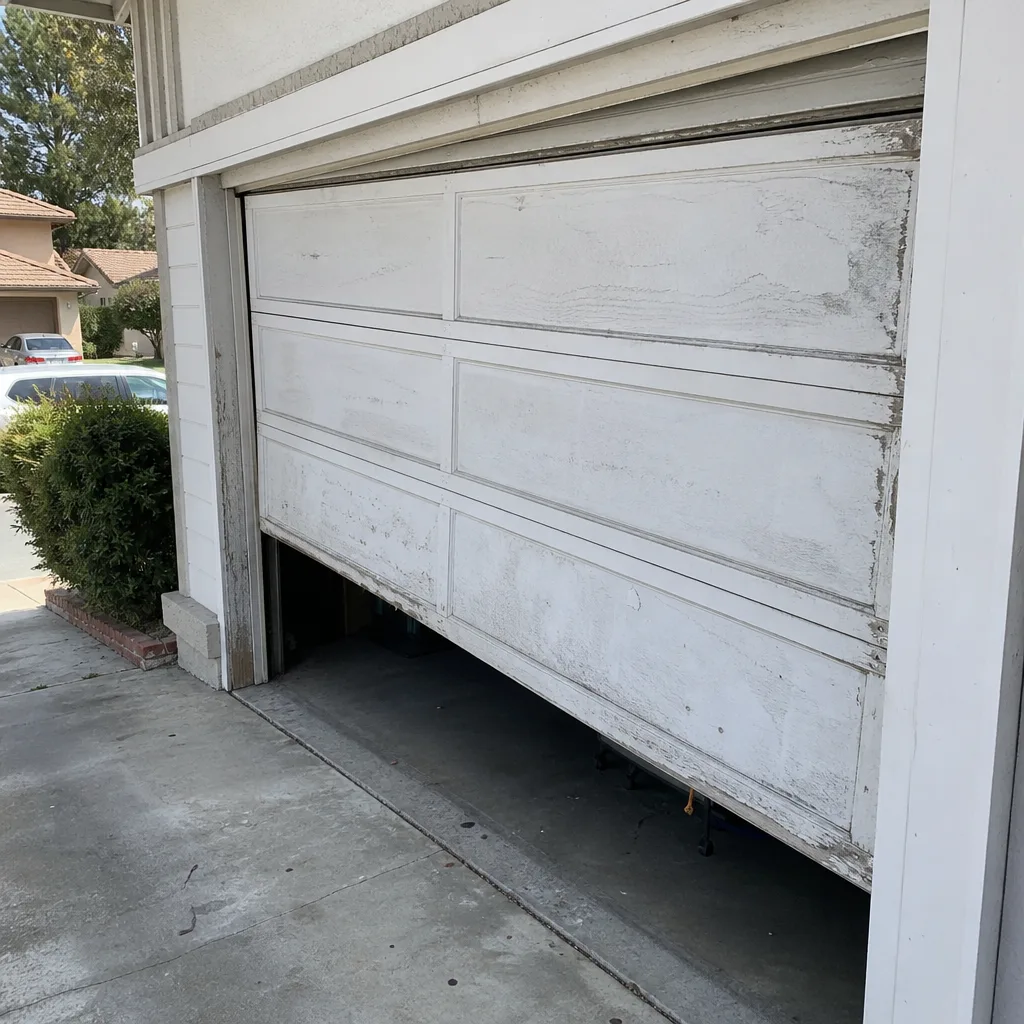 Before
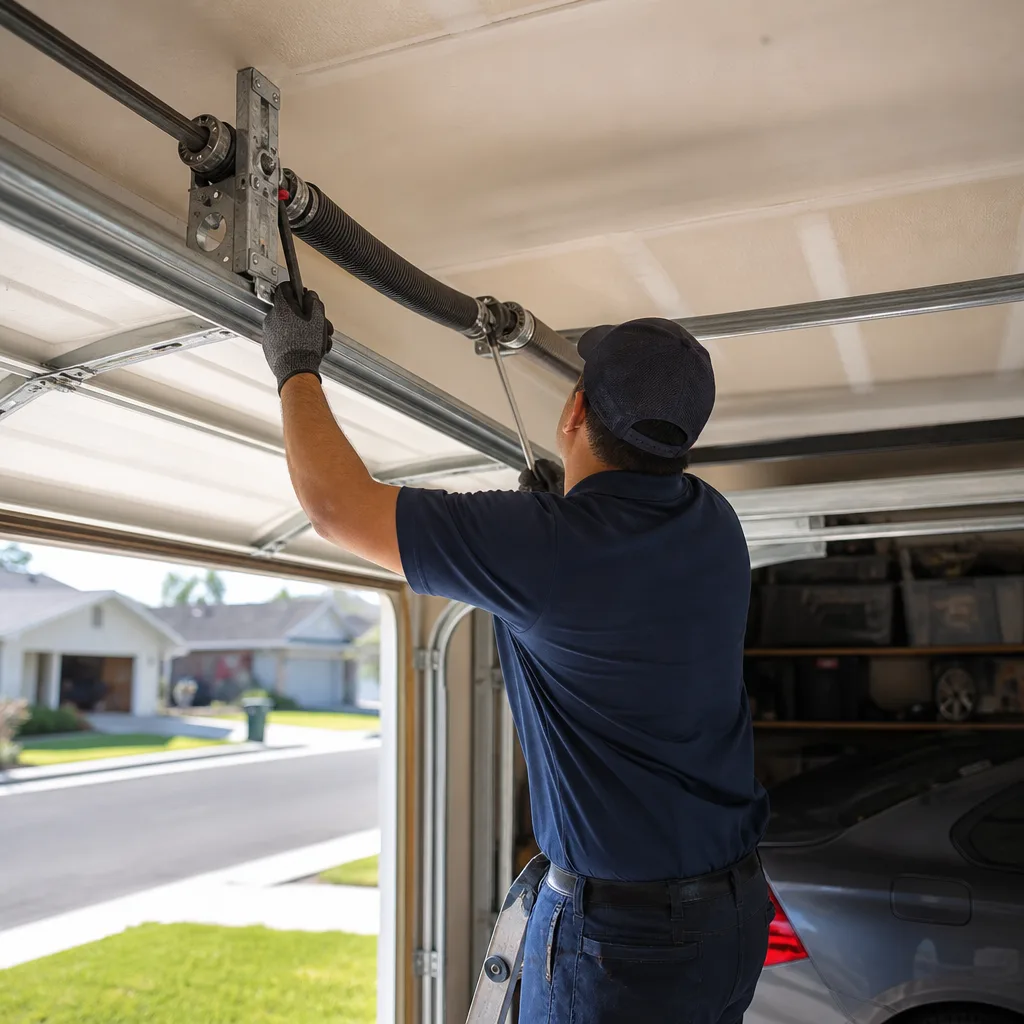 After
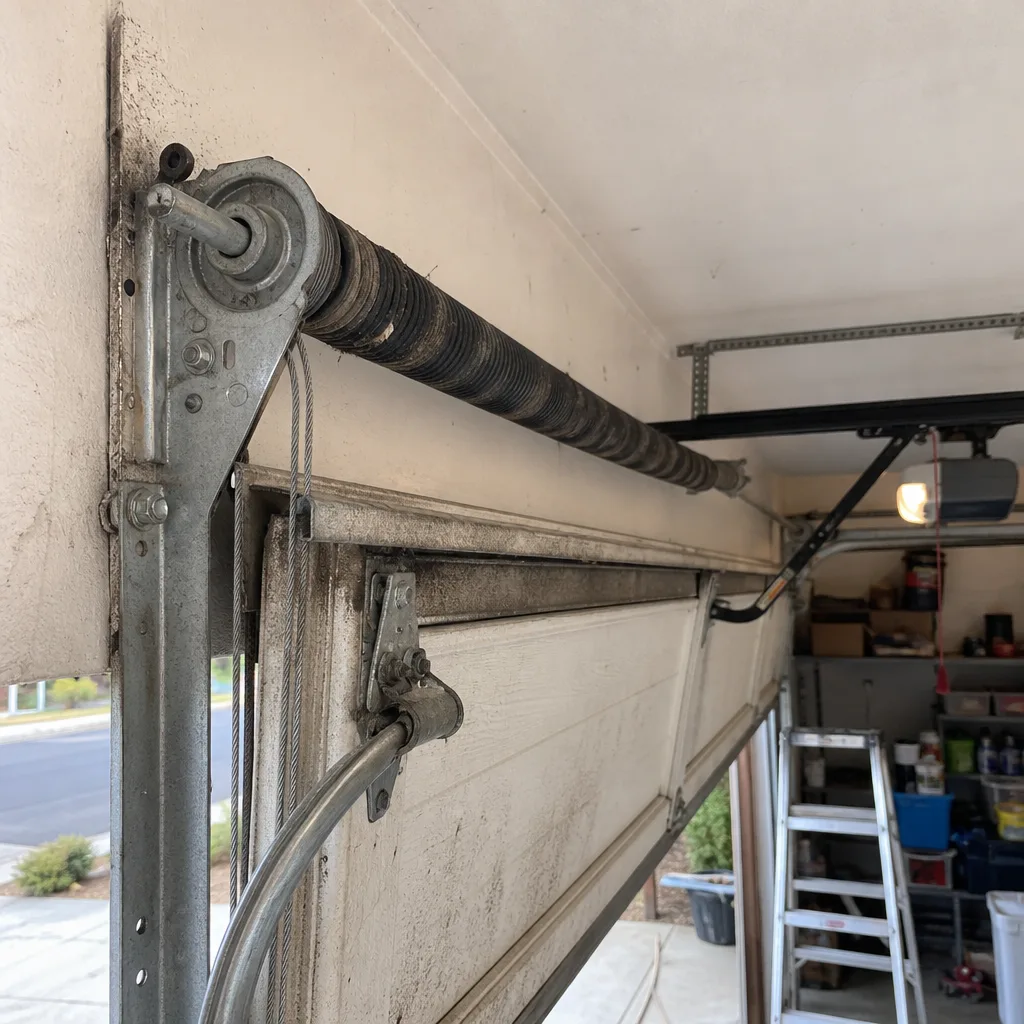 Before
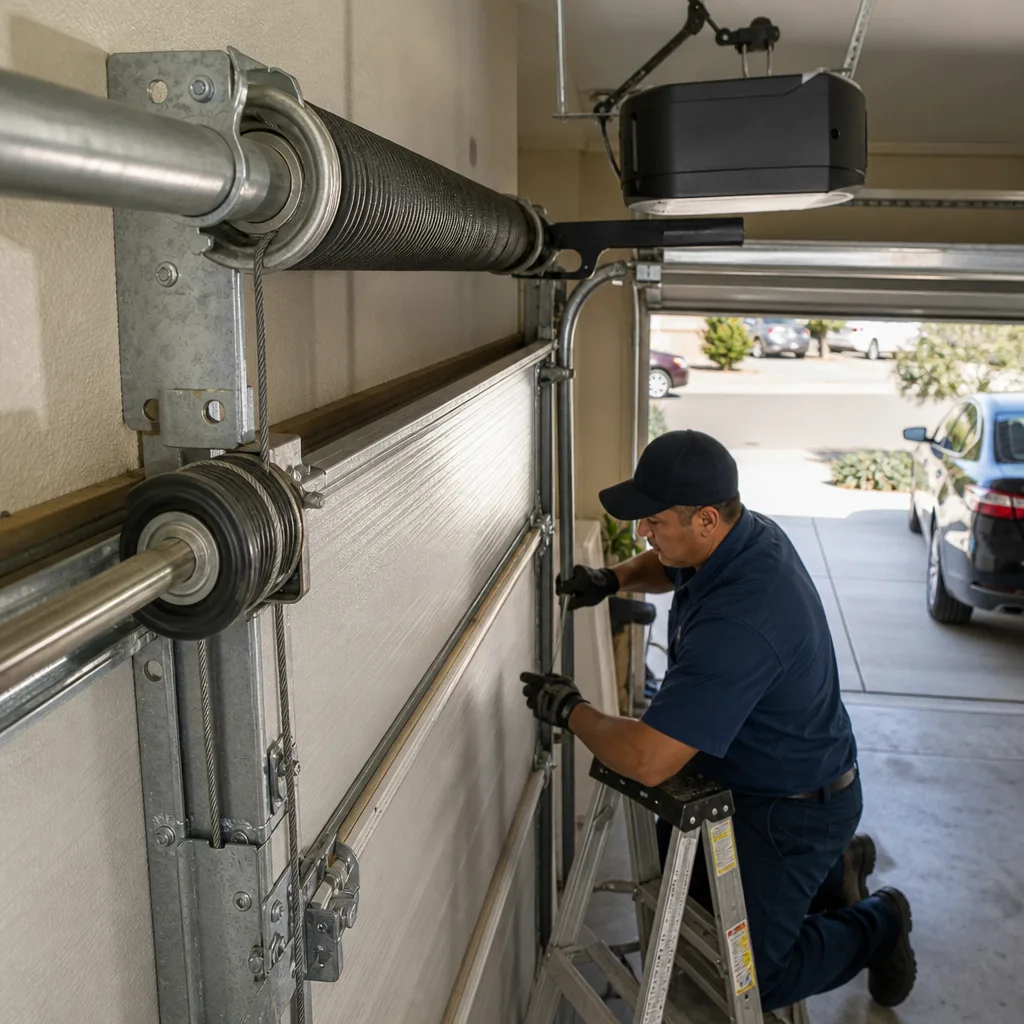 After