
Last updated October 31, 2026
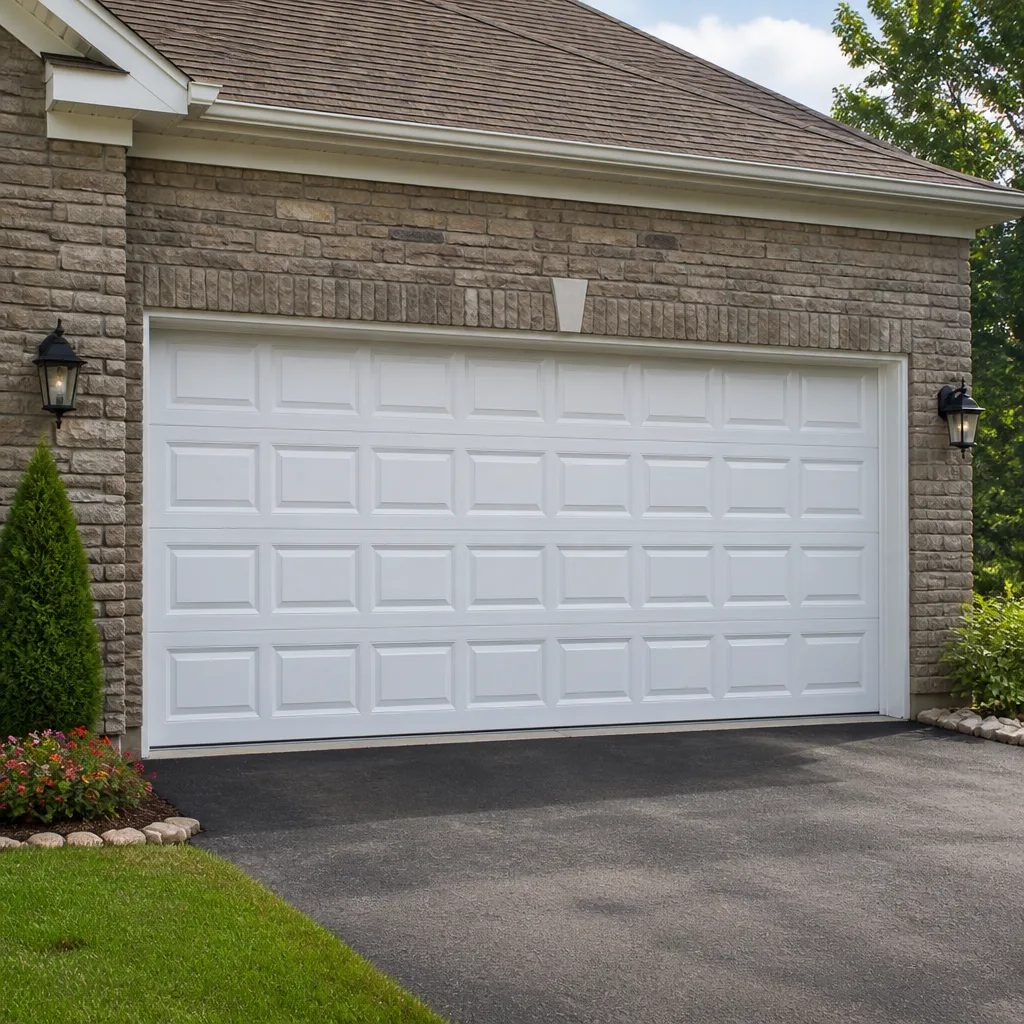 Raised-panel steel
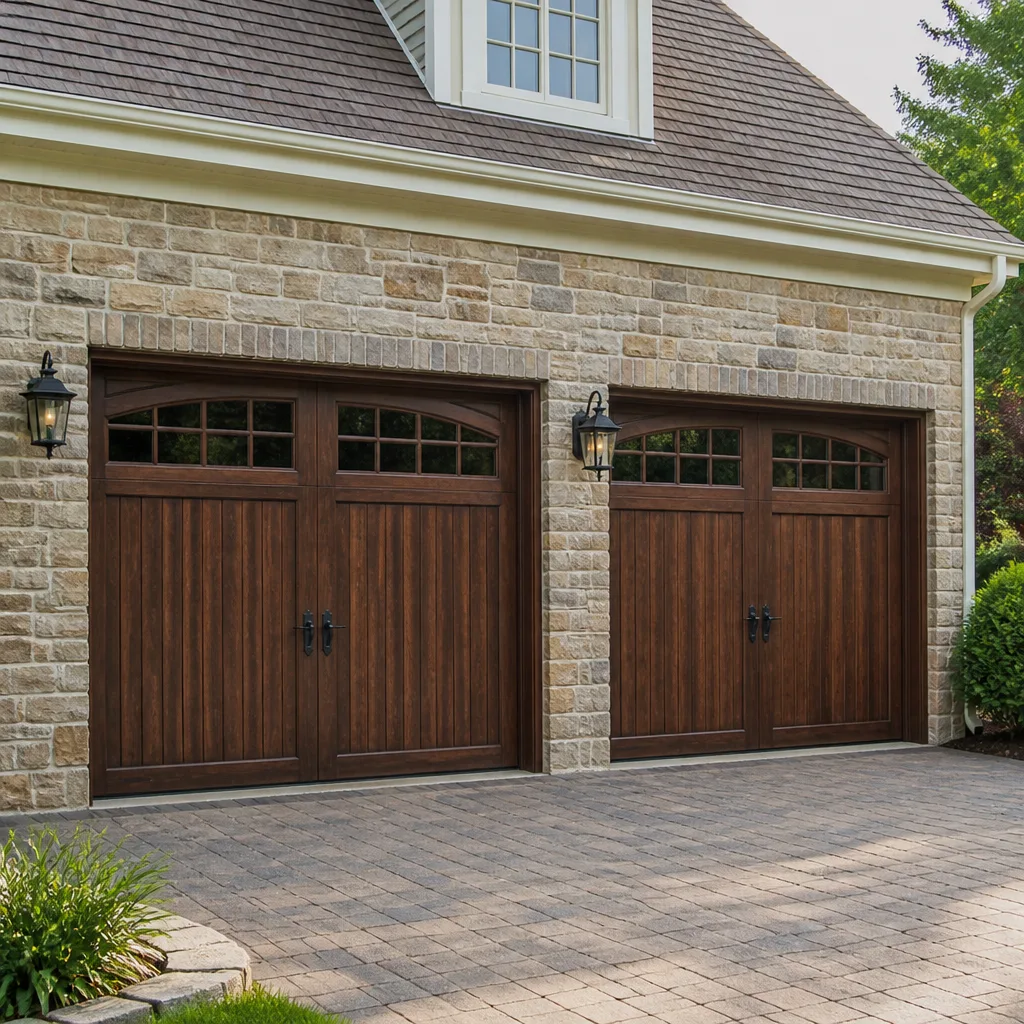 Carriage house
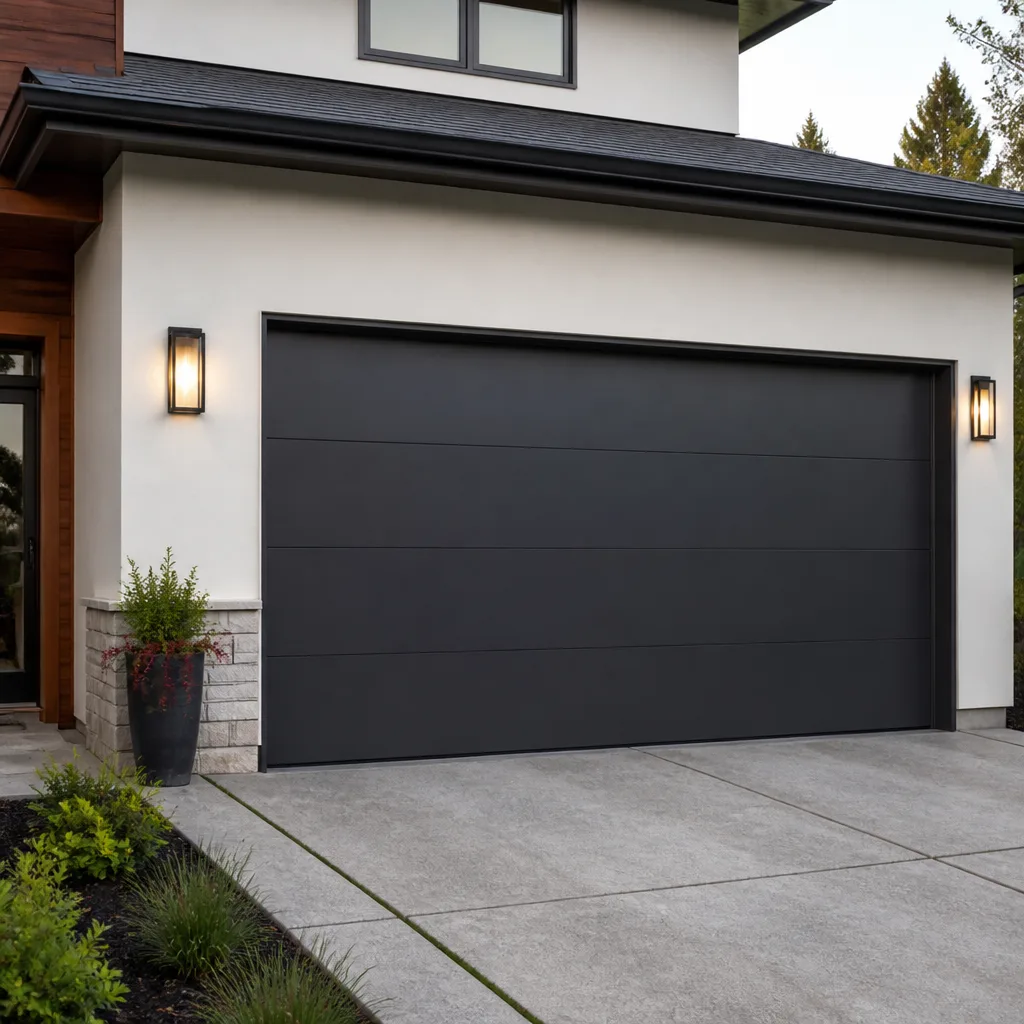 Modern flush
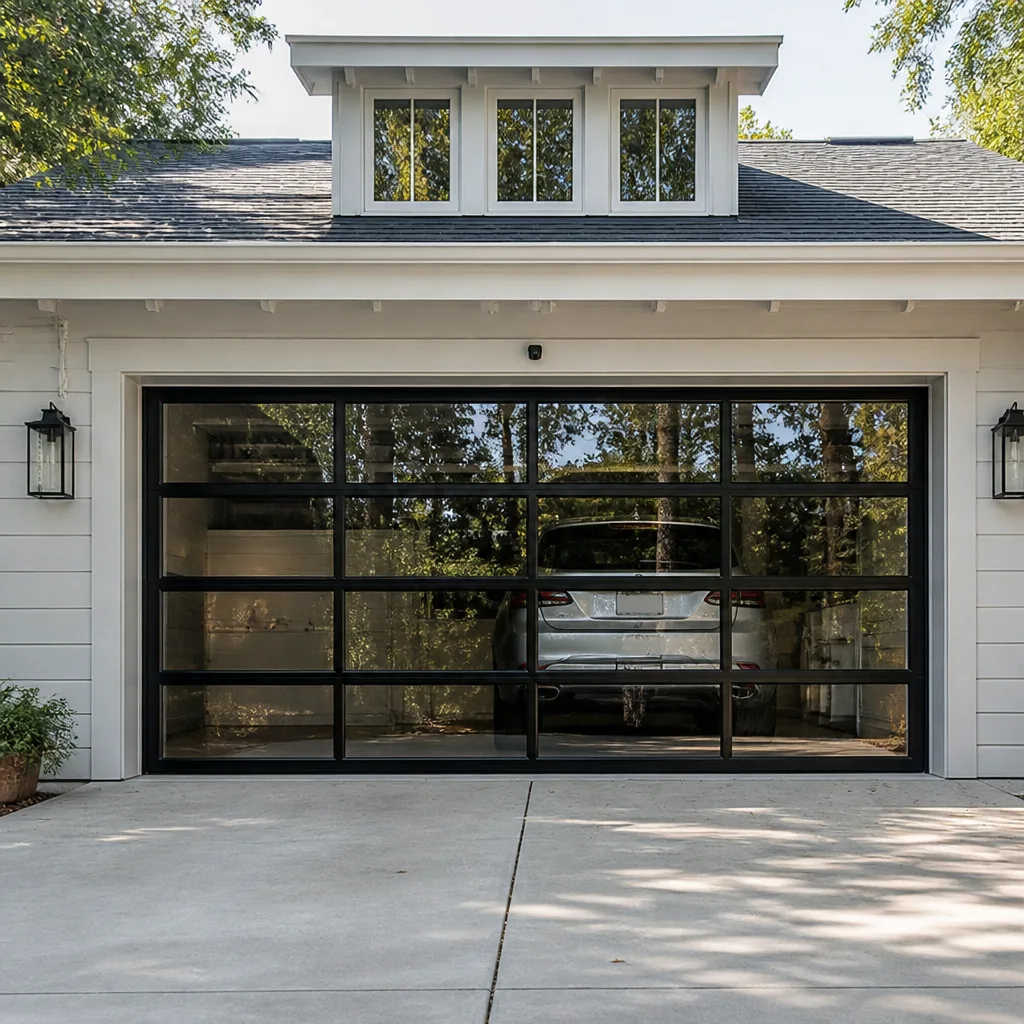 Full-view glass
 LiftMaster openers
 Chamberlain openers
Full 25-point door and opener safety check with every visit - springs, cables, rollers, tracks, and your LiftMaster or Chamberlain opener included
You get a price before we start. It does not change when the truck arrives.
Get your free estimateGarage Door Repair Troubleshooting: Common Problems and How to Fix Them
A garage door that reverses before touching the ground and a door that slams down fast are both described online as “not closing correctly.” They are not the same problem. One is usually a misaligned sensor or a limit switch that drifted out of adjustment. The other is a broken spring, and it’s a safety emergency. That distinction, between a door that misbehaves and a door that’s about to hurt someone, is what this guide is about. We’re going to work backward from the exact thing you observe: a sound, a movement, a blinking light. By the end, you’ll know which repairs are worth attempting at home in San Marcos and which ones require our Garage Door Repair services with spring-specific tools and training.
Quick Answer
Garage door repair troubleshooting means matching the specific symptom you observe, a grinding sound, a jerky movement, a blinking opener light, to the one component that produces it. Most failures trace back to five parts: springs, cables, rollers, sensors, and the opener’s limit switch. About half of all repairs involve worn hardware you can see and hear, while the other half are inside the opener’s electronics. The fastest way to narrow it down is a manual operation check, which separates door problems from opener problems in under a minute.
Styles & brands we work with
Table of Contents
- Troubleshooting by Sound: Grinding, Popping, and Scraping
- Troubleshooting by Movement: Slow, Jerky, and One-Side Sag
- Troubleshooting Opener Behavior: Blinks, Reversals, and Dead Buttons
- The Manual Operation Check Most Guides Skip
- Limit Switch vs. Safety Sensor: Two Identical Symptoms, Different Fixes
- The “Fixed It” YouTube Fixes That Mask Real Problems
- Stop Points: Symptoms That Mean Put the Tools Down
- San Marcos Garage Door Issues: Climate and Housing Factors
Troubleshooting by Sound: Grinding, Popping, and Scraping
Sound is the most reliable diagnostic tool you have, because every failed garage door component makes a signature noise. A grinding sound that happens only while the door moves usually points to rollers. Ball-bearing rollers that spent years working through San Marcos summers and coastal moisture eventually lose their internal lubrication. Once the bearings seize, the roller no longer rolls. It drags. The grinding you hear is metal sliding on metal inside the track. Nylon rollers wear differently. They get flat spots, which produce more of a rhythmic thump as the door passes each flat section.
A popping sound is more serious. When you hear a sharp pop, especially during the last few feet of travel as the door closes, that’s often a cable momentarily slipping on a drum that’s lost its grip. It can also be a section hinge that’s worked loose and is binding under load. Popping is intermittent at first, which makes it easy to ignore. It does not fix itself. We work on Wayne Dalton and Raynor doors regularly in San Marcos, and loose hinge bolts are one of the most common finds on doors that haven’t been serviced in five or more years. The fix is straightforward: tighten the hinge bolts, check the section alignment, and replace any hinge that’s visibly worn at the pivot. That’s a repair a careful homeowner can do with basic tools.
Scraping is different from grinding. Scraping sounds like the door is dragging against something, because it usually is. The most common cause is a track that’s been knocked out of alignment, often by a car bumper or a ladder leaning against it in the garage. The door’s edge catches the misaligned section and scrapes along the steel. Another cause is a bottom seal that’s torn and folding under the door as it closes. Both are visual confirmations: run the door down and watch the edge. If the scrape lines up with a track bend, it’s a track issue. If the seal is folded, it’s a seal replacement. Neither involves the springs, which is good news. This is the simplest sound category to resolve.
Here’s a quick sound-to-cause map:
- Grinding while moving: seized or flat-spotted rollers.
- Sharp pop while closing: loose hinge bolts or cable slippage on the drum.
- Scraping or dragging: bent track section or torn bottom seal.
- Loud bang from the center of the door while opening: a spring just broke. Stop using the door immediately.
That last sound deserves its own paragraph. A spring breaking is not a slow wear noise. It sounds like a gunshot in the garage, and it happens without warning. If you hear it, the door will become extremely heavy, because the spring was doing nearly all the lifting. Do not attempt to open the door manually, and do not run the opener. The opener motor will strain against a door it can no longer lift, and you risk burning out the motor or pulling the cable off the drum. This is the point where you call a technician.
Troubleshooting by Movement: Slow, Jerky, and One-Side Sag
Movement problems fall into three observable patterns: the door moves slower than it used to, the door moves in fits and starts, or one side of the door sits lower than the other. Each pattern narrows the possible causes significantly.
A slow door is usually a lubrication problem or a tired opener. In San Marcos, where garage temperatures in August regularly pass 100 degrees, grease on the torsion tube and hinges breaks down faster than it does in milder climates. The door’s mechanical parts work harder, the opener strains, and the whole operation slows down. The first fix is lubrication: white lithium grease on the hinges and rollers, and a spray lubricant on the torsion spring. If lubrication doesn’t change the speed, the issue is likely the opener’s motor, which loses torque as it ages. A 15-year-old opener moving a heavy wood door will always be slower than it was on day one. The diagnostic question is whether the door itself moves freely when disconnected from the opener. If it does, the opener is the bottleneck. If the door is heavy or sticky, it’s a mechanical issue, not an electronic one.
A jerky door is almost always a track or roller problem. As the door moves, it hesitates at a specific point, then lurches forward. That hesitation is the door catching on something: a dented track section, a loose bracket, or a roller with a flat spot that won’t turn. The tell is consistency. A jerky door hesitates at the same point every cycle, because the obstruction doesn’t move. Watch the door as it passes through the rough spot and you’ll often see the roller bind against the track. The fix is either reshaping or replacing the track section, or replacing the roller. Rollers are consumable parts. On a door that cycles twice a day, standard steel rollers with no bearings last about seven years before they start degrading. Nylon rollers with sealed bearings last longer, though they cost more.
One-side sag is a cable issue. The door hangs level when the cables on both sides are under equal tension. When one cable stretches, frays, or slips on the drum, that side of the door drops. You’ll see the gap between the door and the ground is wider on one side when the door is closing, or the door sits visibly crooked in the opening. This is not a cosmetic problem. A sagging door puts uneven load on every moving part, accelerating wear on the other cable, the hinges, and the opener. Cable work involves the spring system, and for that reason it belongs to a technician. The cables are under high tension whenever the springs are wound, and a cable that slips while you’re working on it can release that tension instantly. This is the line we draw, and we draw it firmly: springs and cables are professional repairs. Rollers, hinges, and track straightening are homeowner-accessible. The distinction isn’t about skill, it’s about the consequences of a mistake.
Troubleshooting Opener Behavior: Blinks, Reversals, and Dead Buttons
Opener diagnostics work differently than door diagnostics. The opener is an electronic device with a logic board, and it communicates through lights and beeps. Learning to read those signals beats guessing.
The most common opener issue is a door that reverses immediately after touching the floor. Homeowners in San Marcos call about this constantly. The cause, in roughly 80% of cases, is the limit switch. This is a setting inside the opener that tells the motor how far to travel. Over time, temperature swings and mechanical settling cause the setting to drift. The opener thinks the floor is three inches higher than it actually is. When the door hits the real floor, the opener’s force sensor interprets the resistance as an obstruction, and reverses the door. The fix is a limit adjustment, which is a small screw or digital setting on the opener unit. Here’s the sequence on most LiftMaster and Chamberlain units:
- Locate the limit adjustment controls on the opener body. They’re labeled “up” and “down” on older units, or accessed through the menu on newer ones.
- Run the door down and watch where it stops. If it reverses before fully seating, adjust the down limit slightly lower.
- Run the door down again. It should now close fully and the opener light should not blink.
- Test the door with the wall button and with a remote. Both should behave identically.
The second most common opener issue looks identical from the outside: the door starts to close, reverses immediately, and the opener lights blink. But this one has a different cause. When the safety sensors at the bottom of the door track are misaligned, blocked, or wired incorrectly, the opener refuses to close as a safety measure. The blink pattern on many openers, including Genie and Craftsman models, is the diagnostic. On a Genie, two blinks indicate a sensor wiring issue. On a LiftMaster, the sensors themselves have small LED lights: green means aligned and powered, amber or off means misaligned or blocked. Before touching any wiring, check for the simple things: a broom leaning against the sensor, a leaf stuck to the lens, a cobweb across the beam, a sensor knocked askew by a car tire.
A dead wall button or remote nearly always traces to a power issue or a pairing issue. If the wall button is dead but remotes work, the wire between the button and the opener has been damaged, often by a staple or a closing door. If remotes stopped working but the wall button works, the opener lost its programming. The reset procedure varies by brand. On a Chamberlain with a yellow learn button, you hold the learn button for six seconds until the LED goes out, then reprogram each remote. On a Genie, the process involves the “learn” button and a specific remote button sequence. We work on these units daily, and the brand matters for programming, which is why we carry the manuals for all eight brands on our service list, including LiftMaster, Genie, Craftsman, and Raynor.
One more opener behavior worth understanding: the opener runs but the door doesn’t move. If the motor hums and the carriage doesn’t engage, the trolley has lost its connection to the chain or belt. On a chain drive, the chain may have slipped off the sprocket. On a belt drive, the belt may be stripped. Both are repairs that require disassembling the opener rail, which is a two-hour job for a technician and a weekend job for a homeowner. If you’re comfortable with the work, go carefully. If you’re not, this is a straightforward service call.
The Manual Operation Check Most Guides Skip
Here is the test that separates door problems from opener problems, and most troubleshooting guides never mention it. Every opener has a release cord, usually a red handle hanging from the rail. Pulling it disconnects the door from the opener carriage. Once disconnected, the door moves manually.
- Close the door completely. If the door is stuck open and won’t close, skip to step 3, but be careful: a door stuck open may have a broken spring, and a broken spring means the door is extremely heavy.
- Pull the red release cord. You’ll hear a click as the carriage disengages.
- Lift the door by hand. It should move smoothly with moderate effort, roughly 15 to 25 pounds of lift. It should stay up when you raise it to the halfway point and let go.
- If the door is heavy, hard to lift, or crashes down, the problem is in the door mechanics, not the opener. Stop and call a technician.
- If the door moves smoothly and stays put, the door is fine. The problem is in the opener, the sensors, or the limit settings.
This one-minute test saves you from the frustration of adjusting opener settings when the real problem is a failing spring or a bad cable. We use a version of this check on every service call in San Marcos, because it correctly routes the diagnosis about 90% of the time. It also tells you something important about spring health. A door that stays put at the halfway point has springs that are properly tensioned. A door that slowly drifts down from that position has springs that are losing tension. A door that won’t stay up at all has a spring problem that needs immediate attention.
Re-engaging the opener after the test is simple on most units: pull the release cord again, or run the opener until the carriage reconnects with a click. On newer LiftMaster and Chamberlain openers with automatic re-engagement, just press the wall button.
Limit Switch vs. Safety Sensor: Two Identical Symptoms, Different Fixes
The most misdiagnosed garage door issue in San Marcos involves two problems that look the same from the outside. The door starts to close, stops, and reverses. The homeowner, understandably, doesn’t know whether the limit switch or the safety sensor is to blame. Here’s how to tell them apart without guessing.
The key difference is where the door reverses. A limit switch problem causes the door to reverse at the bottom of its travel, just as it touches the floor. The opener thinks the floor is higher than it is, so the door “arrives” too early. The safety reversal triggers, and the door goes back up. The door never actually completes a close cycle. A sensor problem causes the door to reverse at any point in its travel, often immediately after it starts moving down. The sensor beam is interrupted, so the opener aborts the close. On some openers, the door will close if you hold the wall button down continuously. That’s a diagnostic behavior: holding the button overrides the sensors but not the limit switch. If the door closes normally when you hold the button, your sensors are the problem. If it still reverses at the floor, your limit is the problem.
Fixing a limit switch is usually a five-minute adjustment. Fixing sensors usually means realigning them, cleaning the lenses, or replacing a damaged wire. But the diagnostic distinction matters, because a homeowner who adjusts the limit when the sensors are failing can create a genuinely dangerous situation. The sensors exist to prevent the door from closing on a child, a pet, or a car. Overriding them, or cranking the down force high enough to push through an obstruction, disables that protection. We see this on service calls across San Marcos: a door that was “fixed” by a previous owner’s force adjustment, and now the door closes hard enough to damage whatever is underneath it. The force setting exists to prevent damage. The sensors exist to prevent injury. Neither should be treated as a convenience setting.
Here’s the numbered sequence for a sensor check:
- Look at the sensor units at the bottom of the track on each side. Each has an LED.
- If both LEDs are solid and green (or solid amber on some models), the sensors are aligned and powered.
- If one LED is blinking or off, check for a blocked lens, a loose wire, or a sensor knocked out of alignment.
- Realign the sensors so they point at each other. Most sensors have a wing nut that allows adjustment.
- Test by closing the door. If it still reverses, the sensor wire itself may be damaged, usually where it passes through the wall or along the track.
Sensor wiring is low voltage, which means it’s safe to handle. A broken wire can be spliced with wire nuts and electrical tape, though we recommend replacing the wiring harness if the damage is extensive. A broken sensor unit, where the LED won’t light at all, means replacement. Sensors are brand-specific but interchangeable between many models within the same manufacturer’s line, which is why knowing your opener brand matters when you order parts.
The “Fixed It” YouTube Fixes That Mask Real Problems
Two garage door fixes circulate constantly on YouTube, and both create worse problems than they solve. The first is the zip-tie sensor trick. When a sensor is misaligned or failing, some videos show you how to zip-tie the two sensor units together, mounted close to the opener body so they’re always pointing at each other. The door then closes, because the opener sees an unbroken beam. The sensor never detects anything between the door and the ground again. If a child crawls under the closing door, the door will not stop. That fix trades a nuisance for a safety system failure, and the people sharing it rarely mention that the door now closes without any obstruction protection. The correct fix for a persistent sensor problem is alignment, cleaning, or replacement, not bypass.
The second bad fix is the force-adjustment workaround. When a door won’t close all the way, the fix in some videos is to turn up the opener’s closing force. The door fights through whatever resistance it’s meeting, be it a worn roller, a misaligned track, or a weakening spring, and closes. It may work for weeks. Then the underlying problem worsens, and the opener, now set to exert maximum force, closes the door on something it shouldn’t: a car bumper, a bicycle, a person. The force setting is not a repair tool. It’s a safety limit. If your door needs more force than the opener’s default setting to close, the door has a mechanical problem that needs actual repair. The springs are losing tension, the rollers are shot, or the track is bent. Adjusting force to compensate masks the cause and escalates the risk.
We see the aftermath of both these fixes on a regular basis. The scenario is usually the same: a San Marcos homeowner bought the house with a door that worked oddly, found a video, applied the fix, and lived with it for a year. Then the door failed, and the failure was more expensive than the original repair would have been. The zip-tied sensors meant the door closed on a car. The cranked force setting meant the opener burned out its gear. Repair-first is cheaper than reaction, and it’s never more true than with garage doors.
Stop Points: Symptoms That Mean Put the Tools Down
Some symptoms are diagnostic endpoints. When you observe them, the troubleshooting is done, and the next step is a phone call. Here are the four that matter most.
A broken spring. You’ll hear the bang, or you’ll see the two-inch gap in the torsion spring above the door. The door becomes impossibly heavy. Attempting to open it manually can cause serious injury, and running the opener will damage the motor or pull the cable off the drum. Springs are under high tension even when broken, and winding a new spring requires specific tools and a specific procedure. This is not a DIY repair, and we do not recommend any version of it that appears in a video.
A frayed or snapped cable. Cables run alongside the door and connect to the bottom brackets. If you see individual strands of cable wire sticking out, or a cable hanging loose, stop using the door. A cable failure means the door is held up by one side only, and the remaining cable is about to fail. Cable replacement involves de-tensioning the spring, which is the same danger zone as spring work.
A door that comes off its track. If the door is visibly out of the track, with rollers hanging free, do not try to force it back in. The door’s weight is now unsupported in a way the springs weren’t designed for. A door off its track can fall, and a falling garage door weighs between 150 and 400 pounds depending on the model and material. A technician uses winding bars, clamps, and a sequence of steps to safely re-seat the door and re-tension the system.
Any injury or near-miss. If the door has closed on a person, a pet, or a vehicle, the problem is beyond troubleshooting. Something failed in the safety system, and the door needs a full inspection before it’s used again. This is not about convenience. It’s about the next time the door closes on someone.
Our Garage Door Repair in San Marcos page covers what a full repair visit looks like, and Garage Door Opener Repair in San Marcos is there if the diagnostic points to the opener instead of the door.
San Marcos Garage Door Issues: Climate and Housing Factors
San Marcos has specific characteristics that shape the garage door problems we see most often. The first is heat. Summers here are long and hot, with garage interiors regularly exceeding 110 degrees during heat waves. That heat accelerates the breakdown of lubricants, shortens the life of opener logic boards, and causes the nylon gears inside openers to soften and strip. We see more opener gear failures in August than in any other month, and more spring failures after cold snaps in January, because the sudden temperature drop makes old spring steel more brittle.
The second factor is housing stock. San Marcos has a mix of homes built in the 1970s through the 1990s, along with newer construction. The older homes, especially in areas like Richmar and the neighborhoods around Mission Road, often still have their original doors and openers. A wood door from 1985 weighs far more than a modern steel door, and it strains every component in the system. The openers in those homes were often installed before safety sensors became standard in 1993, which means they lack the sensor system entirely. If you have a pre-1993 opener, the sensor troubleshooting above doesn’t apply, and the opener should be replaced for safety reasons alone.
The third factor is moisture. San Marcos sits close enough to the coast that morning marine layer reaches the inland valleys, and older steel doors develop rust along the bottom panels and the track hardware. Rusted bottom brackets are particularly dangerous, because the cable attaches to them. If the bracket rusts through, the cable releases under tension, which is the same failure mode as a snapped cable but from a different cause.
For homeowners dealing with a door that can’t be repaired, our Garage Door Installation in San Marcos page walks through the replacement process, from measuring to final inspection. And you can find everything we do at the SD Garage Door home page.
Common Mistakes to Avoid
- Lubricating the track. The rollers roll inside the track on their bearings. Lubricating the track itself just collects dirt and turns into a grinding paste. Lubricate the roller bearings, the hinges, and the torsion spring. Leave the track dry.
- Tightening the springs. Springs are wound to precise tension. A homeowner who adds tension without a torque gauge changes the door balance, strains the opener, and creates the conditions for a cable failure. Spring adjustment is professional work, full stop.
- Ignoring a noisy door. A door that’s been grinding for months doesn’t get better. It gets more expensive. Squeaks and rattles are early warnings. The repair bill is smaller before the bearings seize and the rollers eat the track.
- Replacing the opener without checking the door. If your door is heavy or sticky, a new opener will struggle against it and fail early. Check the door first, then decide on the opener. This is the sequence we use on every opener replacement.
- Using WD-40 on everything. WD-40 is a water displacer and light cleaner. It’s not a garage door lubricant. White lithium grease on hinges and rollers, and a garage door-specific spray on the spring. WD-40 on a torsion spring attracts dust and shortens spring life.
- Testing the safety sensors with your hand. This is how people get hurt. The sensor may be the exact thing that’s broken, and testing it with your hand under a closing door tests the failure, not the fix. Use a cardboard box or a roll of paper towels.
- Loading the door with the release cord pulled. If the door is disconnected from the opener and you run the opener, the carriage travels alone and slams into the stop or the door. Always re-engage before operating.
See the difference
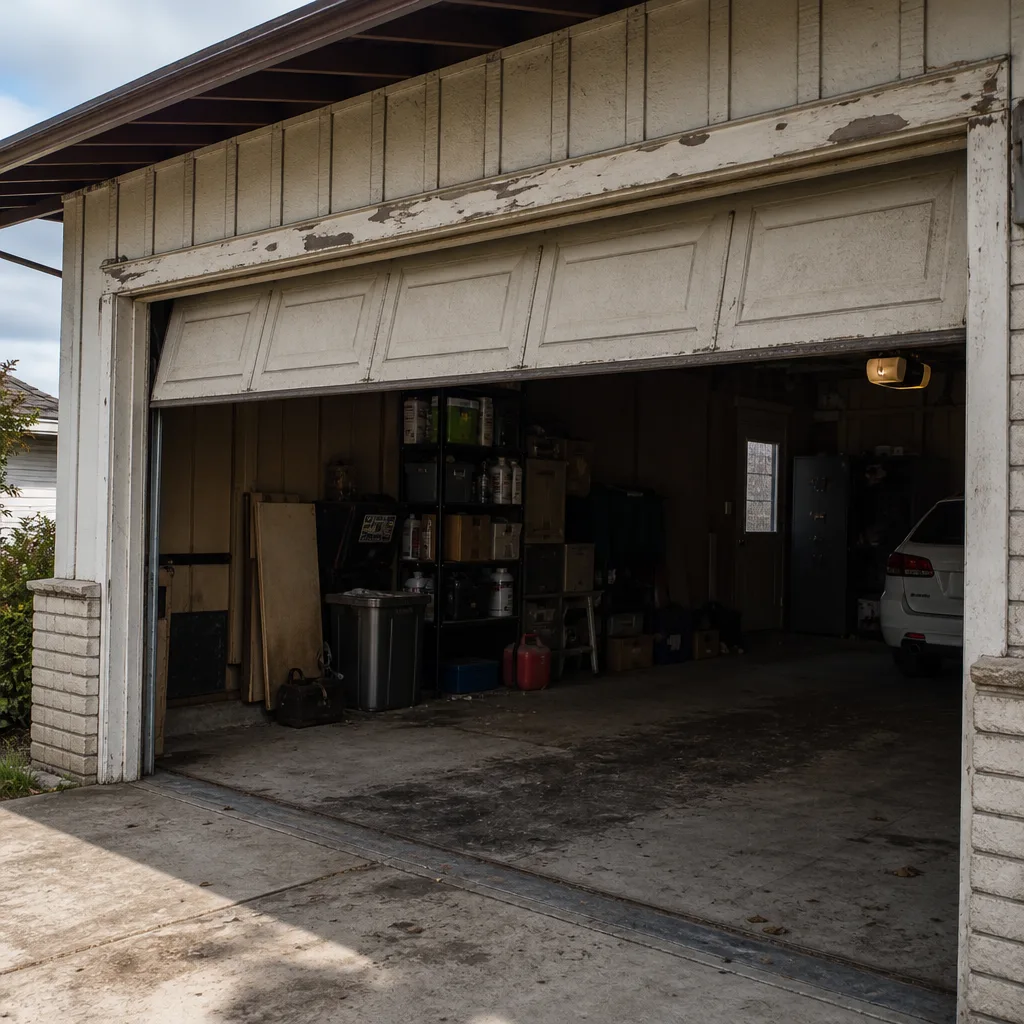 Before
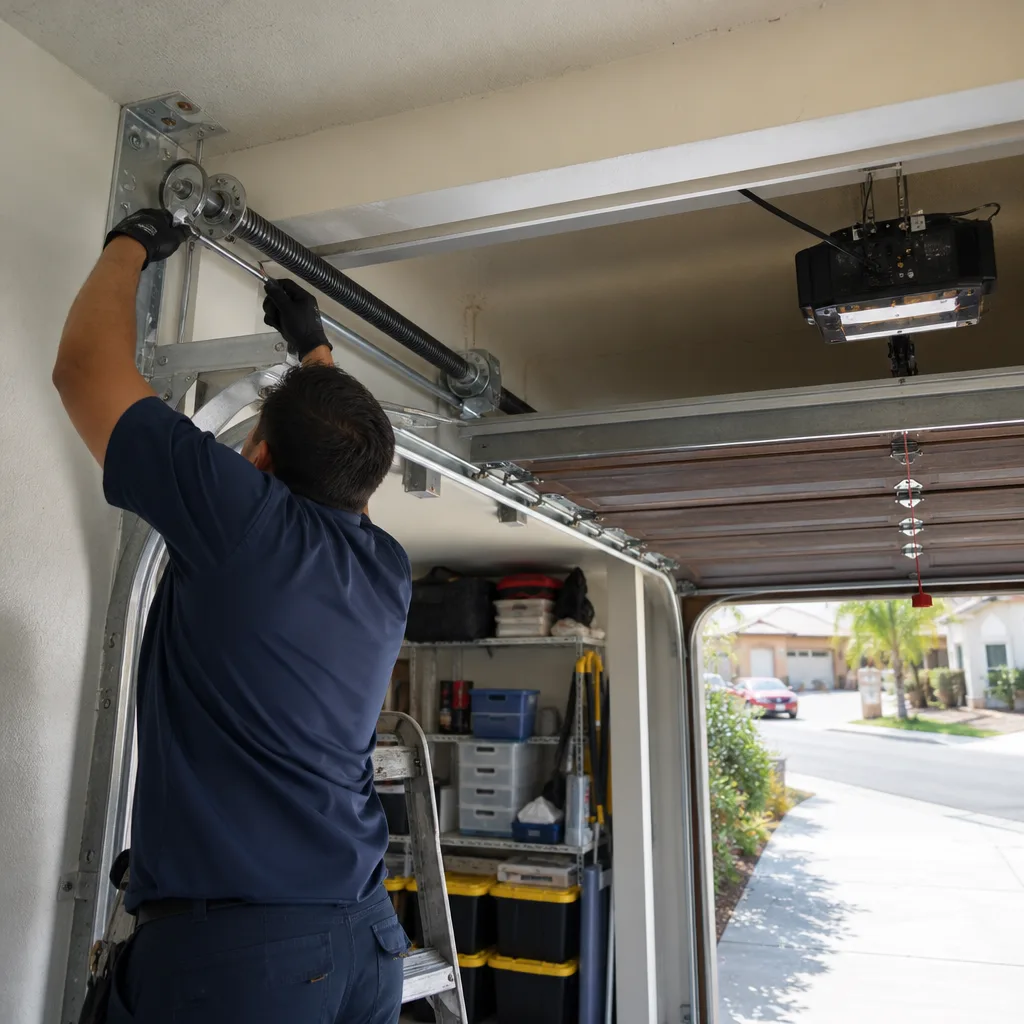 After
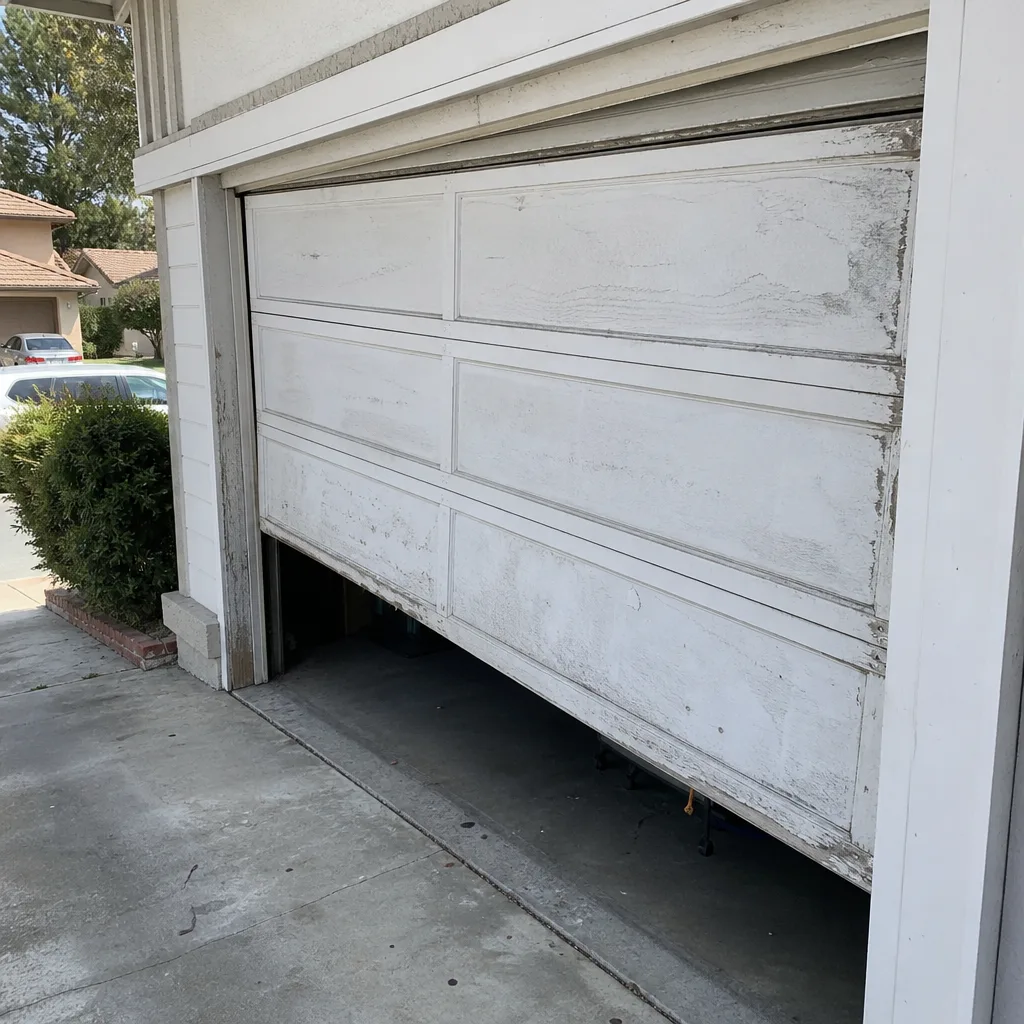 Before
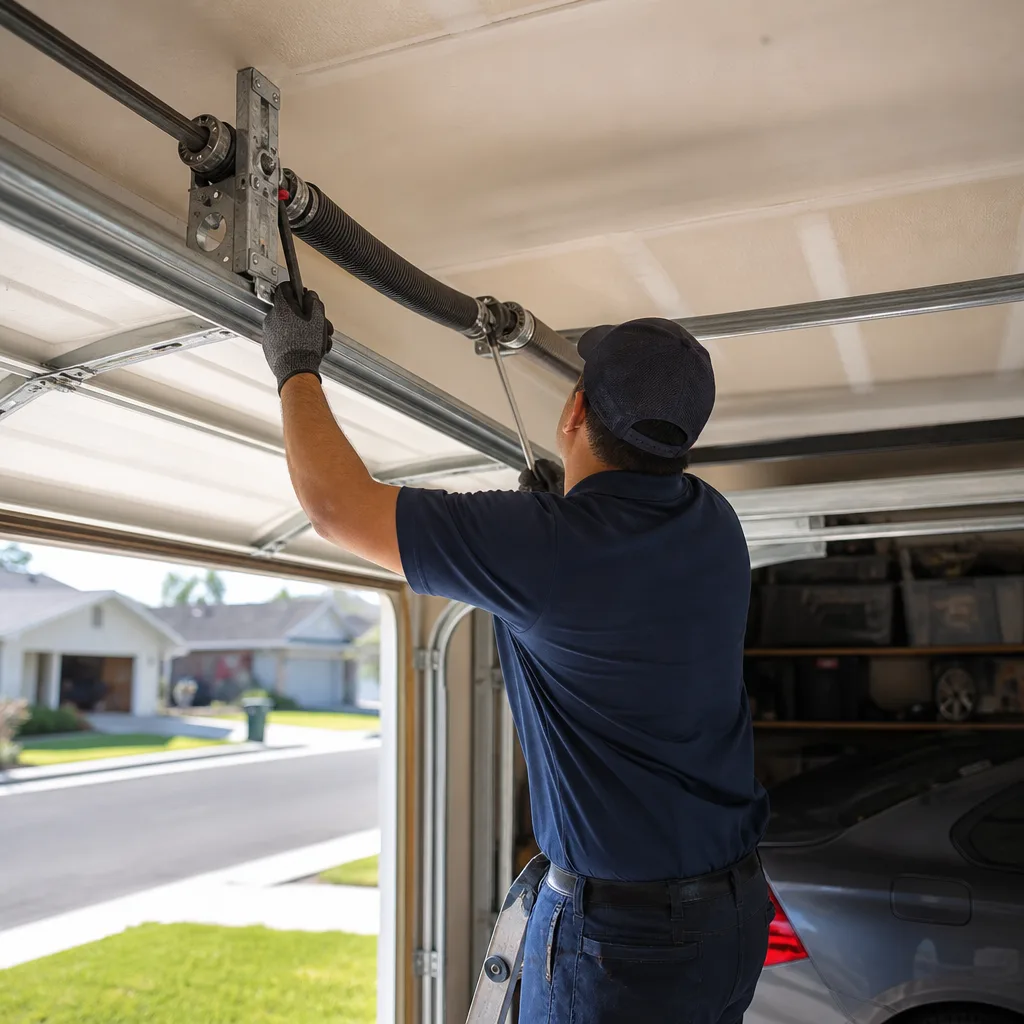 After
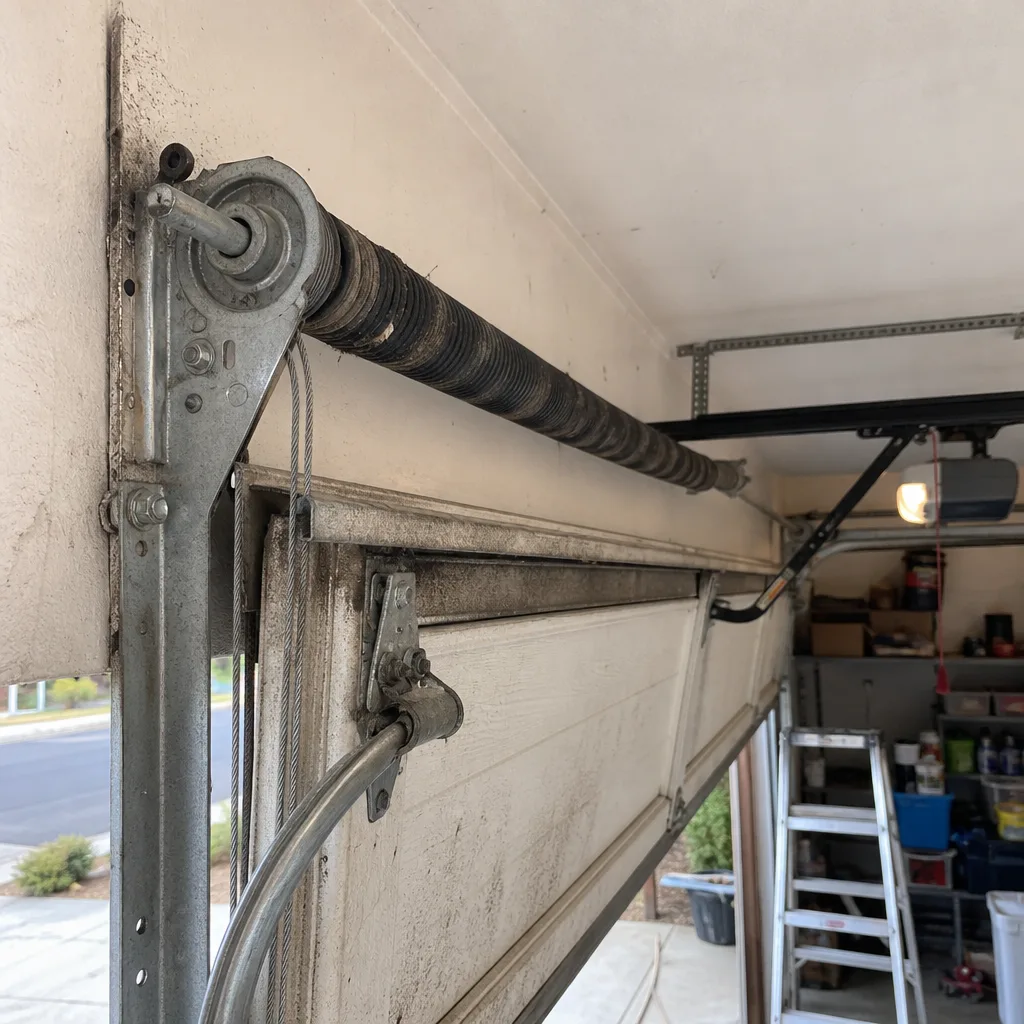 Before
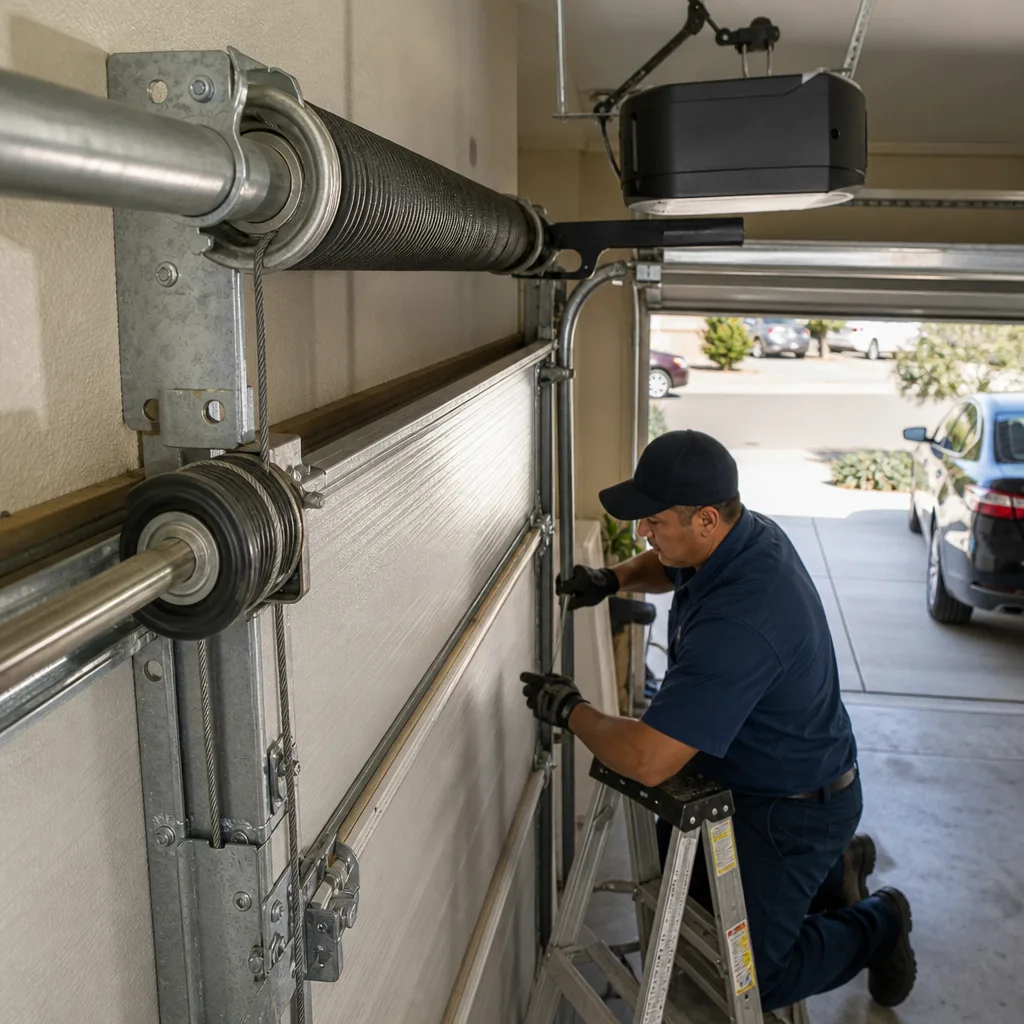 After
When to Call a Professional
Call a professional when the diagnostic points to the spring system, the cables, or a door that has left its track. Call when you’ve been through the limit and sensor checks and the door still reverses, because the remaining causes are electrical and require testing equipment. Call when you hear the bang of a spring, when you see a frayed cable, or when the door closes on something it should have detected. The common thread is this: if the risk of a mistake is a door falling or a safety system failing, the repair is not a weekend project. SD Garage Door offers free estimates in San Marcos, and you can reach us at (833) 589-6906.
Frequently Asked Questions
The door is reversing because the opener’s force sensor or limit switch is triggering too early. In most cases, the limit switch has drifted and the opener thinks the floor is higher than it actually is. Adjust the down limit setting slightly and test the door again. If the door reverses at any point in its travel, not just at the floor, the safety sensors are the likely cause. Check for misalignment, blocked lenses, or damaged wiring.
No, and you should not try. Torsion springs are wound under high tension, and the winding and unwinding procedure requires specific tools and a specific sequence of steps. A mistake during spring work can release that tension instantly, causing serious injury. This is the one repair where the risk is not worth attempting it. Call a garage door technician who does spring work regularly.
Listen for changes in the motor’s sound, watch for slow operation, and pay attention to intermittent failures. An opener that hums without moving, struggles to lift a door it used to move easily, or randomly reverses without cause is showing signs of wear. Openers typically last 10 to 15 years. If yours is older than that and misbehaving, replacement may be cheaper than repeated repairs.
It depends on the failure and the age of the unit. A limit switch adjustment, a sensor realignment, or a new capacitor are cheap repairs. A stripped gear, a failed logic board, or a burned-out motor on a 15-year-old opener usually points to replacement. Newer openers also include safety features and smart-home connectivity that older units lack. We work on LiftMaster, Chamberlain, Genie, Craftsman, and other major brands, so the recommendation fits the unit you already have.
Yes. The heat and coastal moisture in San Marcos affect garage doors differently than in drier or cooler climates. Lubricants break down faster in the summer heat, opener gears soften and strip more often, and steel components rust more readily near the coast. Seasonal lubrication and a spring tension check once a year will extend the life of your door and catch small problems before they become repairs.
The cost depends on the component that failed. A roller replacement is a minor repair, a spring replacement is a mid-range repair, and a track replacement or a full door rebuild is more expensive. The only way to get an accurate number is to have the door inspected, because the symptom doesn’t always reveal the full scope of the damage. SD Garage Door provides free estimates, and the price is quoted and agreed before any work starts. Call (833) 589-6906 for an exact quote.
The Bottom Line
Garage door troubleshooting is a matching exercise. The sound or movement you observe points to a specific component, and identifying that component correctly is the difference between a five-minute adjustment and a dangerous guess. The manual operation check tells you whether the problem is in the door or the opener. The limit switch and sensor checks tell you which of two seemingly identical problems you actually have. And the stop points, the broken spring, the frayed cable, the off-track door, tell you when the work belongs to a professional. In San Marcos, where heat and coastal moisture age garage door components faster than average, catching problems early is cheaper than reacting to failures. When the diagnosis is done and the repair is beyond the DIY line, call us at (833) 589-6906 for a free estimate.
Written by the team at SD Garage Door, serving San Marcos since 2014. Explore more guides & resources on our blog.