
Last updated October 31, 2026
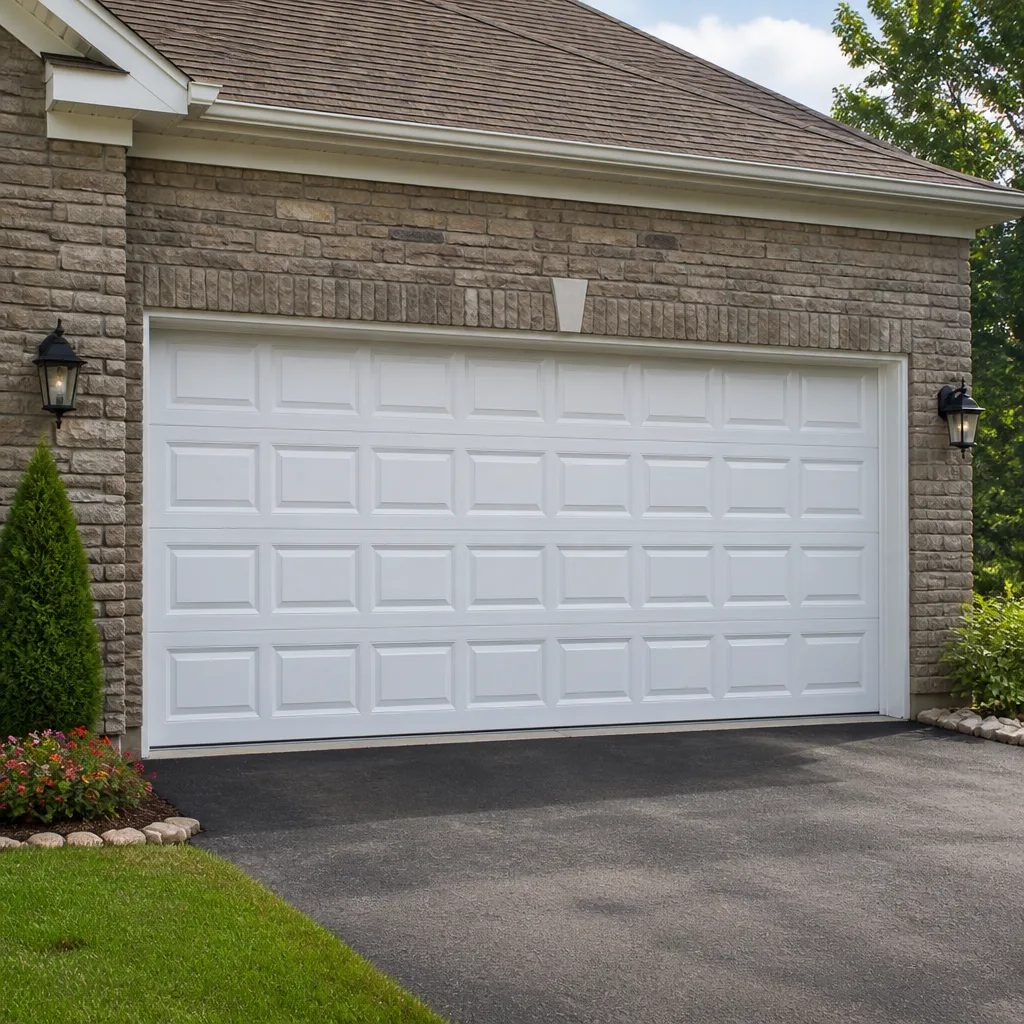 Raised-panel steel
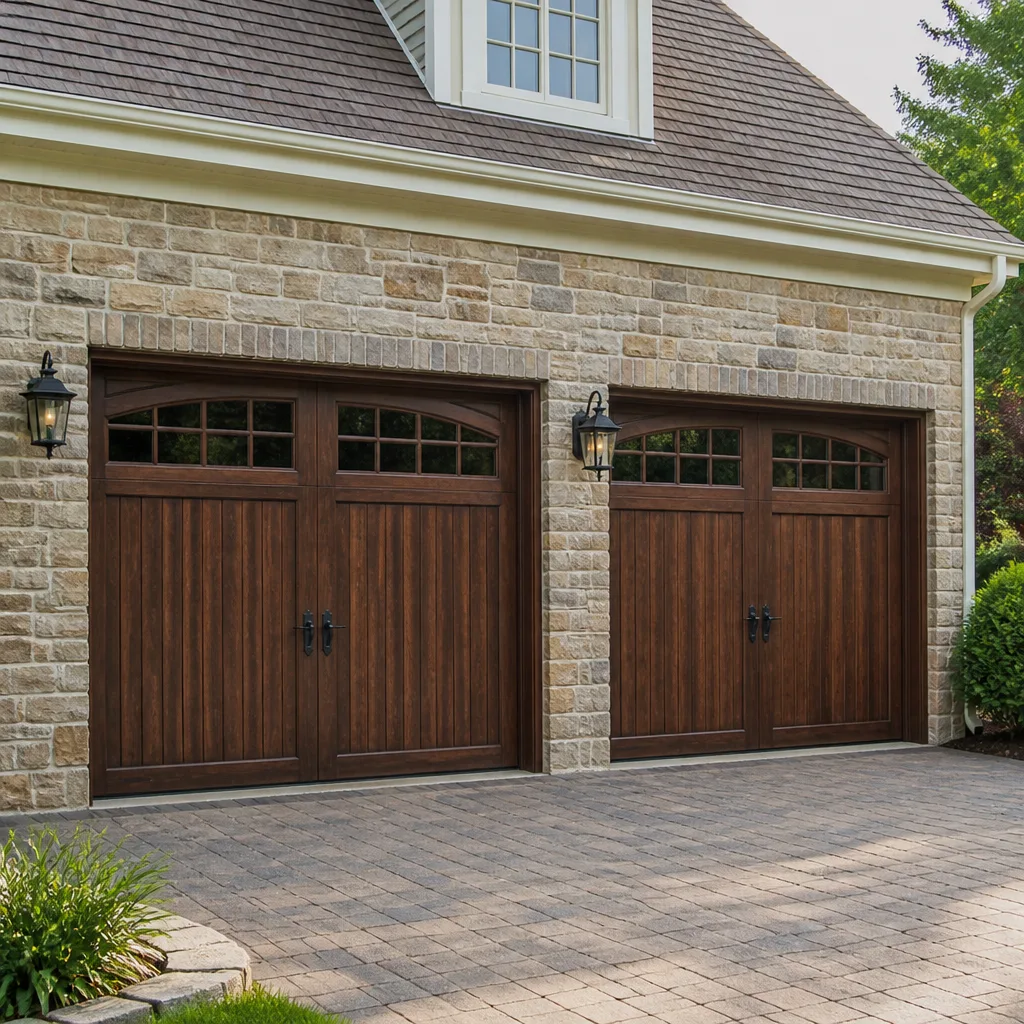 Carriage house
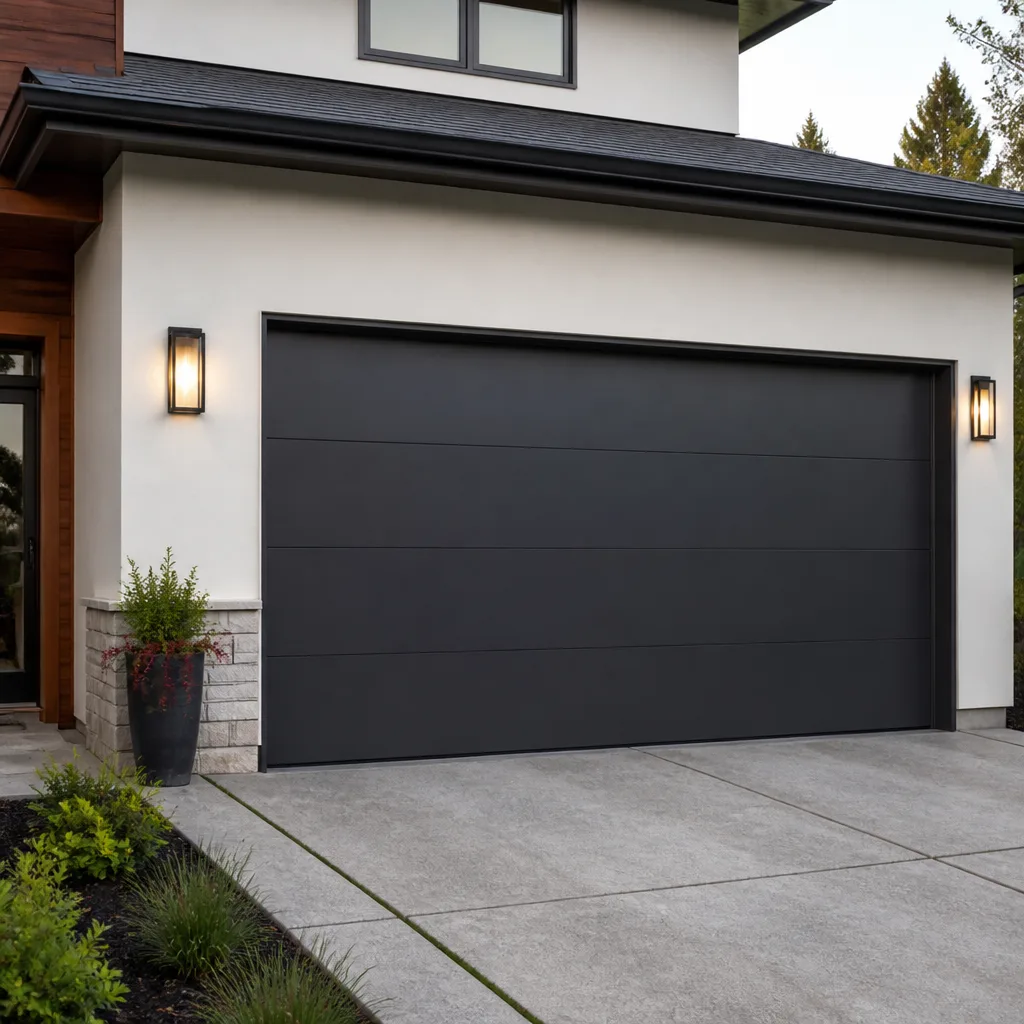 Modern flush
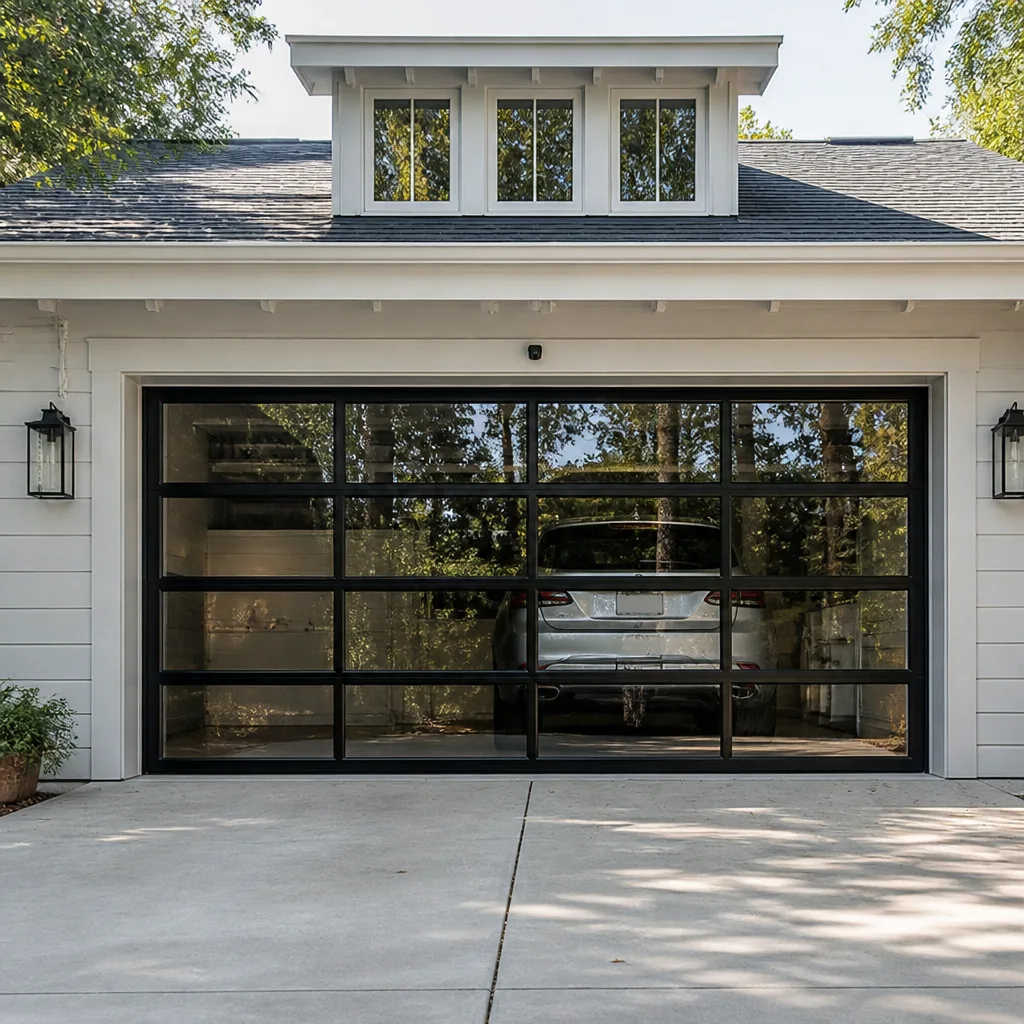 Full-view glass
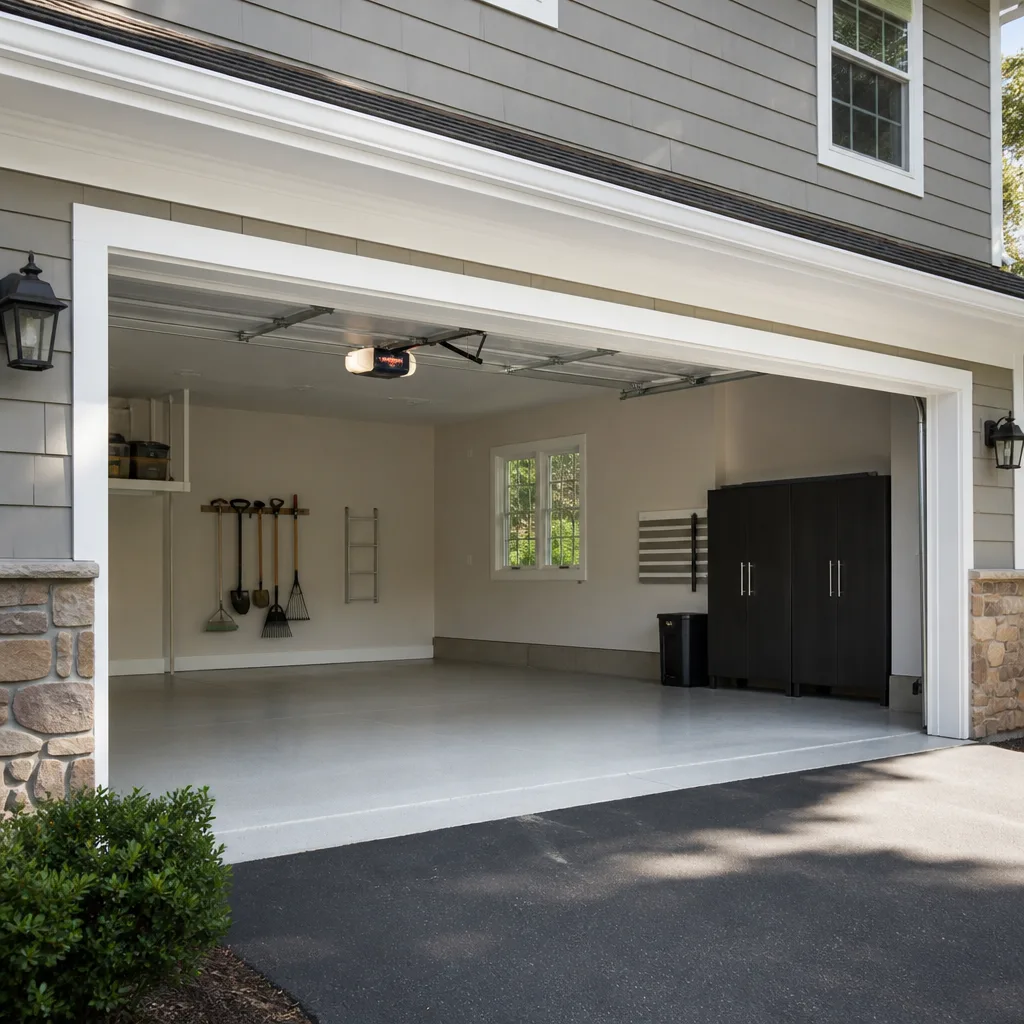 LiftMaster openers
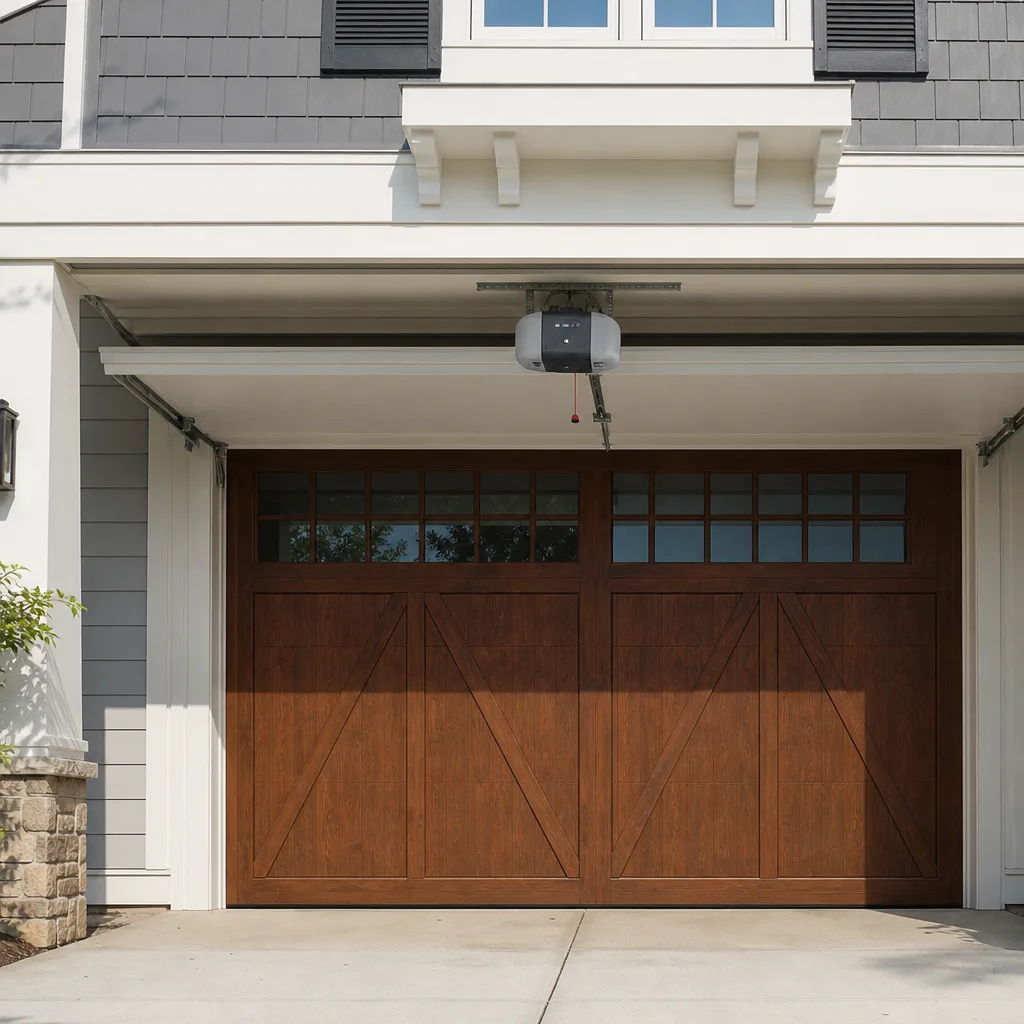 Chamberlain openers
Full 25-point door and opener safety check with every visit - springs, cables, rollers, tracks, and your LiftMaster or Chamberlain opener included
You get a price before we start. It does not change when the truck arrives.
Get your free estimateGarage Door Warning Signs: A San Marcos Homeowner’s Reference Guide
A garage door that takes 1.2 seconds longer to open than it did six months ago isn’t “getting old.” It’s telling you the spring tension is off, or the opener is compensating for a mechanical drag that will break something soon. Most San Marcos homeowners only notice the failure, not the warning signs that preceded it by weeks. This guide walks through the subtle early indicators, the sounds that tell you which component is failing, and the difference between a monitored repair and a stop-use emergency. For related reading, see our How to Hire a Garage Door Contractor in San Marcos: A Step-by-Step Guide. If you catch these signs early, you’re looking at a $80 roller swap instead of a $400 torsion spring and cable job at 7 AM.
Styles & brands we work with
Quick Answer
The most common early warning signs of a failing garage door are changes in sound (grinding, popping, squealing, rattling), asymmetric gaps under the door, uneven cable coil wraps on the drum, hesitation at the top of travel from the opener, and reduced remote range. A manual disconnect test – pulling the release handle and lifting the door by hand – is the single most reliable quarterly check a San Marcos homeowner can do. Any sign of a broken spring or frayed cable means stop using the door immediately and call a professional; everything else can usually wait a week or two with close monitoring.
Table of Contents
- The Sound Diagnostic: What Your Door Is Telling You
- Visual Inspection Points You Can Check From the Driveway
- Opener Behavioral Tells: What the Motor Is Compensating For
- The Manual Disconnect Test: Your Quarterly 60-Second Check
- Stop-Use vs. Monitor: Which Warning Signs Can Wait
- San Marcos Climate and How It Affects Your Door
- Common Mistakes to Avoid
- When to Call a Professional
- Frequently Asked Questions
- The Bottom Line
The Sound Diagnostic: What Your Door Is Telling You
Your garage door makes noise every time it cycles. The key is knowing which noises are normal and which ones point to a specific component that’s wearing out. In San Marcos, where summer heat cycles hit 90+ degrees and winter mornings dip into the 40s, metal expands and contracts daily. That thermal cycling accelerates wear on rollers and hardware, so sound changes often show up here earlier than in coastal climates.
Here’s what each sound actually means:
- Grinding – This is almost always metal-on-metal contact. Either the rollers are worn past their bearing surface, or the track has come out of alignment and the roller stem is scraping the track wall. A grinding sound that’s rhythmic with the door movement points to rollers; a grinding that’s constant through the cycle points to track alignment. Worn rollers on a door that cycles 4+ times daily in San Marcos typically fail around year 7 – 9.
- Popping – A single loud pop is often a torsion spring adjusting on the shaft. A repeating pop as the door moves is usually a cable slipping on the drum, or a section hinge that’s binding. Popping springs are the sound of stored energy releasing unevenly – not a failure yet, but a sign the spring is losing its set.
- Squealing – High-pitched squealing is a dry bearing. Roller bearings, hinge pins, or the opener trolley rail can all squeal. A quick lubricant application on the roller bearings and hinge points usually resolves it. If the squeal persists after lubrication, the bearing is failing internally and the roller needs replacement.
- Rattling – Loose hardware. On sectional doors, the hinges and track brackets work loose over time from vibration. A rattle that gets louder as the door passes through the curved track section is usually the hinge assemblies. On older doors, rivets in the section joints can also loosen and rattle.
We’ve worked on doors across San Marcos – from older track homes off Nordahl Road to newer builds in San Elijo Hills. The sound diagnostics are consistent, but the time-to-failure varies with how often the door cycles and how well it’s been maintained. A door that grinds for three months before a roller seizes is a $80 fix if caught early. A door that grinds until the roller comes apart and the panel drops is a much bigger repair. We service all door brands – Clopay, Amarr, Wayne Dalton, Raynor – and the failure modes are similar across them; the difference is usually parts availability, not the diagnosis. If you’re weighing options, our Choosing the Right Garage Door Brand: A Buyer’s Guide for San Marcos breaks down what matters.
Visual Inspection Points You Can Check From the Driveway
You don’t need a ladder or any mechanical knowledge to spot several early warning signs. These checks take 60 seconds and can be done while the door is closed and you’re standing a few feet back.
Asymmetrical Gap Under the Door
Stand back and look at the bottom of the closed door. There should be an even, uniform gap where the rubber bottom seal meets the driveway. If one side sits higher than the other – even by a quarter inch – that asymmetry means the door sections aren’t distributing weight evenly. Common causes: a cable that’s wrapped unevenly on one drum, a spring losing tension on one side, or a track that’s drifted out of plumb. In San Marcos’s clay-heavy soil, concrete driveways also shift minutely with seasonal moisture changes. If the gap appears seasonal, the driveway may be moving. If it appears suddenly and worsens over a week, it’s the door hardware.
Here’s what to check:
- The gap itself. Is it even from left to right? Use your shoe as a gauge. If one side fits the toe and the other doesn’t, that’s measurable.
- The cable drums. Look at the drums on the torsion bar above the door (you’ll see them at both ends of the bar). The cable should wrap in neat, single-layer coils. If one drum shows cable crossing over itself, or if one drum has visibly fewer wraps than the other, that’s a tension imbalance and the spring is working asymmetrically.
- Rust streaking. Look at the mounting plates where the torsion spring anchors to the header. If you see rust-colored streaks coming from the hardware, that’s moisture wicking through the spring’s oil film – the spring is deteriorating internally. External rust is cosmetic; rust streaking below the spring anchor point is the first visual cue that a spring is near the end of its cycle life.
- Roller wear. With the door partially up, look at the rollers in the track. Nylon rollers that show a flat spot, or metal rollers with visible scoring, are done. You should also check the roller stems for excessive play – a roller that has more than about 1/8 inch of lateral wobble in the track is binding.
We’ve seen rust streaking on torsion springs last another year. We’ve also seen them snap two weeks after the streaking became visible. The spring cycle life is the more reliable predictor – most torsion springs in San Marcos’s climate are rated for 10,000 cycles, which works out to 7 – 10 years at normal usage. If your door is in that range and you’re seeing rust streaking, plan for spring replacement before it fails. See our Garage Door Repair in San Marcos page for what a typical spring replacement involves.
Opener Behavioral Tells: What the Motor Is Compensating For
Garage door openers are simple machines with a small suite of sensors and a motor. When something in the door system changes – spring tension drops, a roller binds, the track shifts – the opener compensates by working harder. The compensation shows up as behavioral changes you can feel and measure.
Hesitation at the Top of Travel
When the door approaches the fully open position, the opener should move it smoothly through the last few inches of travel and stop. If you see a brief hesitation, a stutter, or the door slows noticeably right at the top, the opener is fighting something. Most commonly, the spring tension has dropped enough that the opener is now doing more lifting work than it was designed for. The opener’s force settings are compensating, but the hesitancy is the cue. This shows up on any opener brand – Chamberlain, LiftMaster, Genie, Craftsman – because the symptom is mechanical, not electronic.
Reversal for No Apparent Reason
Modern openers have safety reversal systems that trigger when the door encounters resistance while closing. If your door closes halfway and then reverses without touching anything visible, check for: debris in the track that’s giving the opener’s force sensor a false reading; a partially seized roller that’s dragging; or bottom seal weatherstripping that’s caught on the threshold plate. Sometimes it’s as simple as a leaf jammed in the track. More often, it’s a component adding enough friction that the opener’s safety system thinks an obstruction is present. Identify the drag source before reprogramming the travel limits – adjusting the limits to force the door past resistance bypasses the safety system.
Remote Range Reduction
This one’s counterintuitive, because the remote range has nothing to do with the door mechanics. But a shortening range – you now need to be in the driveway instead of halfway down the street – can indicate an opener problem, not a remote battery problem. Common causes: failing opener receiver board, interference from LED bulbs installed in the opener, or a power supply issue. If you’re using a Chamberlain or LiftMaster wall button with a built-in battery, the remote and wall panel frequencies sometimes drift. A range reduction is the first sign; eventual no-response is the end state. Replace the remote battery first – they do drain – but if the range continues to shrink, the opener logic board is a suspect. This is a specific opener repair scenario, and it’s one we handle regularly. Our Garage Door Opener Repair in San Marcos page covers the full scope of what’s repairable versus replaceable on modern opener models.
The Manual Disconnect Test: Your Quarterly 60-Second Check
This is the single most valuable diagnostic you can do at home, and almost no one does it. Every garage door opener has a release handle – usually a red cord hanging from the opener trolley. Pulling it disconnects the opener from the door so you can operate the door by hand.
Here’s the test, step by step:
- Close the door completely. Keep the opener plugged in and functional.
- Pull the red release handle. You’ll hear the trolley disengage.
- Lift the door manually by the bottom handle or rail. It should lift with steady, moderate effort. A properly balanced door will stay in the half-open position when you release it. A door that feels heavy through the first few feet means the springs are doing less work than they’re supposed to – they’re either out of tension or near failure.
- Lower the door manually. It should lower with the same moderate effort. If it drops quickly, the springs are significantly undertensioned or broken.
- Reconnect the opener. Press the wall button until the trolley re-engages, or pull the release again to let the trolley catch.
The entire test takes under a minute. Do it quarterly. In San Marcos, with daily temperature swings that flex the door sections and stress the springs, a quarterly disconnect test catches spring weakness months before a break. If the door stays put at the half-open position, your springs are in the proper tension range. If it drifts down, the springs are weak. If it drops fast, stop using the door and call us – that’s a broken or failed spring on the wrong side of safe.
One note: the disconnect test on a door with no working opener (new construction, or you’re replacing the opener) is different – you’re not testing spring balance, you’re testing the door’s mechanical smoothness. The heft should still feel consistent through travel. Any point where the door catches, sticks, or jumps is a track or roller problem.
Stop-Use vs. Monitor: Which Warning Signs Can Wait
Not every warning sign requires an immediate service call. But some do. The distinction comes down to which components, when they fail, cause the most damage or the most safety risk.
Stop-Use Signs (call a professional before cycling the door again)
- Broken torsion spring. You’ll typically hear a loud bang from the garage, or you’ll see a two-piece spring with a gap in the middle. The door will be heavy or impossible to lift. Do not attempt to cycle it. Torsion springs are under 100+ pounds of stored tension; a snapped spring can leave sharp ends, and the door itself is a falling hazard if not balanced. This is a professional repair, full stop.
- Frayed cable. Look at the cables running from the bottom brackets on both sides of the door, up to the drums. If you see individual strands breaking away from the cable, or the cable looks hairy, that cable is failing. A snapped cable under load can whip with enough force to cause serious injury. Stop using the door and call a technician.
- Roller out of the track. If a roller has jumped the track, the door can bind mid-travel and fall. This is especially dangerous on heavy wooden or insulated steel doors. Do not attempt to force the door back into the track.
- Door won’t close and there’s an obstruction you can’t reach safely. If the safety reversal is tripping and you can’t see what’s causing it, don’t force the door closed by holding the wall button. That bypasses the safety system.
Monitor Signs (schedule a repair within 1 – 2 weeks)
- Grinding or squealing noises that are new and persistent but the door still cycles normally. Lubricate first; if the noise persists, schedule a roller or hinge replacement.
- Gradual slow-down of the door’s opening speed. The spring is losing tension slowly. You have time, but the spring will eventually fail if not addressed.
- Remote range reduction. Annoying, but not a safety issue. Troubleshoot the battery and the opener’s logic board over a week or two.
- Asymmetric gap under the closed door that’s less than a half inch and hasn’t changed dramatically. Monitor for a week; if the gap grows, call sooner.
- Rust streaking from the spring anchor hardware with no other symptom. Order the spring replacement as a planned repair rather than an emergency.
The $80 roller versus $400 spring comparison is real. Catching a worn roller during the quarterly manual test costs a service call with a minor part. Waiting until the roller seizes and the door starts binding mid-travel means the opener works harder, the spring cycles against more resistance, and a cable can snap under the uneven load. One neglected roller spirals into three component failures.
San Marcos Climate and How It Affects Your Door
San Marcos sits in a specific microclimate zone. Summer daytime highs regularly push past 85°F and occasionally hit 95°F in the warmer stretches east of the 78. Winter mornings can start in the low 40s, especially in the hills around Discovery Lake and Questhaven. That daily swing – often 30 degrees or more – means your garage door is expanding and contracting every single day. For a full maintenance calendar, see our Seasonal Garage Door Care for San Marcos: Year-Round Homeowner’s Guide.
The practical consequence: hardware loosens faster in San Marcos than in more temperate areas. Hinge screws back out. Track brackets shift. Roller bearings dry out. The metal sections themselves flex minutely, and over years, that flex accelerates wear at the section joints. Homeowners in San Marcos should lubricate hinges and roller bearings twice a year – once in early spring before summer heat, once in early winter before cold mornings. Doors that are not maintained on that schedule show more hardware-related failures by year 8 than doors in coastal communities.
Another San Marcos-specific factor: clay soil. The areas around Cal State San Marcos, the northern slopes near Double Peak, and the older neighborhoods east of Rancho Santa Fe Road are all built on expansive clay. This soil expands and contracts with moisture cycles, which means garage slabs move minutely season by season. If you notice your door’s bottom gap changing with the seasons – wider in dry seasons, tighter in wet ones – that’s the slab shifting, not the door. But the door still needs to be adjusted to match. A good door company in San Marcos knows this and includes slab settlement awareness in their repair approach. We’ve been doing garage door work in San Marcos long enough to know which neighborhoods deal with the most slab movement, and we account for it in our installs and repairs.
Common Mistakes to Avoid
- Lubricating the track. The track is not a lubrication point. Grease on the track attracts dust, turns to grinding paste, and accelerates roller wear. The track should be wiped clean. Lubricate the roller bearings, hinge pins, and torsion spring, not the track itself.
- Using WD-40 on garage door components. WD-40 is a solvent, not a long-term lubricant. It cleans temporarily and then leaves metal to wear against metal once it evaporates. Use a garage-door-specific lubricant or a white lithium grease for hinges and bearings.
- Ignoring a slow door. A door that takes longer to open than it used to is a spring problem, not an opener problem. Replacing the opener because the spring is weak just transfers the work to a new motor, which will also burn out prematurely.
- Attempting DIY spring replacement. Torsion springs store enormous energy. The winding bars and setup required to replace them safely are not something a homeowner should improvise. The risk of serious injury is high. Professional service is genuinely necessary here.
- Reprogramming travel limits to “fix” a reversing door. If your door is reversing when it seems clear, changing the opener settings to push past the resistance masks the real problem. The force sensor is detecting drag. Find and fix the drag instead.
- Assuming a loud bang means the opener is broken. A loud bang from the garage is almost always a torsion spring snapping, not a motor failure. The opener is usually fine; the spring is not. Calling a company that knows the difference is why you call a garage door specialist rather than a general home-services firm.
- Replacing the remote when the range drops. Sometimes it’s the remote battery. But if a new battery doesn’t fix the range, the issue may be the opener’s receiver board, not the remote. Diagnostics should isolate the failure before parts are purchased; otherwise, you’re spending money on the wrong component.
When to Call a Professional
Call a garage door professional when you see any stop-use sign, when the manual disconnect test fails, or when a monitored symptom persists for more than two weeks without improvement. Garage doors are heavy systems under spring tension. A door that doesn’t feel right is telling you something; professionals can identify the specific component failure in one visit because that’s all we work on. SD Garage Door covers repair, opener work, and new installation, and our technicians are trained across the brands you likely have – LiftMaster, Chamberlain, Genie, Clopay, Amarr, Wayne Dalton, Craftsman, and Raynor. If you’re in San Marcos and you’ve spotted one of these warning signs, call us at (833) 589-6906 for a free estimate. We’ll come out, identify the specific problem, and quote the repair before we start any work.
Frequently Asked Questions
Spring repair or replacement in San Marcos typically runs $180 to $340 for a standard torsion spring conversion, and $150 to $275 for extension spring systems. The exact price depends on the door weight, spring size, and whether we’re replacing one spring or the pair. Call (833) 589-6906 for a specific quote on your door – we’ll give you the price before we start any work.
If your door is stuck open or closed and you’re in San Marcos, call us at (833) 589-6906. We prioritize stop-use situations like broken springs and snapped cables, and we’ll get a technician to you as quickly as possible.
LiftMaster and Chamberlain openers share the same design architecture and are generally the most straightforward to repair because replacement parts are widely available. Genie openers are also common in San Marcos homes, and we carry parts for all three. The easiest repair is the one where the technician actually knows the brand – which is why we train across all eight major lines instead of specializing in one.
We stock the most common failure parts – springs, rollers, hinges, cables, and opener boards – on our service vehicles, so the majority of repairs in San Marcos are completed same-visit. For unusual door models or non-standard spring sizes, we’ll quote the lead time before we start. The advantage of working with a garage-door-only specialist is that our trucks are packed for garage door work specifically, not split between multiple trades.
No. The price we quote after the initial diagnosis is the price for the repair, including parts and labor. If we discover additional issues during the repair, we’ll show you and get your approval before doing anything beyond the original scope. We don’t surprise San Marcos homeowners with invoices that don’t match the quote.
Openers in San Marcos typically last 10 to 15 years, with the logic board being the most common failure point after year 10. The motor itself is usually not the issue – it’s the electronics. If your opener is over 10 years old and you’re seeing intermittent operation, remote range reduction, or logic errors, a board replacement or a new opener is the realistic path. We can diagnose whether it’s worth repairing your specific model or replacing it with a comparable current unit. See our Garage Door Installation in San Marcos page if you’re considering a full replacement.
The Bottom Line
Garage doors don’t fail without warning. They make specific sounds, show visual asymmetry, and cause opener behavior changes that are all readable if you know what to look for. The manual disconnect test takes one minute and catches spring weakness before it becomes a break. The difference between catching a roller at $80 and replacing a snapped spring, cable, and panel damage at $400+ is a quarterly check and a willingness to act on what you find. San Marcos homeowners deal with specific climate factors – daily temperature swings and shifting clay soil – that make regular inspection more important than in other regions. If you spot any of the warning signs in this guide, or you’re not sure what you’re hearing, call us. You can also explore more guides & resources on our blog. The diagnostic visit is free, and knowing what’s happening with your door is worth the call.
Written by the team at SD Garage Door, serving San Marcos since 2014.
See the difference
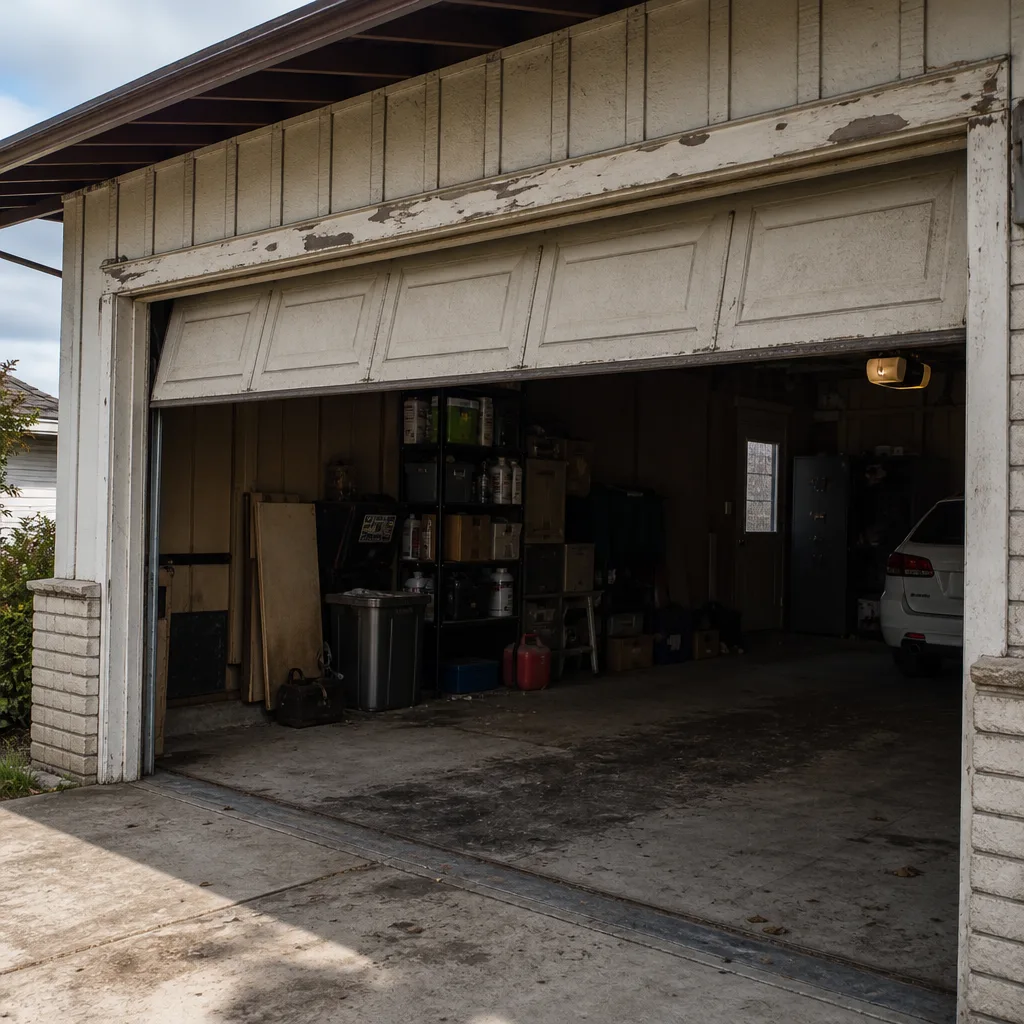 Before
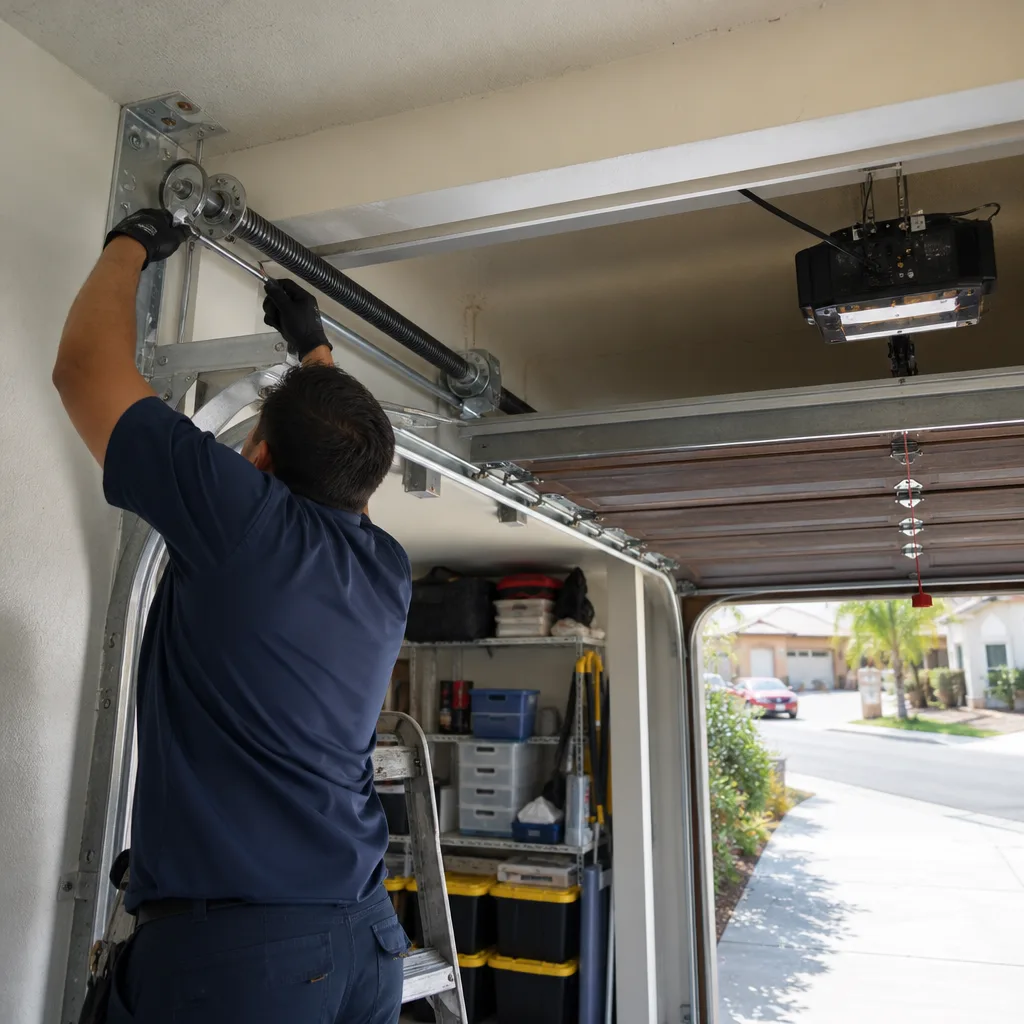 After
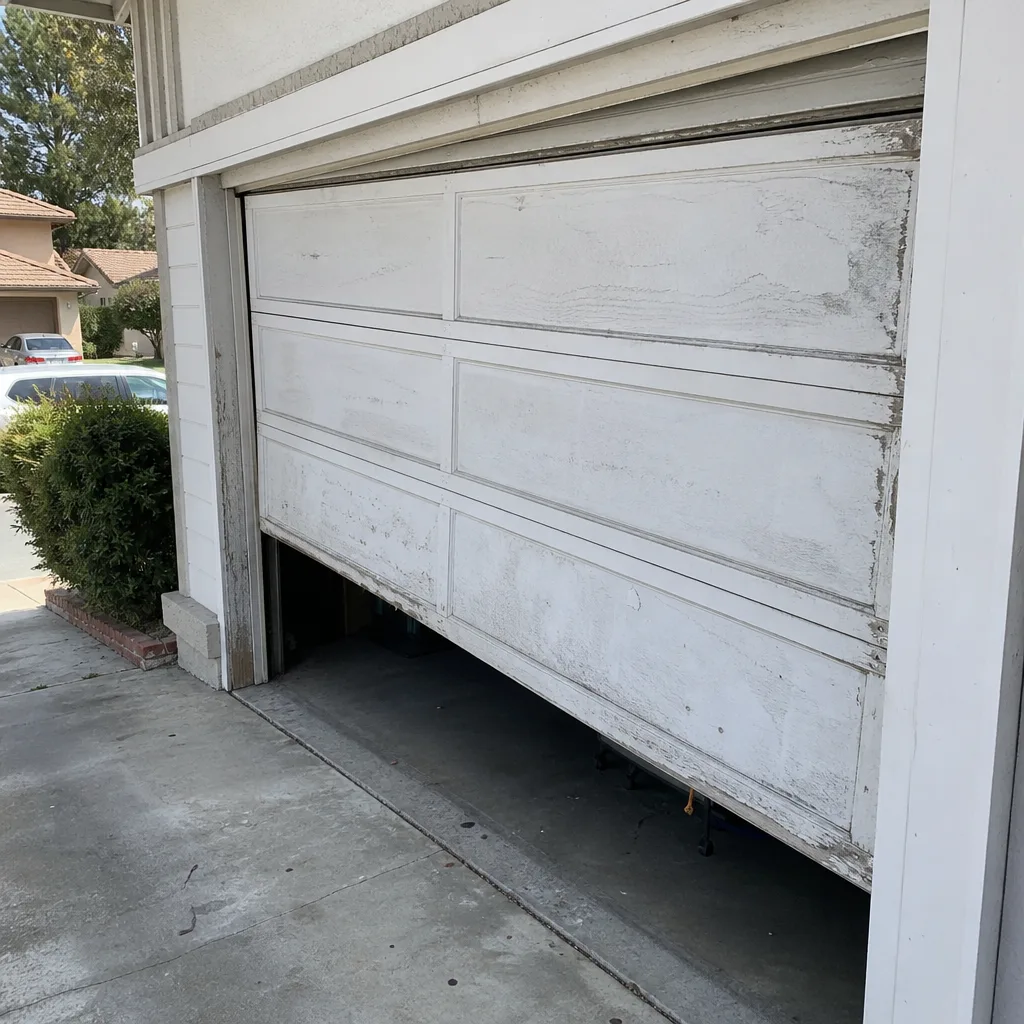 Before
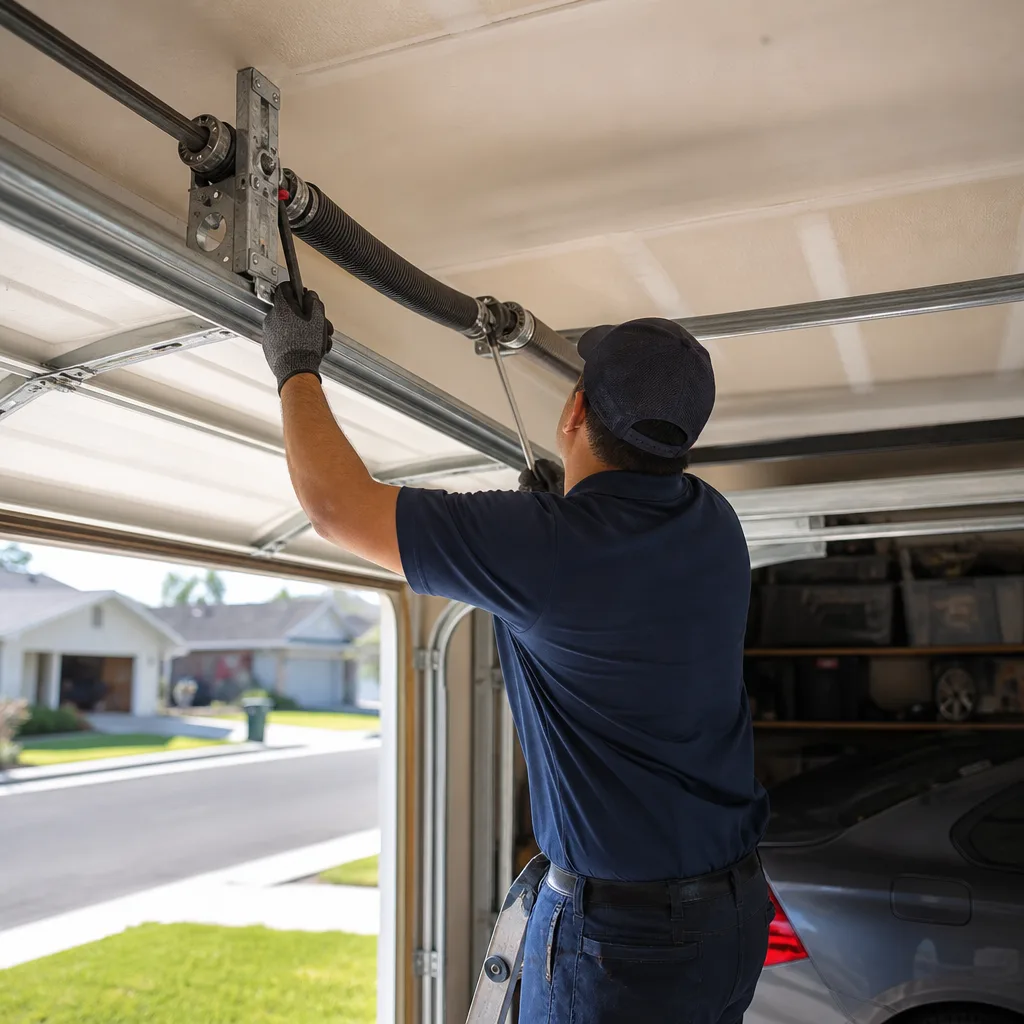 After
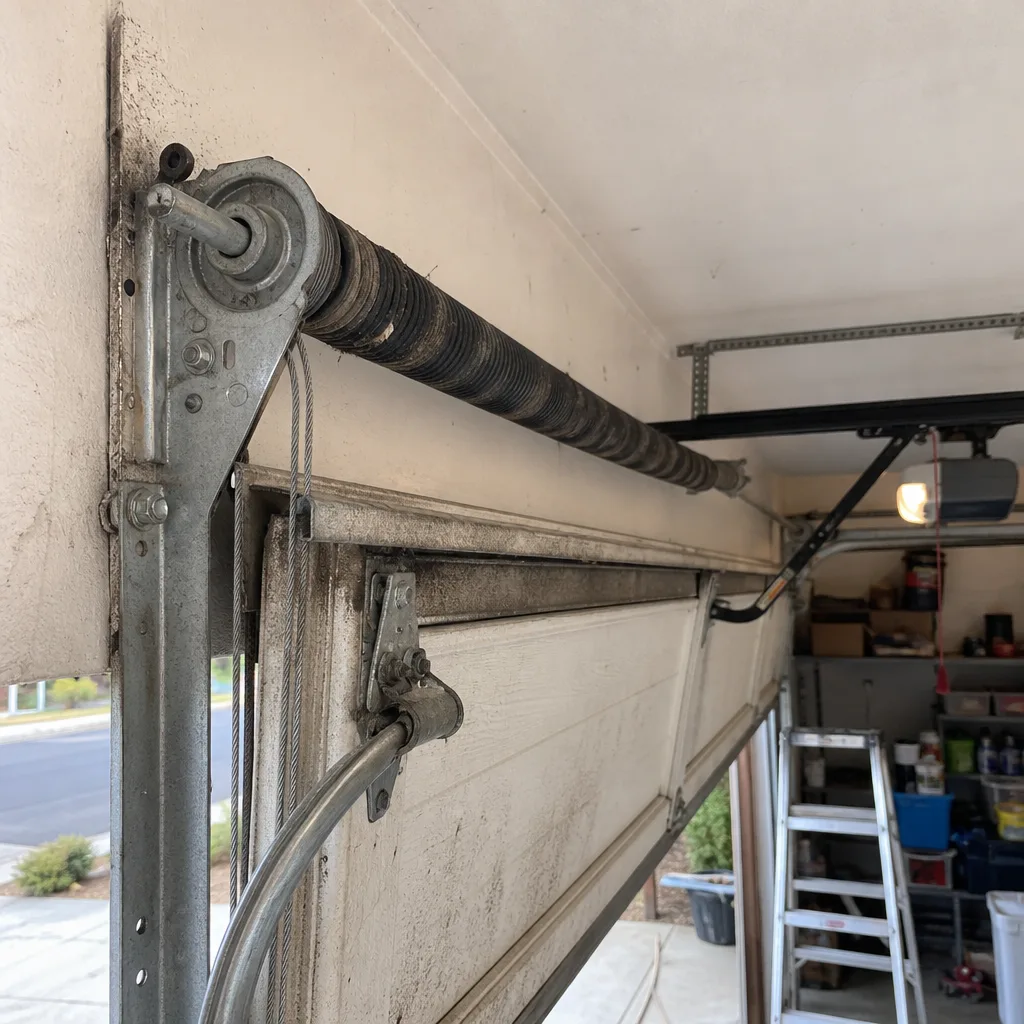 Before
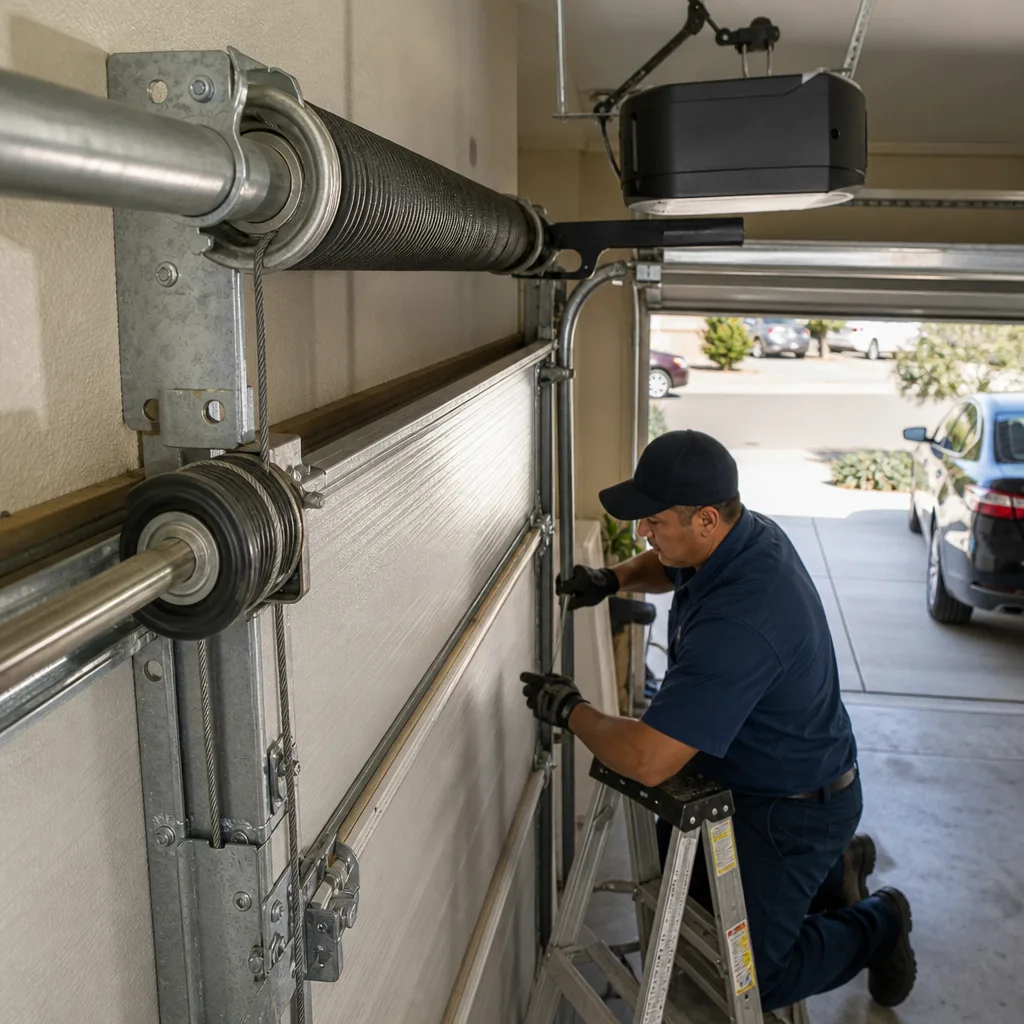 After